A MOV file is commonly known as a multimedia format developed by Apple. Whenever you shoot some video clips in MOV format at a birthday party, wedding ceremony or some other events, you probably want to edit/trim/cut/adjust/crop your MOV video clips and create a movie-like MOV videos without complex skills in using MOV video editor for Mac, then you can find the answer of how to edit MOV file on Mac in this article.
The Best MOV Video Editor - Filmora Video Editor
Filmora Video Editor is a popular MOV video editing software with versatile functionality and friendly usability. In addition to editing MOV and other video in different formats easily, users can easily add some cool video effect into the videos. They can add background music and adjust the brightness, contrast and remove video noise. Just go on reading and learn more about the MOV Editor Mac.
- Edit MOV including trim, crop, rotate, transition, voiceovers, etc with ease
- Add more than 200 special effects to your MOV, such as mosaic blur, tilt-shift, face-off, particle, fire, etc
- Directly share the edited MOV video to Youtube or save it to DVD and hard drive
- Process AVI to MOV conversion in amazingly quick speed
- Easy to use MOV editor with comprehensive and powerful funtions
- Fully compatible with major macOS X.
==> Check more features of Filmora Video Editor for Mac
- Part 1. How to Edit MOV Video on Mac with Filmora Video Editor
- Part 2. How to Rotate Mov File on Mac with Filmora Video Editor
Part 1. How to Edit MOV Video on Mac with Filmora Video Editor
With Filmora Video Editor, users can easily trim, brighten and add some cool video effects to make your video unique and impressive.
After the installation of the MOV editor for Mac, you can directly drag and drop the source Mov files to the program, then:
1. Trim and Merge the Mov Videos with this MOV Editor Mac
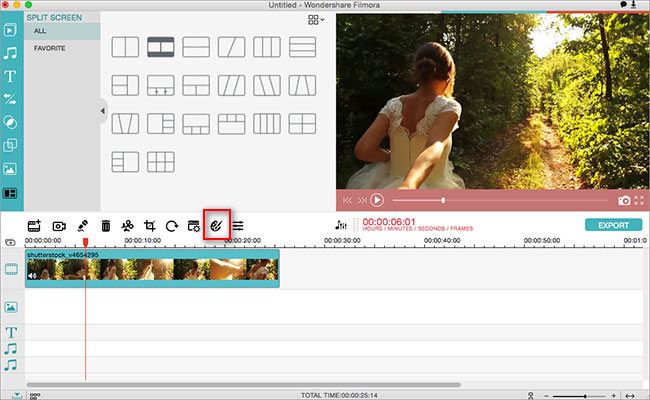
To cut off those unwanted parts of your Mov video clips, you can choose the clip and click Trim button in the middle tool bar. To get started, click the blue cut button under the progress bar to show the cutting handles, which allows you to set the start pint and end point to trim. You can trim the video to as many segments as you want, and all of them will be merged into one file.
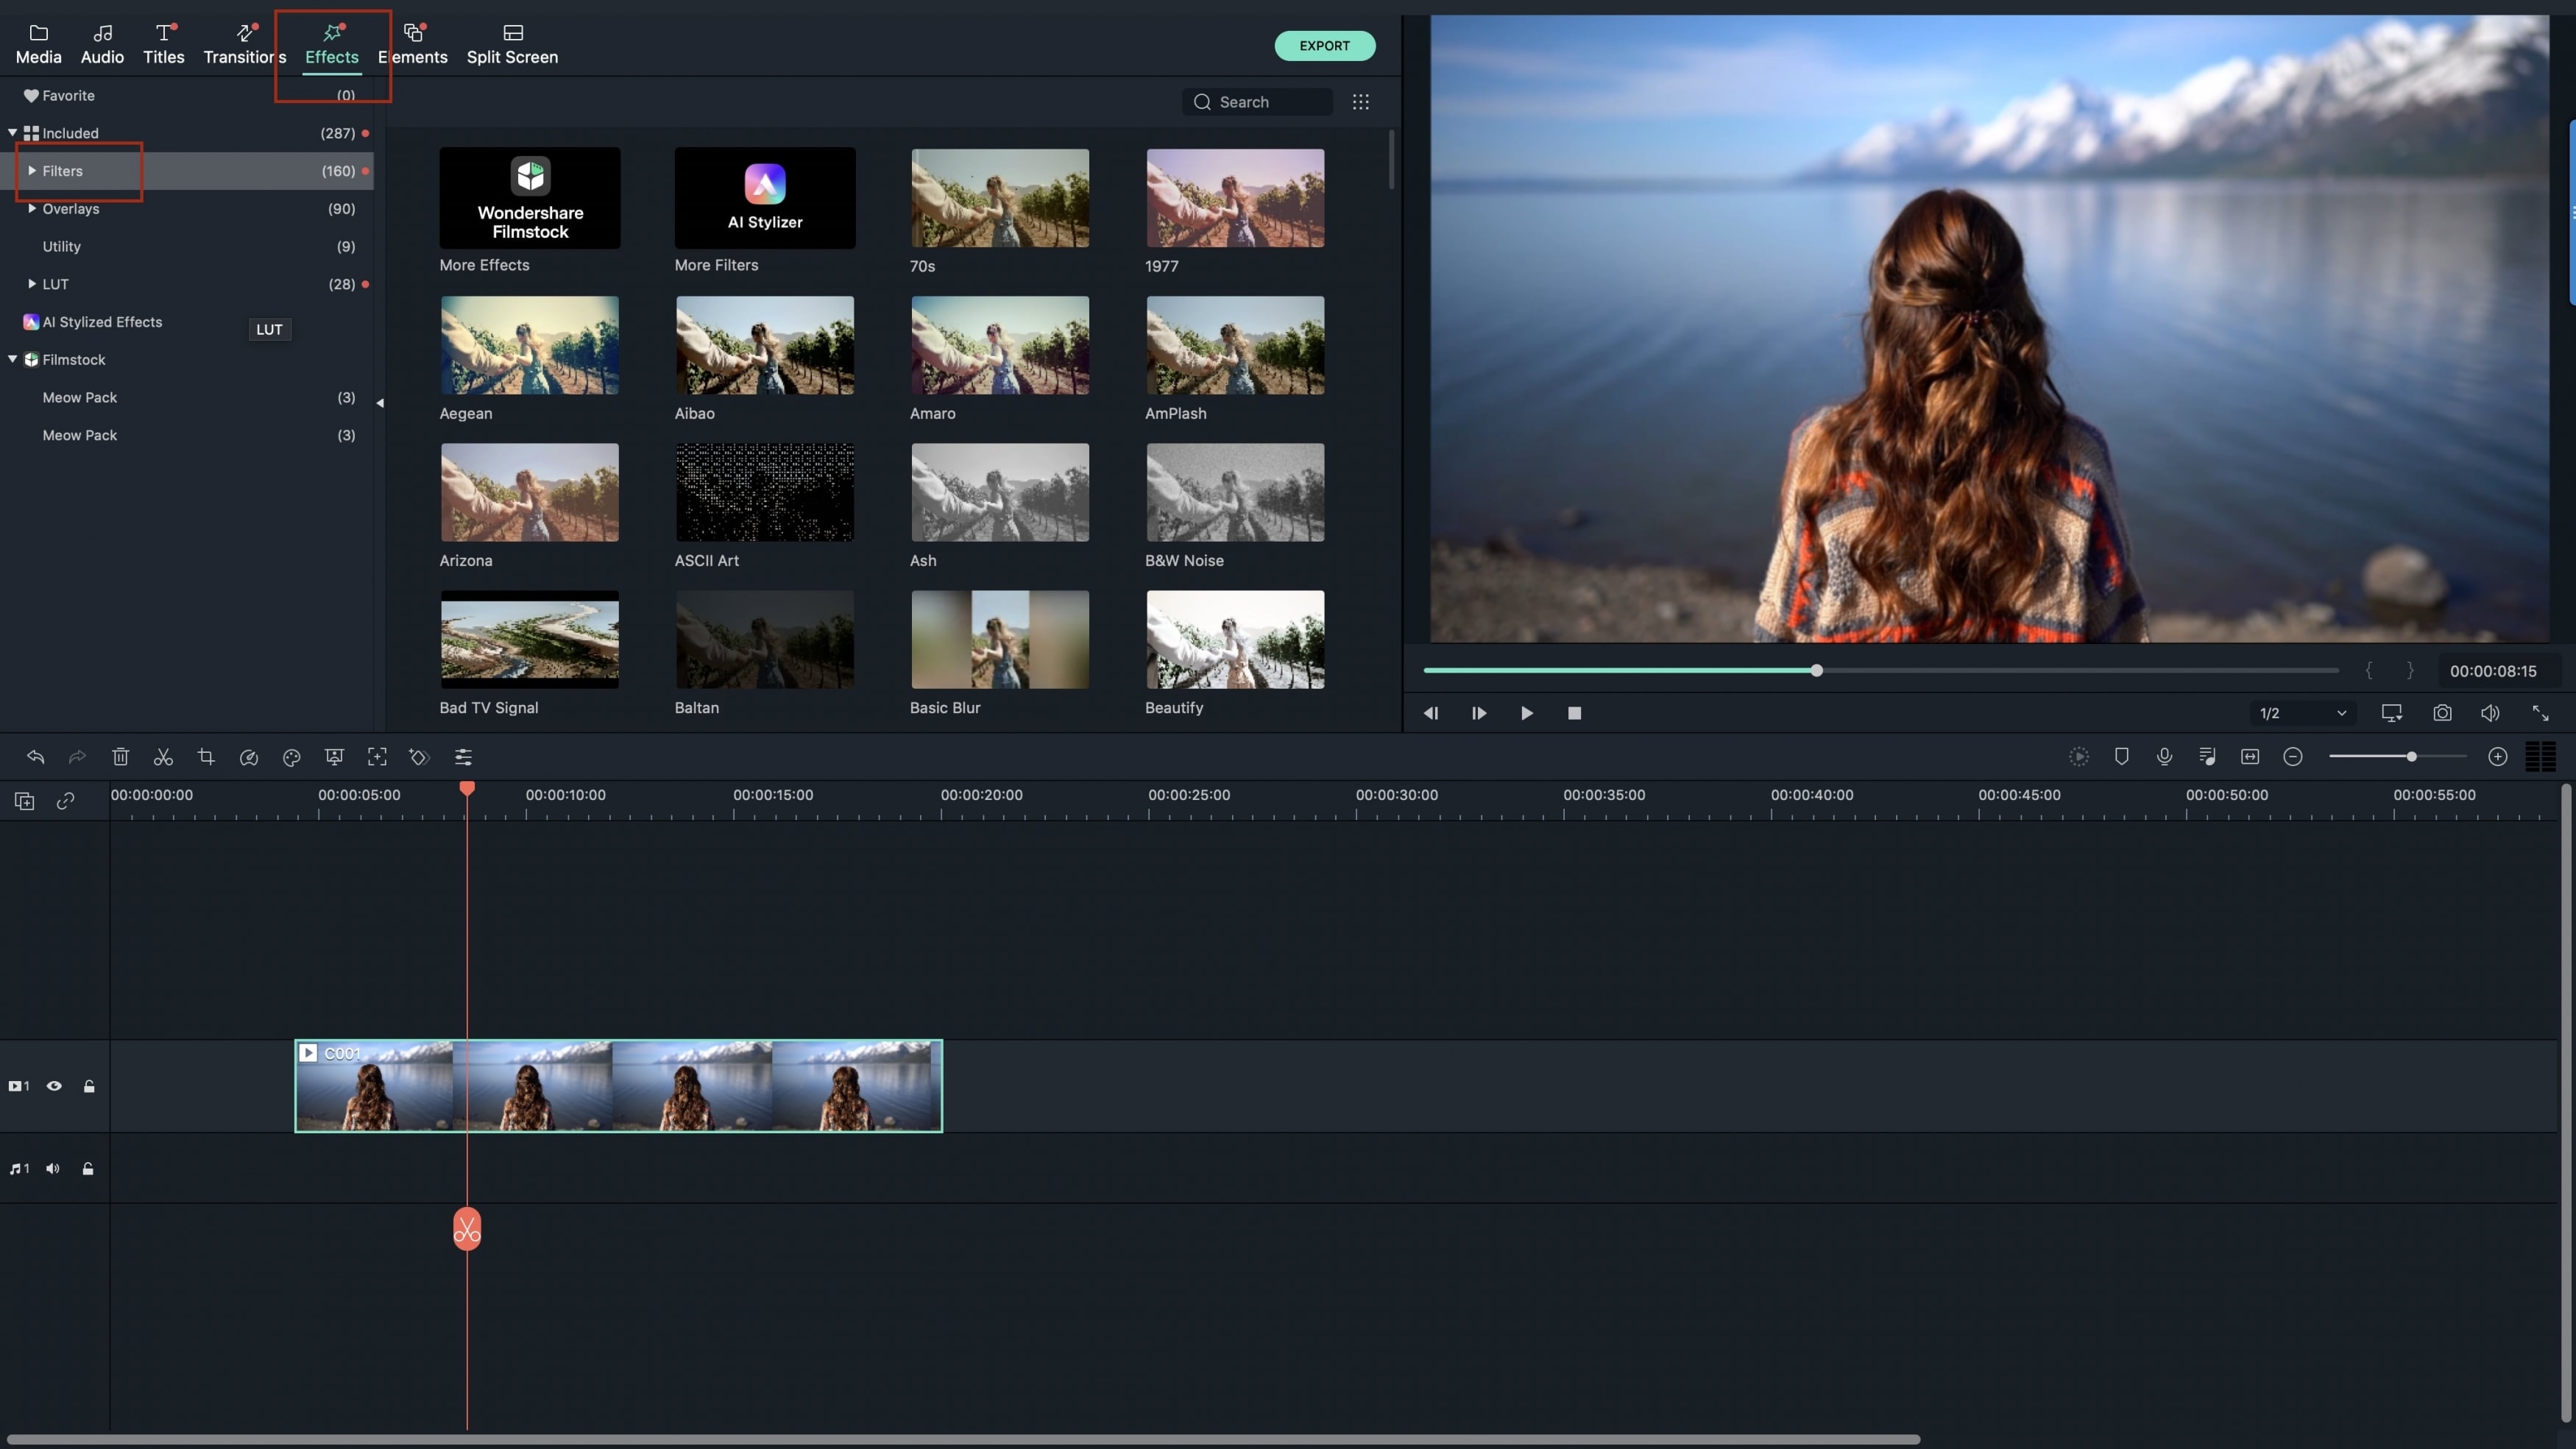
2. Apply effect
The Mac Mov editor offers some video effects to enhance your videos. For example, you can click the video footage to produce the edit window and apply old film, contrast and more to your video files.
Customize the audio track: If your video contains noisy sound, you can mute the audio track by clicking the Gear button and selecting Mute in the drop-down menu. Alternatively, double click the video and go to Audio tab to reduce the audio volume.
3. Add Transition and Background Music
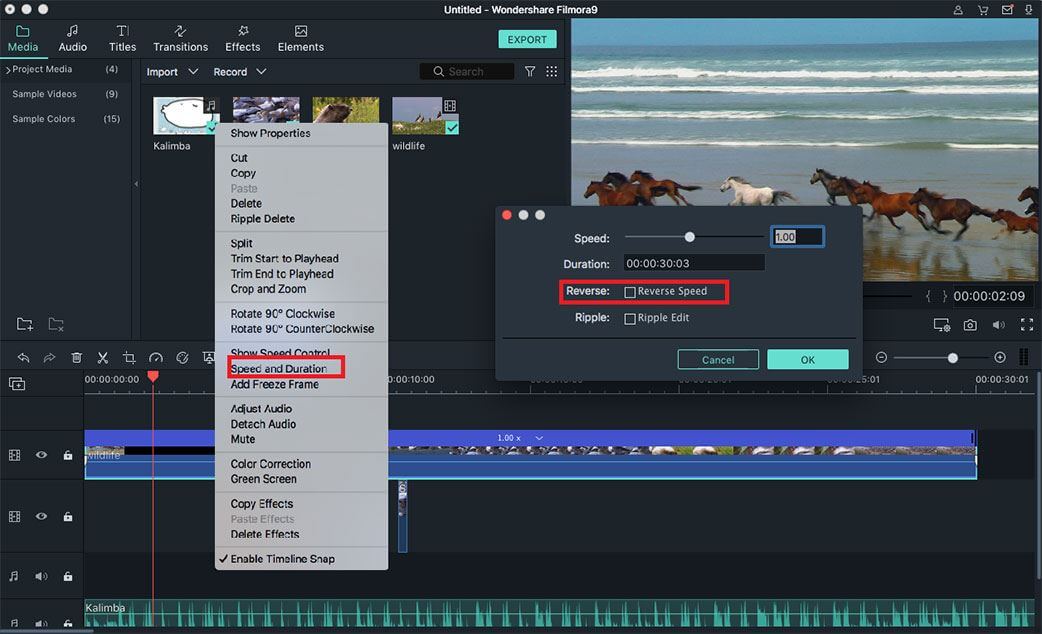
Add transition: The "Transitions" tab is the default tab in the primary window. Just choose a transition and drag it to the area between every 2 video clips.
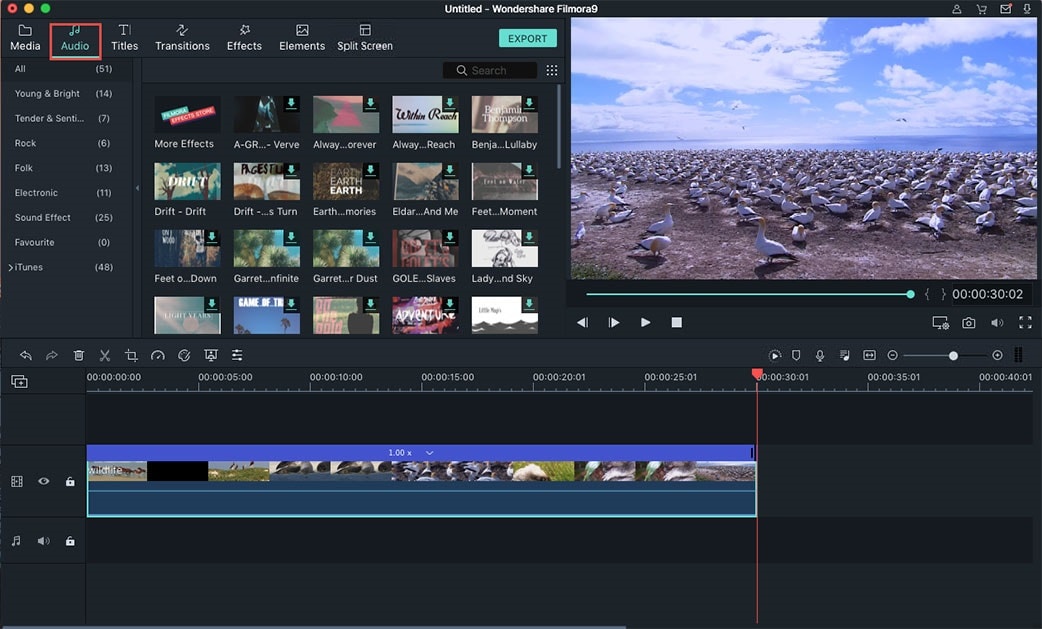
Add background music: Go to File > Add File to locate an audio file, or show Resource windows by clicking the leftmost button in the toolbar. In the Resources windows, browse to find the music you want to use and drag and drop to the audio track on the storyboard.
See the video tutorial:
Watch the video guide to learn how to edit MOV on Mac.
Part 2. How to Rotate MOV File on Mac with Filmora Video Editor
For Mac users, since MOV files are encoded in QuickTime format, you can use the QuickTime Pro (QuickTime Player doesn't support rotate MOV video) software to rotate MOV with high quality. For those Mac users who have NO QuickTime Pro (it's a little bit expensive), Filmora Video Editor is also an ideal solution to make your MOV play normally.
Below is the detailed description on Rotate and Flip features of Filmora Video Editor.
Step 1. Import MOV files you want to rotate
After download and install Filmora Video Editor, run it and import MOV files you want to rotate. This MOV rotator will rotate MOV video by 90 degrees, 180 degrees, 270 degrees and 360 degrees. To add MOV video files, first highlight them in the file explorer and then drag and drop the selected to the program. The imported MOV files will appear on the timeline at bottom.
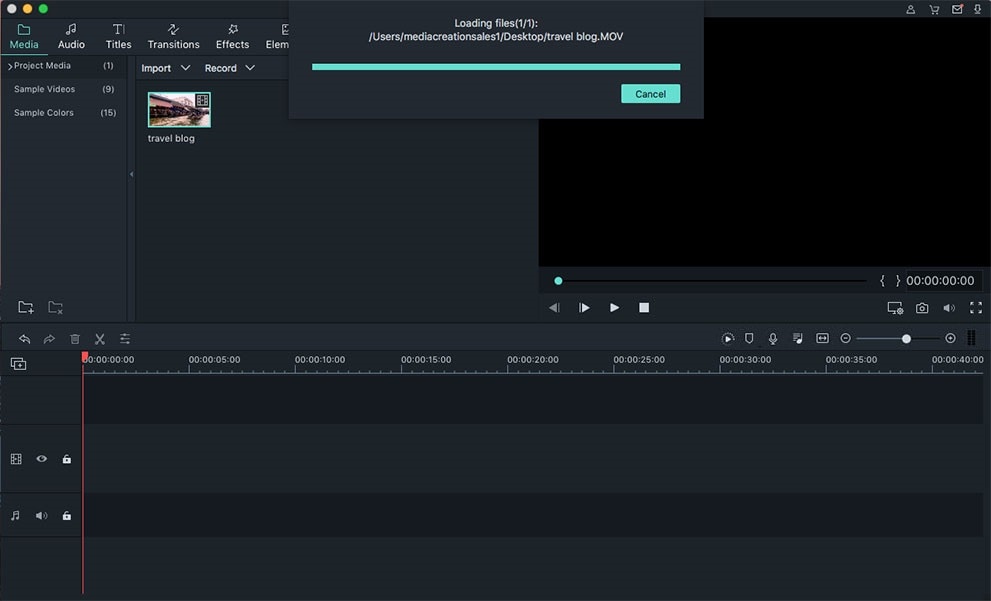
Step 2. Rotate/Flip MOV video to the right direction
When MOV files are imported, select the one you want on timeline and click the Rotate button above the timeline. There will be 4 buttons appearing in the editing window. Through them, you can effortlessly rotate videos by 90 degrees clockwise or 90 degrees counterclockwise, continuously. Note that you're also able to flip the video horizontally or vertically.

Step 3. Save the rotated MOV video permanently
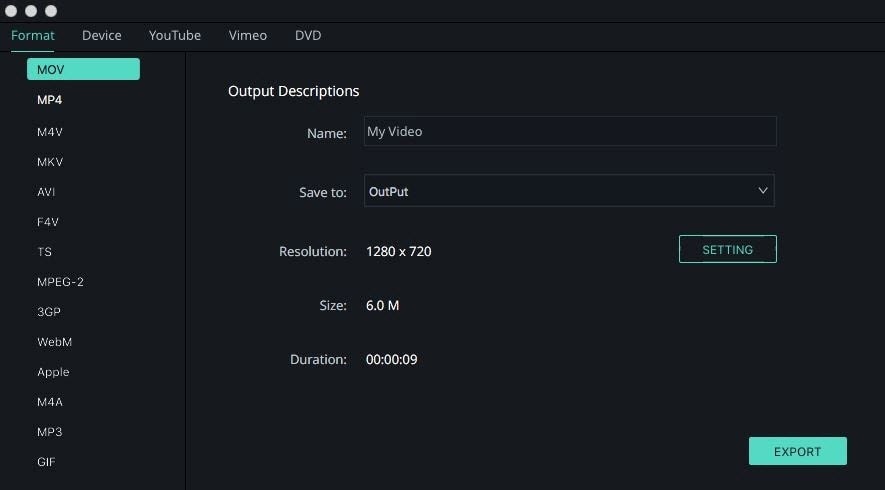
The last step is to save the MOV rotation to video. Filmora Video Editor will create a new MOV files for you without changing the original video. To output MOV video, go to Export menu and choose Format tab. Open the Format dropdown list and choose MOV. Also make other settings if you need before clicking the Create button.
