Contents
- 2. Delete AV Files on iPhone
- 2.1 Delete Albums from iPhone
- 2.2 Delete Videos from iPhone
- 2.3 Remove Music from iPhone
- 3.1 Delete Apps on iPhone
- 3.2 Delete Icons on iPhone
- 3.3 Delete Updates on iPhone
- 3.4 Delete App Store
- 4.1 Delete Contacts on iPhone
- 4.2 Delete Messages on iPhone
- 4.3 Delete All Email on iPhone
- 4.4 Delete Calendar Events on iPhone
- 5.1 Delete Downloads on iPhone
- 5.2 Delete Other on iPhone
- 5.3 Delete Everything on iPhone
- 5.4 Delete Info from iPhone
- 5.5 iPhone Delete Button Not Working
Are you looking for the best way to free your iPhone’s storage in order to update iOS? Do you get bored of songs that have been in your iPhone for a long time? Then you must be eager to learn how to delete albums from iPhone. While it is good to have each of the albums you own in your pocket, over time this can also lead to storage issues. There are various ways to delete music and albums from iPhone. This article focuses on the best application that will ease your work.
How to Delete Albums from iPhone in 1 Click
To easily delete album from iPhone, we highly recommend you to use dr.fone (Mac) - Data Eraser (IS) (or dr.fone - Data Eraser (IS)). This software ensures that the data in your iPhone are deleted permanently. It clears caches, browsing history, logins, banking information, emails and erases deleted files, music, albums, videos and so much more.
Key Features of dr.fone - Data Eraser (IS):
- It ensures that the previously deleted files are no longer recoverable, even if data criminals use the latest data retrieval software. These files are deleted permanently. If you have been trying to clear songs in your iPhone’s Music app, but some songs don’t get deleted, SafeEraser will offer you the best way to delete these files completely.
- The professional data destroyer supports a huge selection of files. This includes Albums, Videos, Pictures, Call logs, Messages, Contacts, Facetime, Notes, Reminders, Calendar, Safari bookmarks and more. In simple terms, this is a full phone erasure.
- The individual file selection feature enables users to choose the particular files that they don’t want while keeping the ones they do. This feature will enable you to select and delete all your personal information when selling, donating or recycling your device.
- It has the ability to clean junk files and unnecessary background processes from your iPhone, which helps in speeding your device. Your device will, therefore, perform at optimal speeds once the storage space has been freed up.
Steps on how to delete albums from iPhone
Step 1: Set up the data eraser
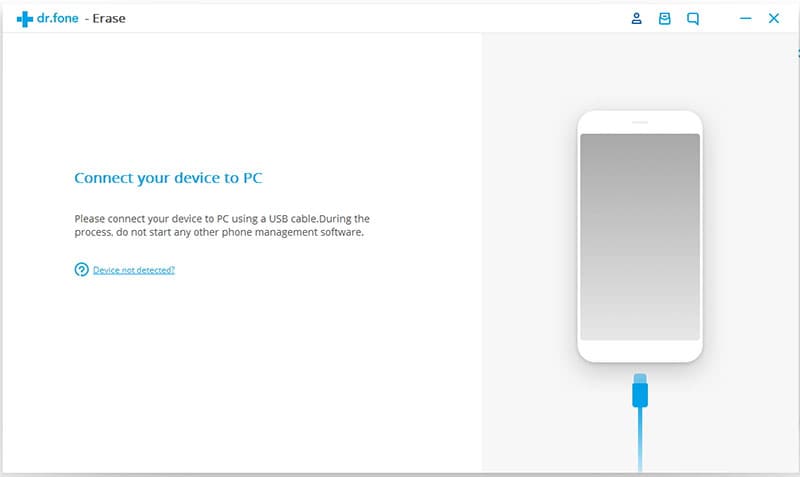
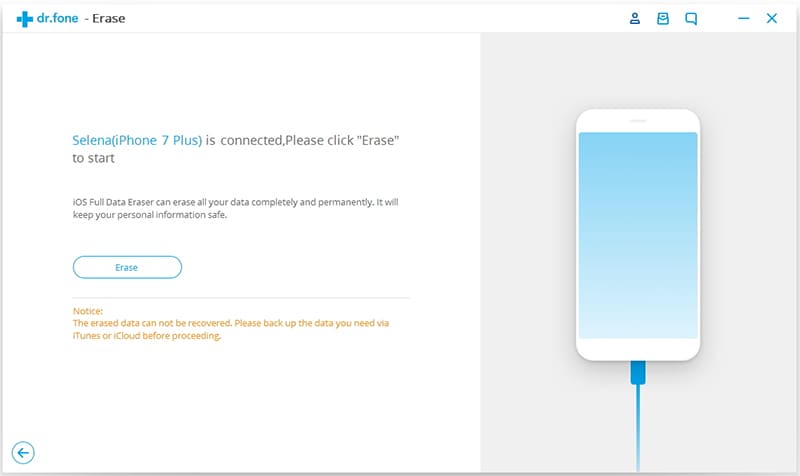
Download and install the dr.fone - Data Eraser (IS) on your Mac or PC. Run the program by double-clicking its icon. And use a USB cable to connect your iPhone to the computer. Your iPhone will be recognized by the program automatically.
Step 2: Open the erasing mode
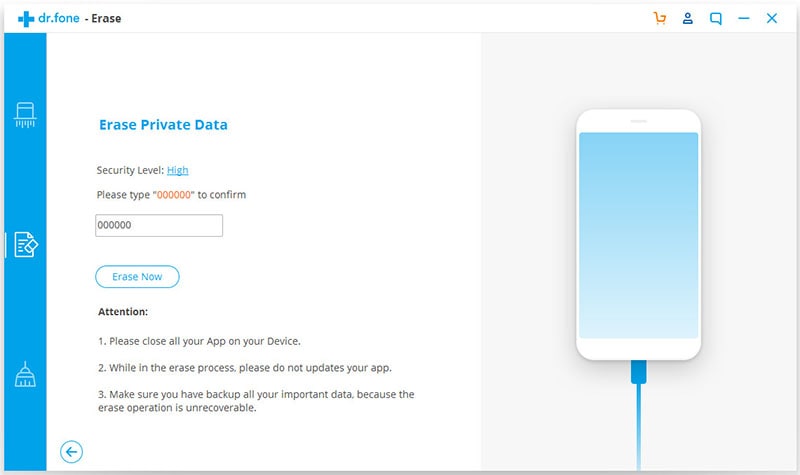
Click the "Erase Private Data" in the primary window. And click "Erase Now" to open the erasing mode. The program start to scan your iPhone data.
Step 3: Start deleting iPhone albums
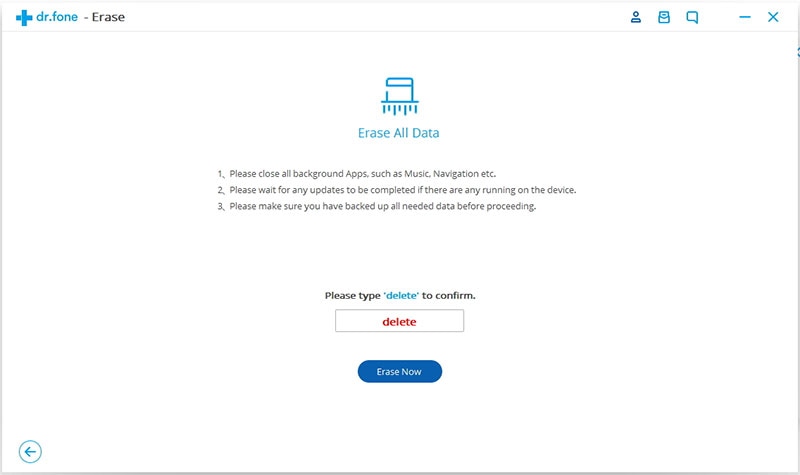
Once the scanning is over, check the "Album" option and click "Erase Now". And you will get a now pop-up window. Enter "delete" as prompt, in order to confirm the deletion. And click "Erase Now" to start deleting albums on iPhone.
When the erasing begins, ensure that your device remains connected throughout the process. Be patient and wait until the deletion process is fully complete. After that, a completed screen will appear once the deletion is complete.
How to Delete Albums from iPhone Music App (iOS 8 Devices)
You may have downloaded or copied various music albums accidentally. However, it might be a challenging task to delete each and every single song individually. If you have been asking yourself, “How do I delete albums from my iPhone?”, then you will never be worried anymore. iOS 8 iPhones allow users to delete the entire album with ease as the process requires only a few steps. Before you can decide to clear the entire album, you must be sure that you want to remove all the songs in the album.
This guide works perfectly on iOS 8 devices. If you have an iOS 7 device, then you should download SafeEraser and use it as discussed above. Deleting albums on iOS 8 devices involves the following steps.
Step 5
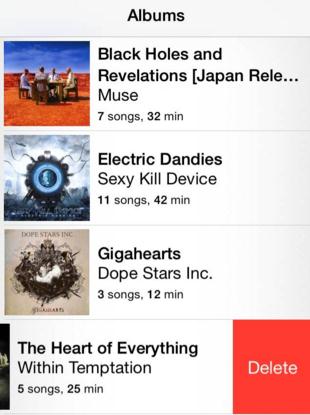
On the album interface, locate the specific album that you would like to delete and swipe it to the left.
Step 6
Tap the delete option once it appears, and the album will be deleted. Follow all the above steps in order to delete each of the unwanted albums.


