- Part 1: How to Put iTunes Music on Android
- Part 2: How to Put Music on Android with iTunes
- Part 3: How to Add Music to Android on Mac
- Part 4: How to Put Music on Android with MTP Sync in Windows
- Part 5: Transfer Music to Android with MTP and Windows Explorer
You probably have a set of songs you want to be accessible anywhere you go. And your phone or tablet is the most convenient and portable storage for that. But most people change handsets or devices or just adding more devices, especially those who are techy. One problem with changing or adding more devices is transferring or copying your files from the old one to the new one.
If you opted to buy an Android device, here are some ways to have your favorite music to your new Android device.
Part 1: How to Put iTunes Music on Android
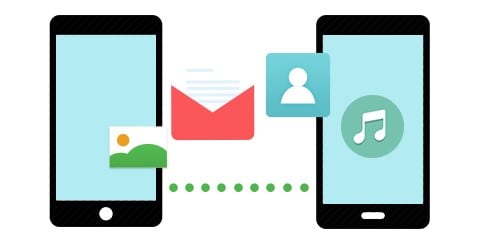
iSkysoft MobileTrans for Mac ( or iSkysoft MobileTrans for Windows) is the easiest way to transfer your iTunes music to your Android device. Not only can you transfer your iTunes music, you can also copy your contacts, SMS, call history, calendar, photos and videos. It lets you restore data from iCloud backup, Blackberry backup and iTunes backups. Here is how to use this app in transferring music and other files to your Android device.
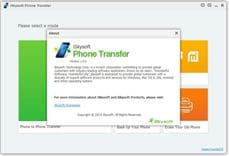
Step 1. Install iSkysoft Phone Transfer on your computer. You can download a free trial of iSkysoft Phone Transfer from the download button below.
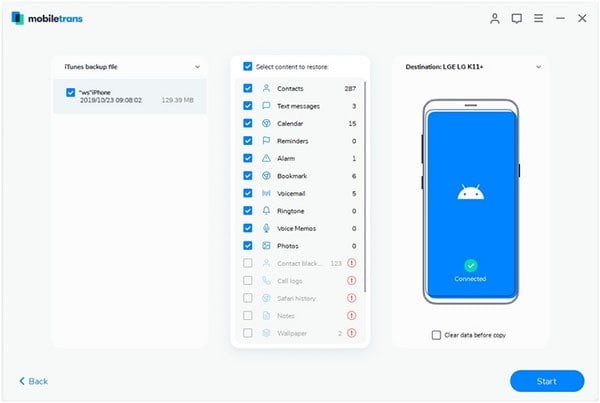
Step 2. Connect your device via USB cable to your computer. Tap on the “Restore From Backups” tab and choose from iTunes backup file.
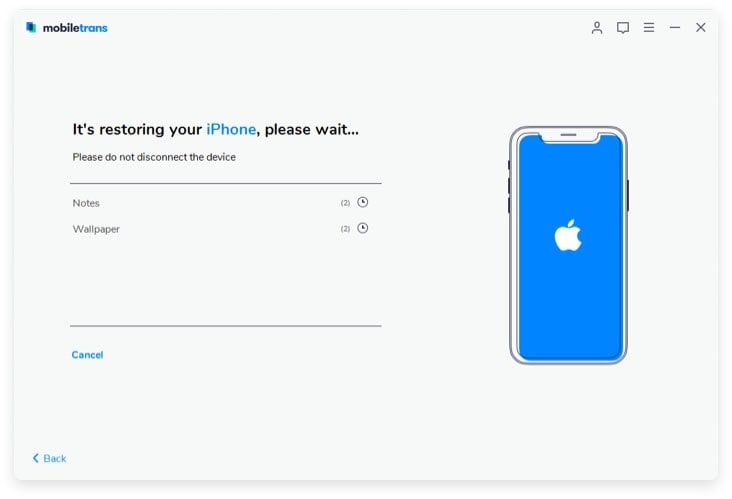
Step 3. Check the contents you want to copy and click on Start Copy to transfer iTunes selected data to your Android device.
iSkysoft Phone Transfer is a great, easy to use and hassle free way to transfer not only your iTunes music. Some of its key features are:
- • It can transfer your phone data safely and one hundred percent the same as the original. And it works great too with the new Windows 10.
- • It also allows you to safely and securely back up your device data to your computer.
- • With this application, you can erase data from your old device permanently.
- • It also supports the retrieval of data from your iCloud backup.
- • And what's more, it supports about three thousand five hundred phones and tablets and different networks.
Part 2: How to Put Music on Android with iTunes
Transferring iTunes Music to an Android device is not that easy. Aside from taking time, there are certain things to set up before you can transfer iTunes Music to Android since these two has different formats and they are different platforms. If you simply copy iTunes Music directly to your Android device, these Music might not play on your Android device because of incompatible formats.
For some who are desperate, they might even download audio converters from the internet and try to convert iTunes Music to a format that an Android device will be able to read. But all these, you will consume a lot of your precious time, in addition to the fact that it is not a sure success process.
Here’s a simple way of putting your iTunes Music to your Android device without any hassle, no application for conversion needed. All you need are your device’s USB cable, your computer that is syncing with your iOS and the location of your iTunes Music in your computer.
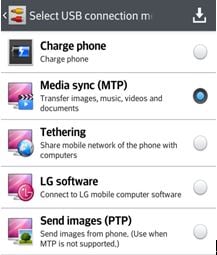
Step 1. Connect your Android device to your computer. When the Autoplay window displays, choose Media sync (MTP).
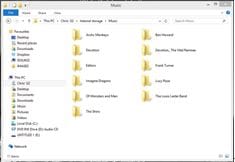
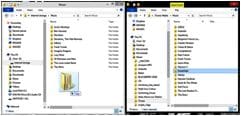
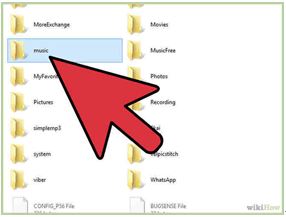
Step 2. Open a new window explorer folder and browse to your Android device and click on the music folder.
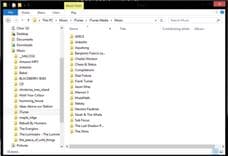
Step 3. Open another window explorer window and this time, browse to your iTunes Music Library. iTunes Music Library is usually located in the Libraries > Music > iTunes > iTunes Media > Music.
Part 3: How to Add Music to Android on Mac
For those who are on Mac, here is a simple and easy way of adding music to your Android device.
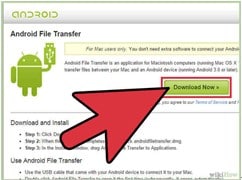
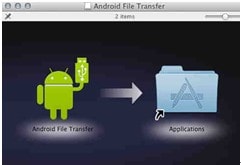
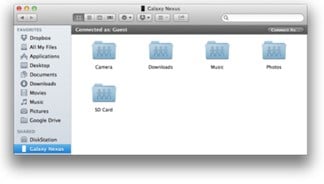
Step 1. Download Android File Transfer on your Mac. You can download it from this link. Android File Transfer will install the Media Transfer Protocol or MTP on your Mac. MTP allows the file transfer between Android and Mac.
Step 4. Initially, you will have to run Android File Transfer, but next time whenever you connect your device to your Mac, it will automatically start.
Part 4: How to Put Music on Android with MTP Sync in Windows
Another way of adding or putting music to your Android device is syncing via Media Transfer Protocol or MTP. With this way, Windows Media Player is needed.
Step 1. Make sure that your Windows Media Player is at least Version 10 or the latest. Media Transfer Protocol or MTP required the use of Windows Media Player. And this process will only work on Windows XP SP2 or newer Windows such as Windows Vista, 7, 8 or 10.
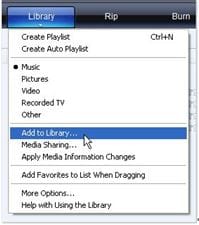
Step 2. In Windows Media Player, pull down the Library menu and select Add to Library. Choose My personal folders so Windows Media Player will search folders for music automatically. You can manually select the folders where your music is. Windows Media Player will make a library of your music.
Step 3. Connect your Android device to your computer with the USB cable.
If it is the first time you connect your device to your computer, windows will install device drivers to identify your device. The process might take a few minutes.
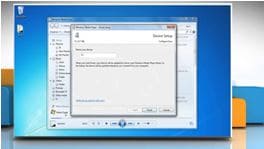
Step 4. Once Windows Media Player has detected your Android device, you will be given the option to name your device. Whenever you connect your device, Windows Media Player will show this name as a way to identify your Android device.
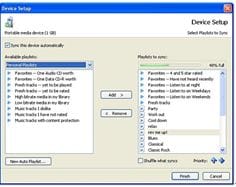
Step 5. Windows Media Player will give you option to whether automatically sync your music or not. If you choose automatic, music in your Library not yet in your device will be copied to your device.
Your device will automatically sync each time you connect it to your computer. If you want to change preferences, right-click on your device and choose Set Up Sync.
Part 5: How to Transfer Music to Android with MTP and Windows Explorer
The last, but not the least, technique to transfer music to your Android device is with the use of Media Transfer Protocol and Windows Explorer.
Step 1. Make sure that your Windows Media Player is at least Version 10 or the latest. Media Transfer Protocol or MTP required the use of Windows Media Player. Remember that this process will only work on Windows XP SP2 or newer Windows such as Windows Vista, 7, 8 or 10.
Step 2. Connect your Android device via USB cable to the computer.
If it is the first time you connect your Android device to your computer, windows will install device drivers to identify your device. The process might take a few minutes.
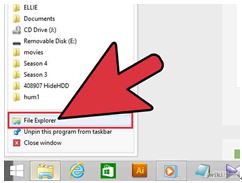
When an Autoplay window pops up, choose Open device to view files using Windows Explorer. The screen of your device must not be locked during the process. If in case no Autoplay window comes up or you accidentally closed it, Open My Computer and double click on your device.
Step 3. Open one Windows Explorer and go to yourmusic folder in your computer. Copy the files you wish to copy in your device.


