Windows Movie maker is one of the oldest and amazing tools to edit videos on Windows, it has been preinstalled in the Windows operating system since Windows XP days and this free tool let you edit your videos in the perfect way possible. Unfortunately, Microsoft has never released Windows Movie Maker for Mac OS X. Fortunately, there are plenty of third party applications available in the Mac Store. Here I'd like to recommend you the best alternative to Windows Movie Maker for Mac (macOS 10.13 High Sierra included) - Filmora Video Editor.
- Part 1. The Best Windows Movie Maker for Mac Alternative
- Part 2. How to Use Windows Movie Maker for Mac Alternative
- Part 3. Comparison of Windows Movie Maker and Its Alternative
Part 1. The Best Windows Movie Maker for Mac Alternative
Fimlora Video Editor is amazing software which will let you edit videos on Mac (macOS 10.13) and it works just like Windows movie maker, but with even more features. From basic level video editing tool to superb effects, this software gives everything you need for making a standout video. The most prominent feature of Filmora Video Editor is that it will cleverly detect the different video scenes in your video and will split them according to their needs. Moreover, there are hundreds of animations and to PIP effects, intros to credits, text to sound clips, you can edit your videos in whatever way you want.
Key Features of Windows Movie Maker for Mac Alternative
*Basic Editing tools: Just like any other video editors, it already has every basic level editing tool which you need such as video rotating, adjusting contrast, brightness, hues and speed of the videos. There are other tools which can be used to crop videos, trim them, voice over, taking screenshots of the videos. You can also apply the tilt shift to make one part prominent and blurring the rest of screen in the video. Similarly, another tool is to apply mosaic which will blur out the specific area while the whole screen will be normal. From basic editing tools, you can also make a face off to replace a face of the person in the video. It can also be used to make slow motion or hyper lapse videos.
*Adding Text in a Video: Filmora Video Editor will also let you add text to the videos from a list of different fonts and styles. You can even customize the style of the text and apply it as animation on your video. It has a pretty lengthy list of fonts and the best part is that there are some preset styles available in the iSkysoft Editor, if you want to save the time, you can apply one of them.
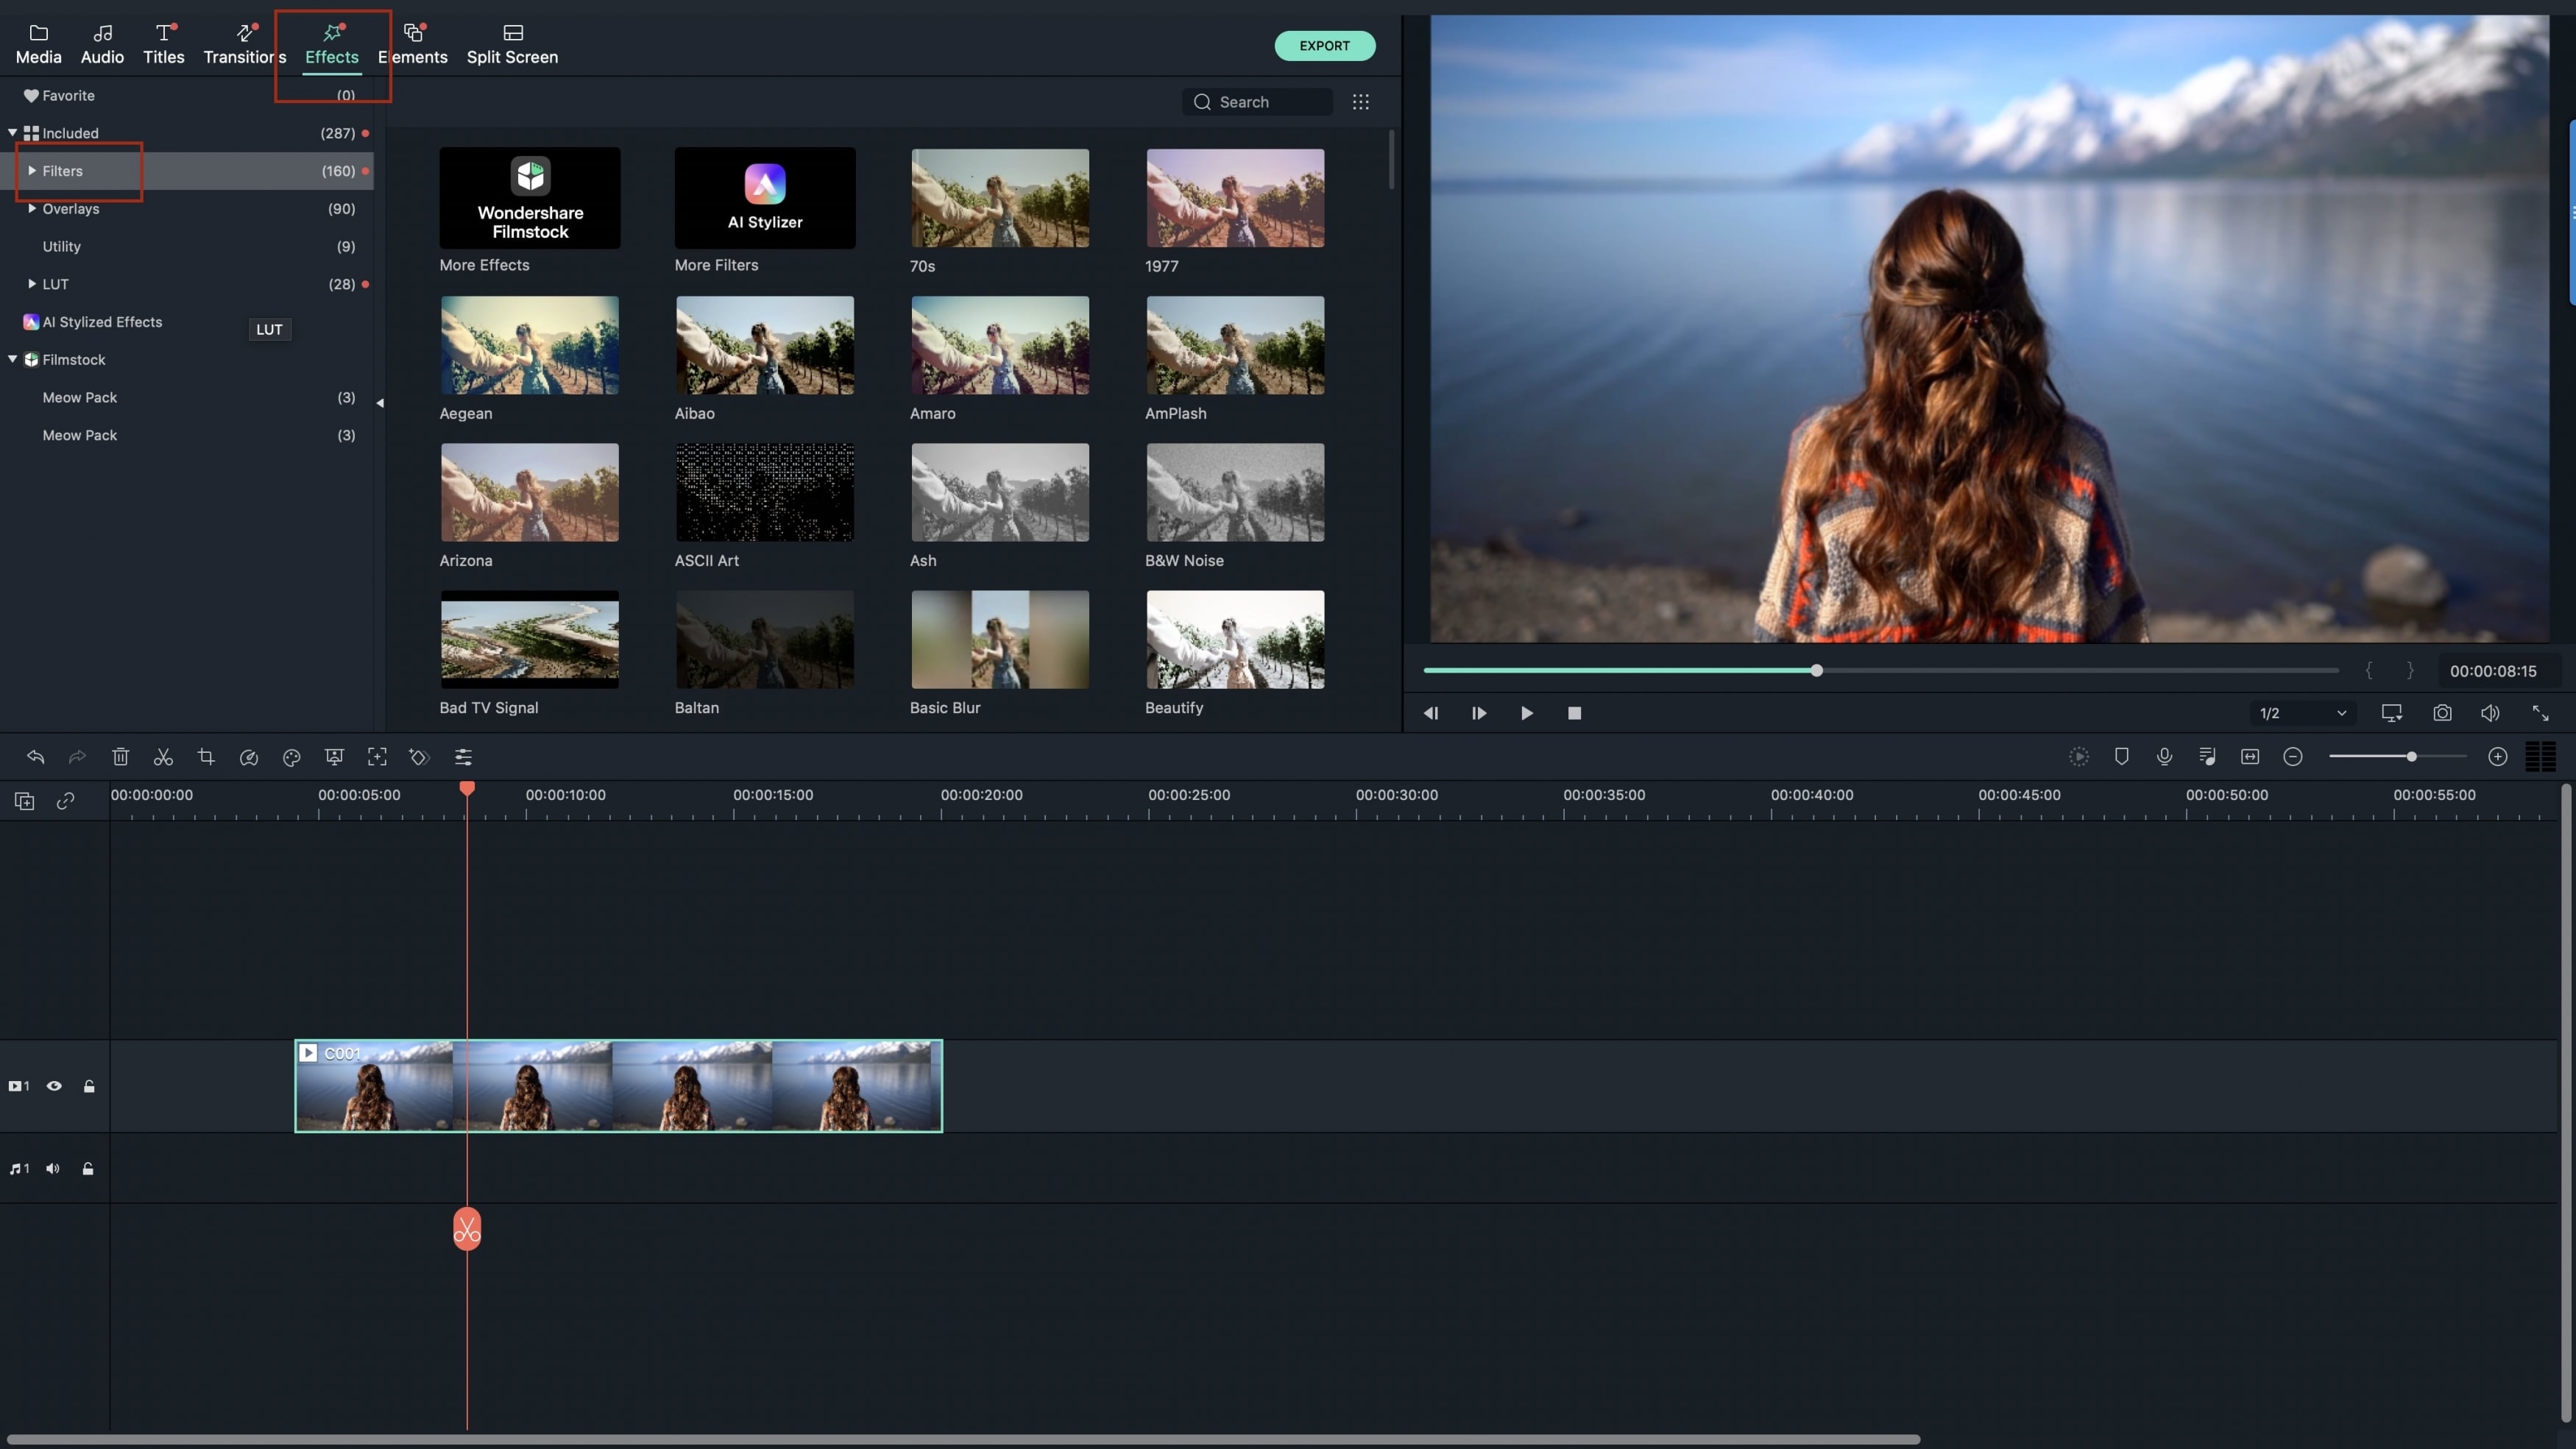
*Adding Different Effects to the Video: You can't only apply effects to the whole video but different effects can be applied to different portions of the video and there are more than hundred effects already pre-downloaded in the Filmora Video Editor, however, you can download even more from the server by clicking on download button. These effects will make your video unique which no other software have.
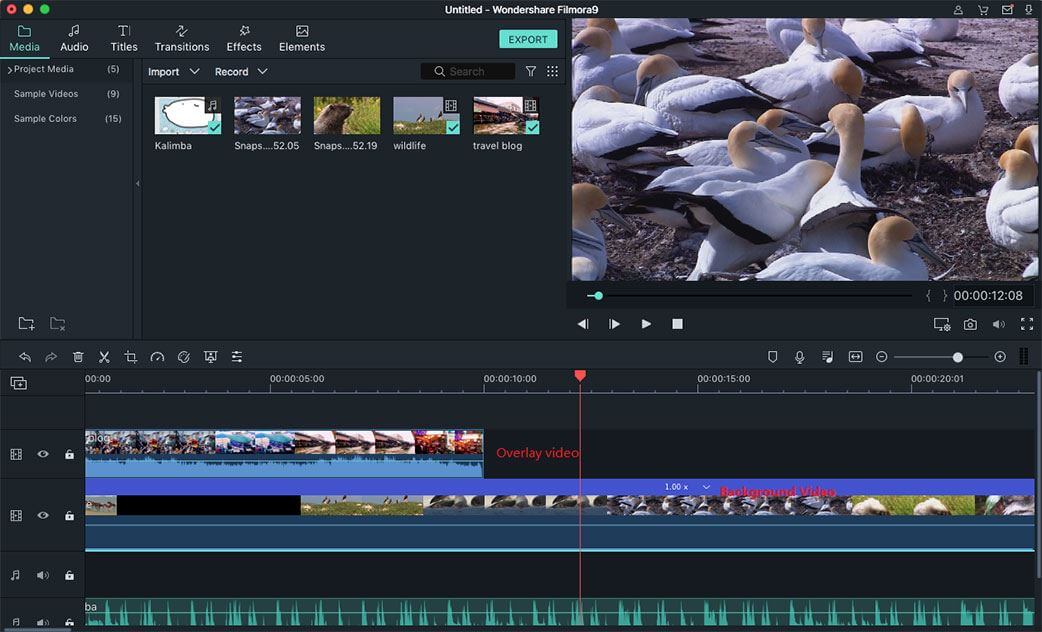
*Picture in Picture Effects: Just like text, you can add Picture in Picture effects on your videos which will make your videos even more beautiful. There are many different pre-loaded images in the Filmora Video Editor and you can download an extra pack within the software.
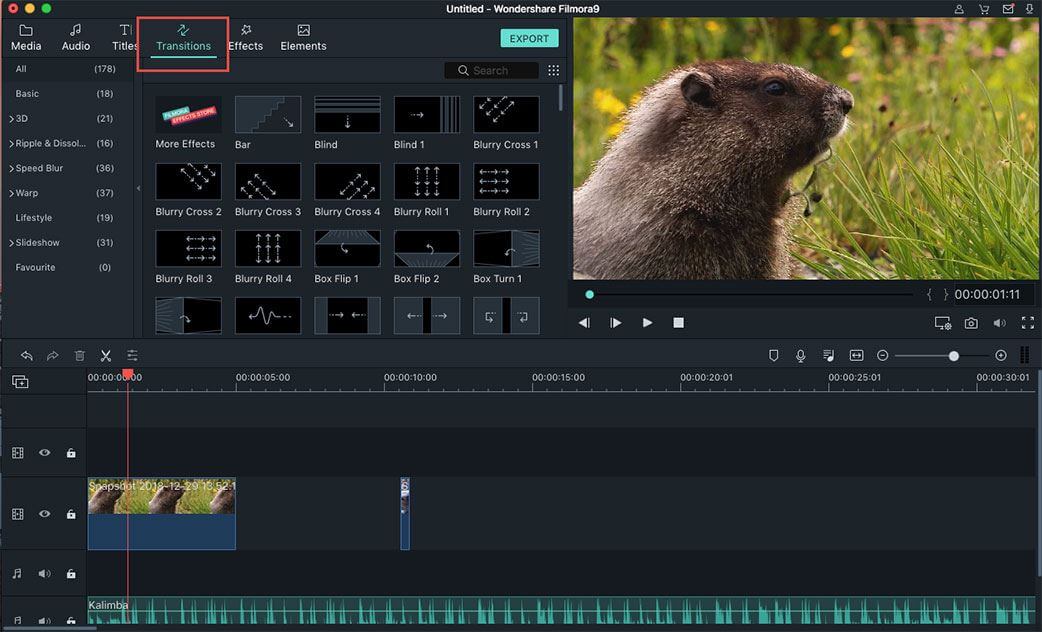
*Transitions and Intro/Credits: Just like Movie maker, there are different transitions available, so, if you are trying to join two different videos, introduction of a suitable transition will make your video perfect. Similarly, there is an option to add introduction and credits for the video.
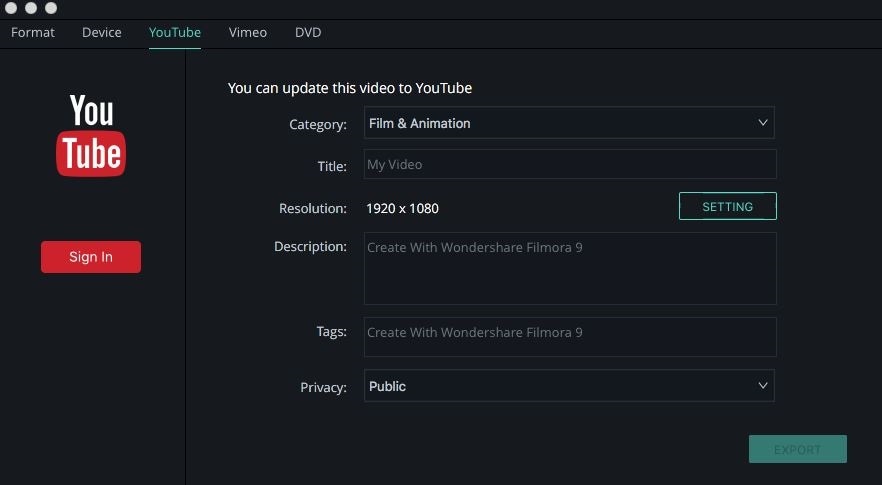
*Sharing the Final Video: Once the video has been edited, save the video on your Mac in an appropriate video format for your iPhone or upload directly to the "YouTube" or "Vimeo". Another distinguished feature is that you can upload videos directly to the famous social networking website "Facebook" or can burn them directly on a "DVD".
Part 2. How to Use Windows Movie Maker Alternative for Mac?
Step 1. Installing and Running the Software
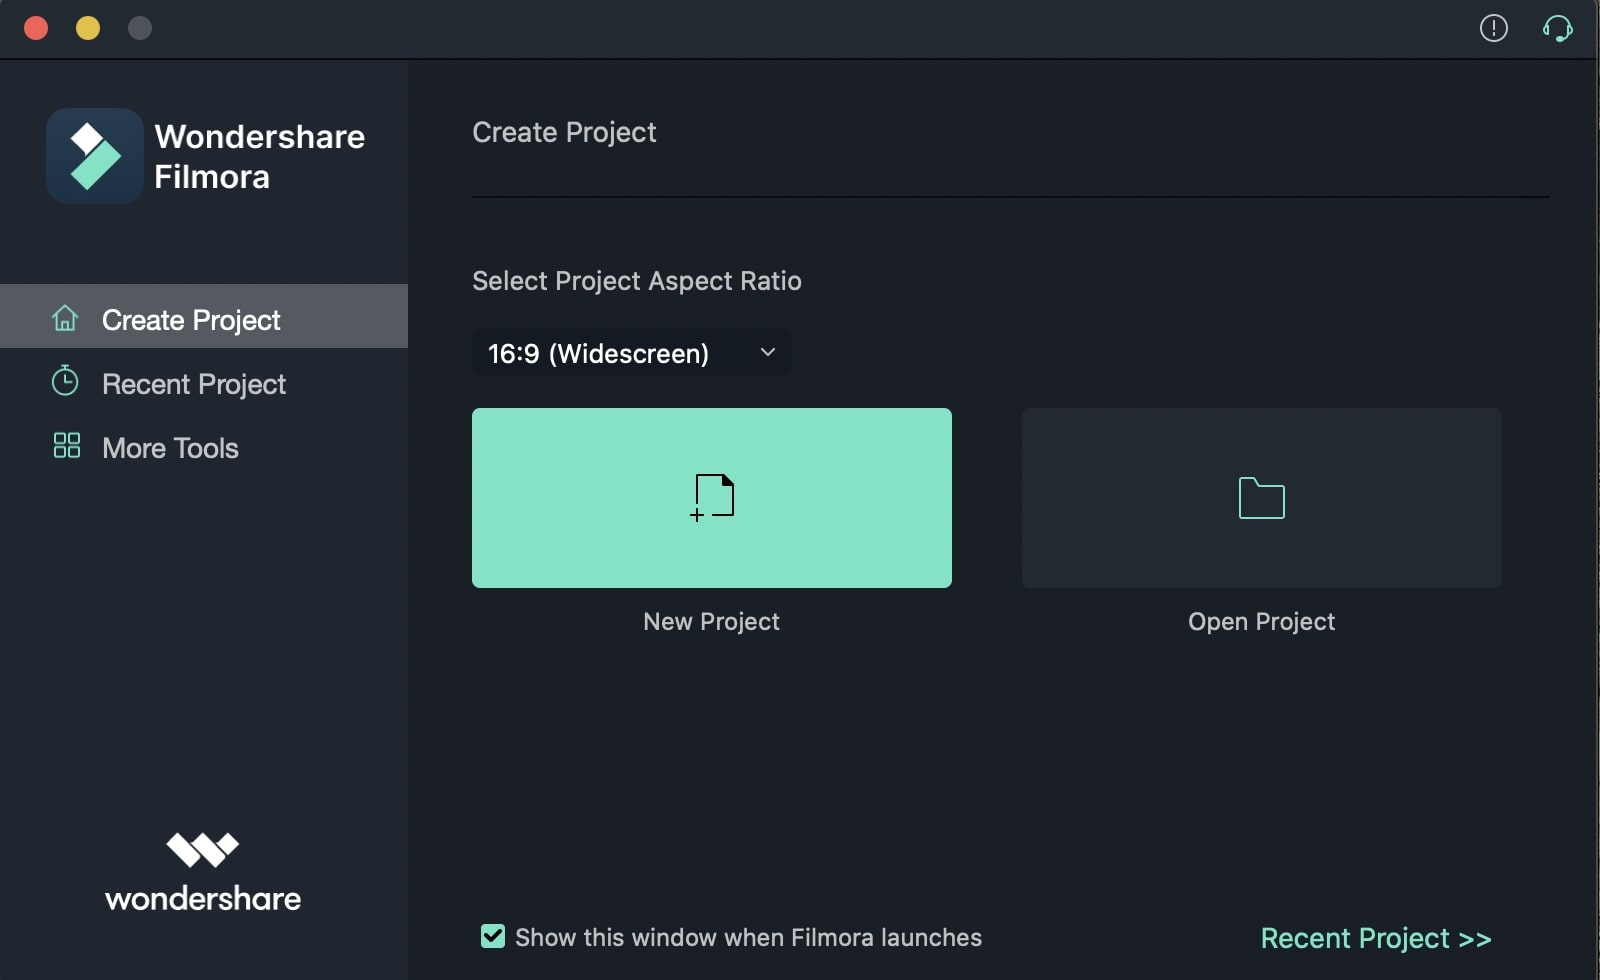
Filmora Video Editor comes in two versions, one which is a trial version with limited options, however, the Full version will cost you $44.95. Download and install the latest version of Filmora Video Editor on your Mac. Download the version from the link give below. After downloading, copy it to the "Applications". After successful installation, open the Filmora Video Editor and you will be asked to select for "Wide Screen" or "Standard". Once you have set the version, you will be shown the main screen of the Filmora Video Editor.
Step 2. Starting a New Project
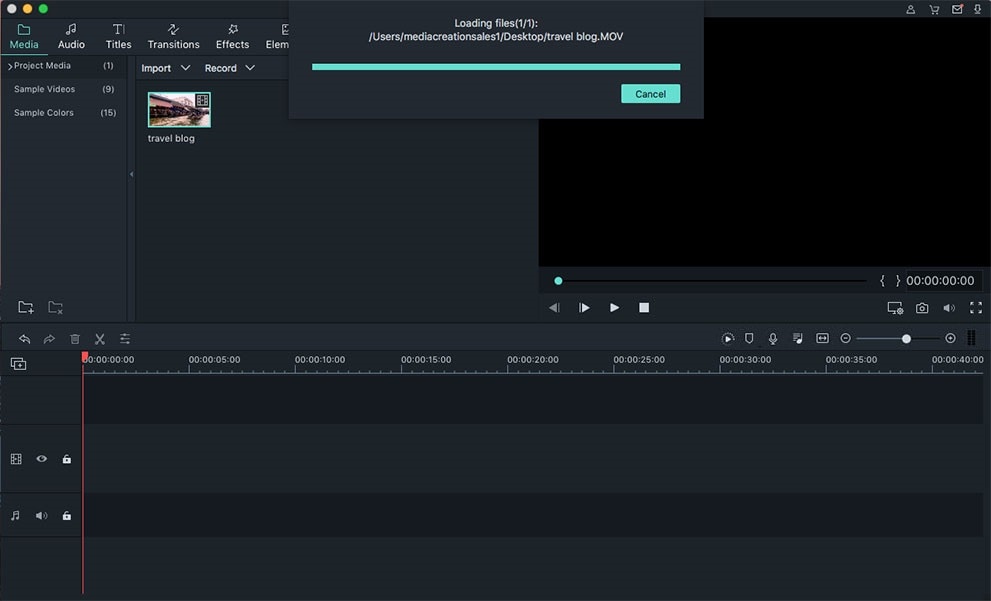
Starting a new project on Filmora Video Editor is pretty much simple. all you have to do is import the video files, audio files or images and start the project. Click on the "Import Media" to import any kind of media files. It will open the explorer from which you import your files, select the files that you want to import and click on "Load" to import the video file.
Once the files have been successfully imported, you can move the files to the editing area to start the editing process. Simply click and hold and move the cursor to editing area.
Step 3. Editing Video
There are different tools to edit the video from the basic level editing to the professional level editing. The basic level editing tools include the crop, delete, and voice over, rotation changer, power tools to adjust brightness and contrast ratio of the video.
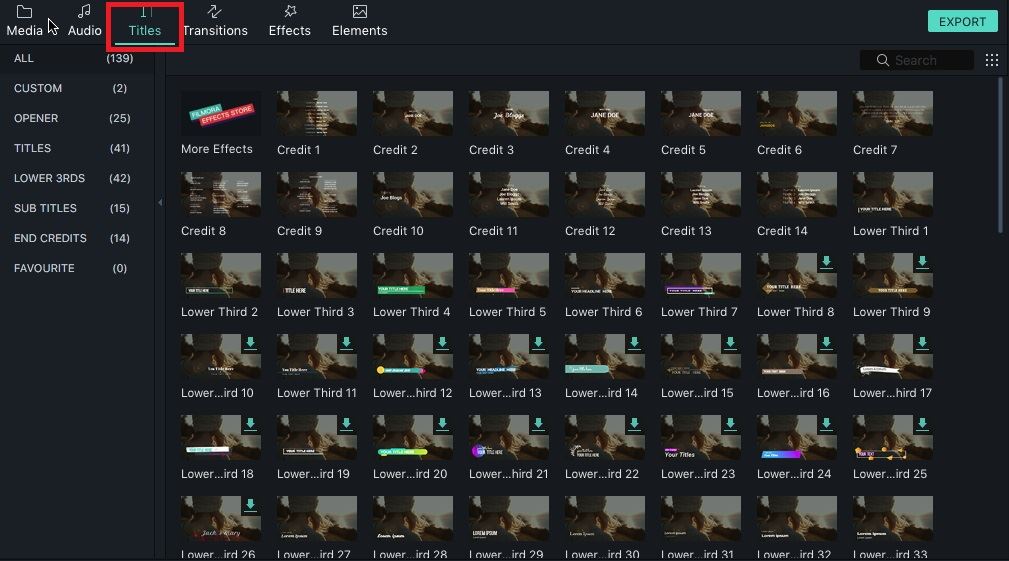
You can also add text from a variety of text styles already present in the software, simply click on the "Text" button in the left panel as shown in the screenshot. Some styles are pre-embedded, however, for others you can click on "Download" button to download them. Drag the style in the editing area of the video to apply that style.
To apply different filters on the video, click on "Filter" button just below the text. Drag that specific filter to the editing area to apply on a specific point on the video.
Similarly, you can add picture in picture effect by clicking on the button just below the "Filters" and there are plenty of "Transitions" available to apply on the video.Step 4. Export the video
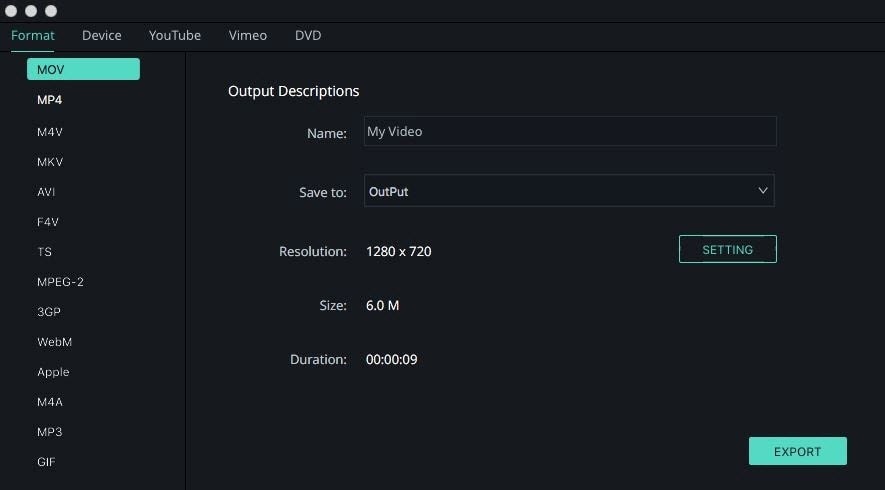
Once you have edited the video, you can export the videos by clicking on the "Export" Button just below the preview of video. Here, you will be find different options to select from, you can either click on "Create" to save the videos or select a social media to upload the video.
Part 3. Comparison of Windows Movie Maker and Filmora Video Editor:
|
|
Filmora Video Editor |
Windows Movie Maker |
|---|---|---|
| 1. | User-interface is very neat, easy to use, works pretty well whether you are an entry level video editor or a professional | Interface is clean but isn't as easy to use as it seems. Very limitation and doesn't work well if you are professional editor. |
| 2. | Preset Text Style, One click handling | There are no preset text style, you will have to do all the work manually. |
| 3. | A vast variety of animations and without time limit for animation | Only few animations available and it can be set only for a second or two |
| 4. | Can apply Visual Animations to a specific portion or the whole video. Apply different animations on the different portions of the same video. | Only one animation is applied at one time and it will be automatically applied to the whole video. No option to set. |
| 5. | Save videos on DVD to watch them on TV | Won't let you save videos on DVD |


