The modern digital cameras offer an option of transferring video and photos from the camera to your hard disk drive by the use of a USB cable that is usually delivered with the camera as an essential accessory. Some camera which does not offer the facility of the USB cable, provides another way of connectivity like 1394 FireWire. By using USB cable and 1394 FireWire, you can transfer video and photos to your computer's hard drive for editing or burning camera to DVD for watch on TV.
Transfer Camera Videos and Photos to Computer
The process of transferring camera video and photo files is so simple that can be described only in steps:
- Connect the camera by using the connecting cord supplied with camera. Connect the other end of cable to the PC USB port. For some cameras that use a card to store media files, you can pull out the card and insert into a card reader in your computer.
- Your camera or card will appear as a device in your computer.
- Transfer the video or photo files like regular files, just copy and paste.
How to Burn Camera Video and Photos to DVD
Now suppose you have transferred video and photos from your digital camera to your hard drive. Next you need a DVD creator to burn camera video to DVD so you can play it on a DVD player.
There are many types of software that are available in the market for this purpose, but we should consider such software that is easy to use and also maintain the quality of video and photos. One such software is iSkysoft DVD Creator for Mac (and iSkysoft DVD Creator for Windows). Below I'll show you how easy it's to burn camera video and photos to DVD disc, DVD Folder or .dvdmedia file on Mac (OS X EL Capitan included).

Steps to Burn Camera Video and Photos to DVD
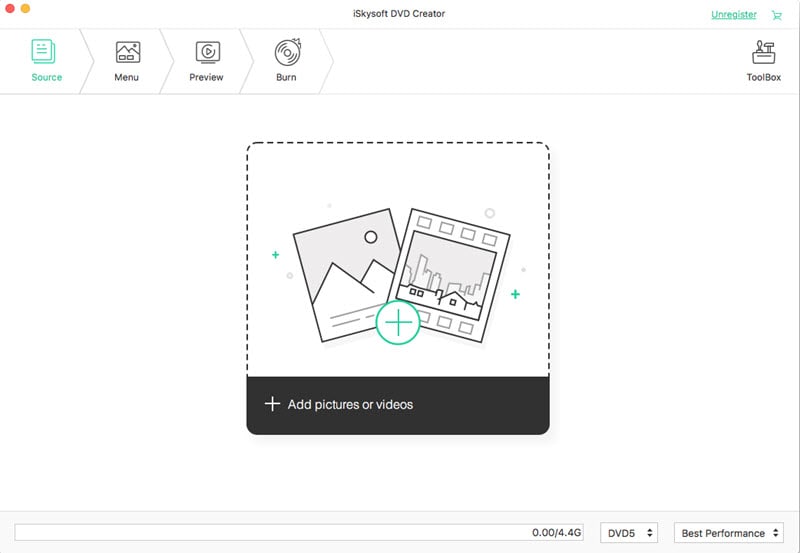
Step 1: Import camera files into DVD Creator
When the installation complete, import whatever you want in your computer. Whatever your camera brand and model is, no conversion is required. There are two ways to do so. One is to drag the target files directly into the program, the other is to click the "+" button on the right of primary window.
Note:All the photos in one import will be combined into a slideshow without transition. However, you can easily personalize it by clicking the Edit button. In the window that appears, you can change the transitions, add captions, and drop background music. All brings a good looking slideshow in front of you.
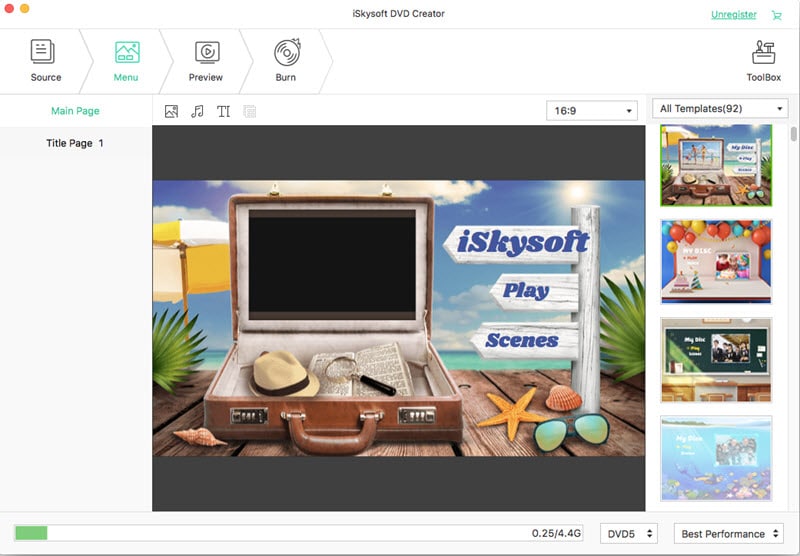
Step 2: Make a personal DVD menu
A DVD menu is crucial to organize your camera video and photos for easy navigation on TV. The default DVD menu will be used. To change to another DVD menu, just switch to Menu tab and select your favorite one. You can either disable it by selecting No Menu at the end of list. It's also possible to personalize you DVD menu by adding titles and specifying background music.
Step 3: Start to burn camera to DVD
Now it's time to transfer camera content to DVD. Four options are available: DVD Disc, ISO file, DVD Folder (Video_TS) and .dvdmedia file. If your DVD player supports VOB, select DVD Folder. Otherwise, DVD Disc is the option for regular DVD players. .dvdmedia can be easily played on Mac and can be burned later to DVD with DVD Creator for Mac. Here just choose the output option you want and set proper output parameters to start burning camera video and photos to DVD.
Note: This Mac VD Creator lets you save project file, which can be opened later to continue editing or burn to DVD.
DVD Creator is the only software you need to burn camera to DVD. It's the perfect and must have for you. With it, you can only burn video to DVD, but turn camera photos to an intuitive slideshow playable on DVD player. Go and buy it, you are not going to be disappointed by its performance. The software also provides various advanced features like cropping editing etc. which is handy to touch up your camera video and photo to be presented on TV.
Video tutorial on how to burn camera to DVD on Mac (OS X EL Capitan)


