"Can I burn iMovie to DVD without iDVD?" Mac users would like to use iMovie to edit videos and burn to DVD with iDVD. However, when it turns to burn iMovie video to DVD, iDVD no longer exists for Mac OS X since Lion. So how to burn iMovie to DVD for storage or playkback on DVD player? No worries! Here is the easiest way to export iMovie 10 videos and burn to DVD in high quality.
How to Export and Burn iMovie to DVD

To burn iMovie to DVD on Mac (macOS High Sierra included), the newly designed iSkysoft DVD Creator for Mac is the great helper, allowing you to save your iMovie masterpiece to DVD disc in high quality. It has a brand new user-friendly interface; the workflow is clear; and most important the video quality makes you really satisfied. Now burn your iMovie video to DVD in no time so you can send copies of your awesome creation to your family and friends. You can also take this DVD creator and burner to edit videos or make photo slideshows. (For Windows users, you can use iSkysoft DVD Creator for Windows.)
Why Choose DVD Creator for burning iMovie to DVD

Steps to export and burn videos from iMovie to DVD quickly and easily
Step 1. Export video from iMovie 10 project
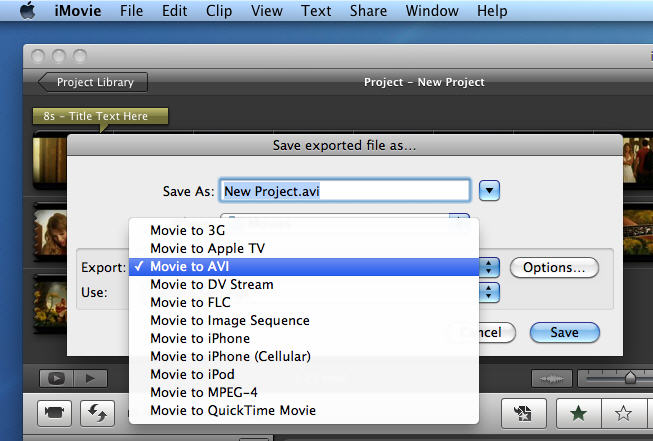
To burn iMovie 10 video to DVD, first you need to save video from iMovie project to your Mac's hard drive. To do so, go to Share > Media Browser and select a destination folder in the window that shows up.
Note: You can also directly upload iMovie video to YouTube so that your friends and family can view them on YouTube. However, it's not a good choice if you don't want all the people to see your video.
Step 2. Launch DVD Creator
After exported video form iMovie project, open DVD Creator.
Step 3. Import iMovie video into DVD creator
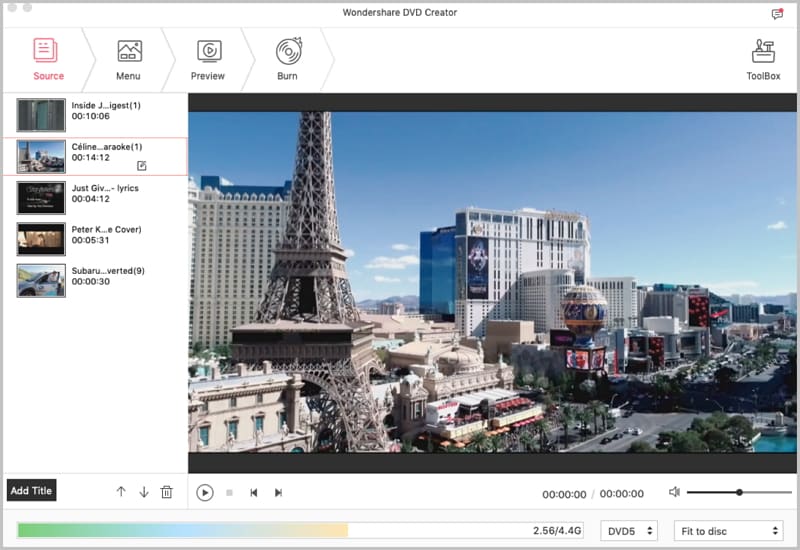
Import all the iMovie video files you want to burn to DVD disc. Two ways are for your choice: One is to directly drag iMovie files into this iMovie to DVD converter, the other is to click the "+" button in the primary window, and choose iMovie video from the folder you've exported iMovie video to.
Step 4. Make a personal DVD menu
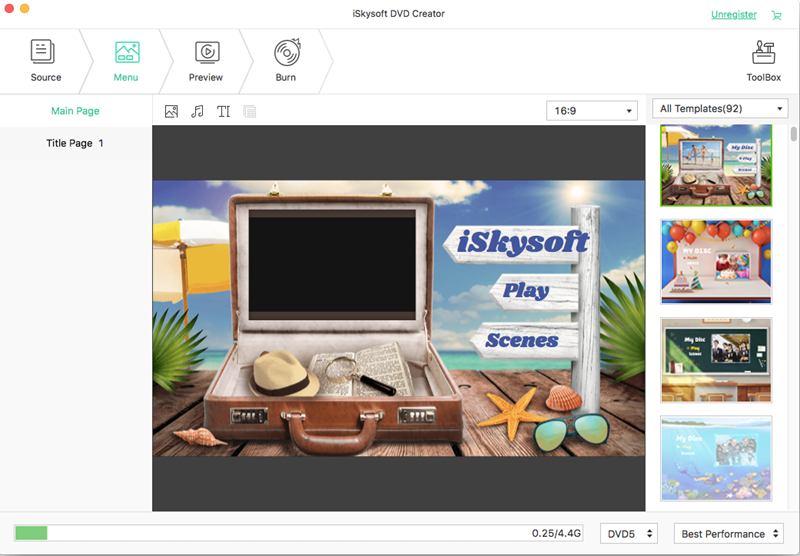
You can skip this step if you don't mind the DVD menu. A DVD menu will be applied to your iMovie DVD movie by default. You can also disable it by selecting No Menu at the end of template list. Various options are also provided to help customizing your DVD menu, like adding titles and specifying background music.
Step 5. Start to burn iMovie to DVD
Preview your DVD movie anytime you want by clicking the Play button at bottom. Once you're satisfied with your DVD movie, click the Burn button to continue. In the window that appears, give a name to the movie and select the right TV standard. Lastly, click the Save button to start the burning process of converting iMovie to DVD disc.
Once you have burned your iMovie project to DVD, you may choose to save the original DVD project to hard drive so that you can edit later. If you've sent the iMovie DVD disc to others, you can burn it for more copies anytime you want. If you select to save iMovie video to DVD ISO format, you can even burn it on Windows platform because ISO is supported by most DVD burning software like Nero (Nero has no Mac version, through).
Video Tutorial on How to Burn iMovie Project to DVD
The Best iMovie Alternative - Filmora Video Editor
Filmora Video Editor for Mac (or Filmora Video Editor for Windows) is the best iMovie alternative for you to edit videos and burn video to DVD. It is an easy-to-use video editor with advanced editing tools best for beginners and professionals.
Why Choose Filmora Video Editor:- Edit videos, audio and photos in any format.
- Easy-to-use editing tools including trim, crop, join and split.
- Best for video enhancement to adjust video parameters.
- Beautiful effects to personalize your video.


