We shot videos on iPhone and want to burn iPhone video to DVD for storage. iPhones have become popular with users of all ages, and many of us want to switch to the new iPhone 7, iPhone 6 and iPhone 6 plus. Now, it is only natural that people would want to burn DVD from their favourite iPhone videos since the iPhone storage is limited. For this reason, it is very important to have an effective method of transferring videos from iPhone 7 to DVD.
DVD is a format that can be played on DVD Player hardware or the computer's drive, but the iPhone videos are saved in different format. Usually you need to convert iPhone video to DVD compatible format and burn to DVD disc, respectively. Fortunately, with iPhone 6 plus video to DVD maker like iSkysoft DVD Creator for Mac (and iSkysoft DVD Creator for Windows version), people don't have to look for multiple software tool to convert iPhone video and burn video to DVD. Instead, you can just drag and drop your iPhone to the application, apply a DVD menu and make some editing, and simply click to burn iPhone video DVD.
How to Transfer, Convert and Burn iPhone Video to DVD
DVD Creator is a good bet for anyone who is willing to burn iPhone video to DVD. To get a clearer idea about this, we have presented a step wise analysis of how to convert iPhone 6 video to DVD on Mac (10.12 macOS Sierra).
Step 1 Transfer iPhone video to Mac (OS X Yosemite included)
Plug your iPhone USB cable into the USB port of your Mac computer. Open iTunes to sync iPhone video to iTunes Library. Then you can directly import the synced iPhone video to the program. Alternatively, to avoid the complex syncing with iTunes, you can use the iPhone 6 video to Mac transfer to process the syncing in a few clicks.
Step 2 Import iPhone video into the program
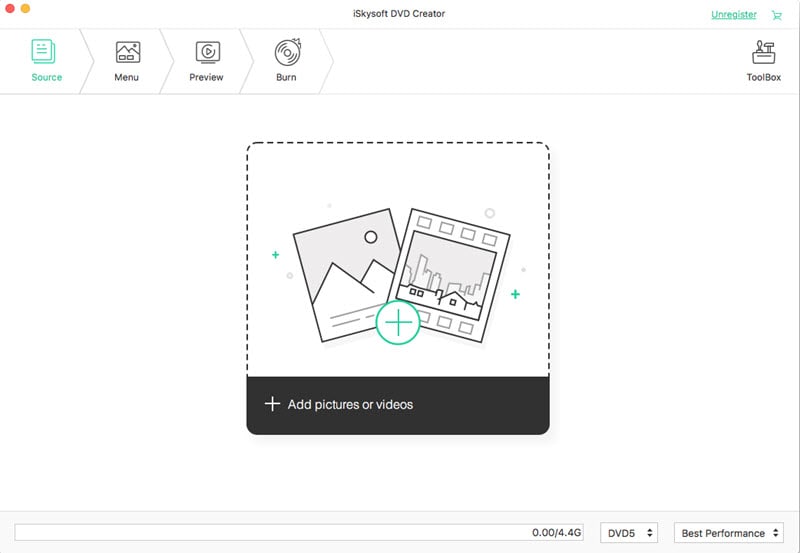
Launch iPhone 6 video to DVD creator for Mac (Yosemite). Open the Media Browser by clicking the button at the bottom left corner. Then locate iPhone videos in Media Browser and drag and add those iPhone videos to the primary windows of this DVD Creator for Mac (Yosemite).
Another way to import iPhone video is to click the "+" button and select files from iTunes Library location (Usually /Users/YOURCOMPUTERNAME/Music/iTunes/iTunes/Media).
Note: This DVD creator support batch burning. So you are able to import multiple iPhone videos and burn them into one DVD. You can easily rearrange added iPhone video files by dragging and dropping, or through up/down buttons on top.
Step 3 Make a personal DVD menu
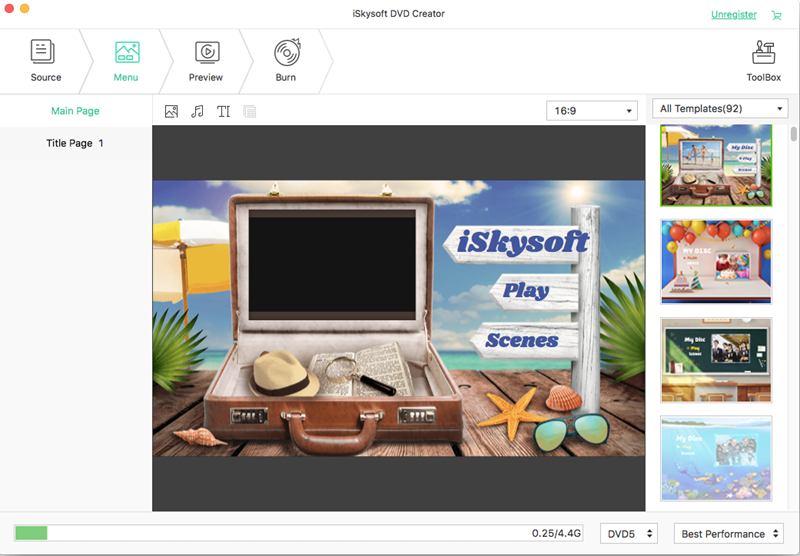
The default DVD menu will be used. To personalize it, you can add titles and specify different background music. To disable DVD menu, select No Menu; To change DVD menu, click any DVD menu template you want in the list.
If there is any such need, DVD Creator allows you to edit the iPhone videos that you wish to convert. Several videos often contain portions that one may not want in the DVD. These can be cut out and customised.
Step 4 Start to burn iPhone 6 video to DVD on Mac (macOS Sierra)
When finished settings, click the Burn button to continue. DVD Creator has 4 output options: DVD Disc, ISO file, DVD Folder (Video_TS) and. dvdmedia file. Choose your options and click OK to start burning your iPhone files to DVD.


