Contents
- 2. Create DVD Menu on Mac
Want to create DVD menu on Mac (macOS Sierra) when burning videos to DVD? Look no further! Here I introduce to you iSkysoft DVD Creator for Mac as the best DVD menu creator for Mac (including 10.13 macOS High Sierra). It provides a simple and efficient solution to DVD menu creating. With a minimal user interface yet powerful functionality, it not only can help you create the most stylish DVD menu but also allows you to convert between a wide range of media formats for the purpose of DVD burning. And the variety of ready-use and awesome menu templates enables the most inexperienced user to create a distinguishing DVD menu in no time.
Why Choose the DVD Menu Maker
Burn Various Formats
Burn DVD from any video formats like MOV, 3GP, 3GP2, FLV, VOB, DAT, TS,MPA, MPG, MPEG, MP4, M4V, TP, TRP, M2TS, AVI, etc.
Burn Web Videos
You even can burn DVD with videos from YouTube, Dailymotion, Facebook, Vimeo, and more. Also burn videos from Cams, Phones or other devides.

Free DVD Menu Templates
It provides you with manu dynamic and static DVD menu templates. And you even can download more free DVD menu templates.

Create Photo Slideshow
This powerful DVD menu creator also allows you to make photo slideshows and burn the slides to DVD easily.
How to Create DVD Menu on Mac in Easy Steps
In the following guide, I will show you how easy and convenient it is to DIY your own DVD menu on Mac with this DVD menu maker. Before we proceed, please download and install iSkysoft Mac DVD Menu Creator.
Step 1
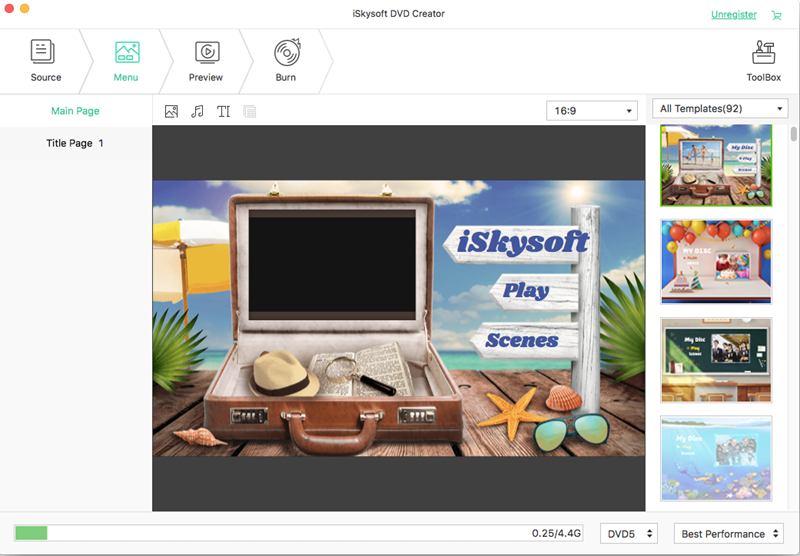
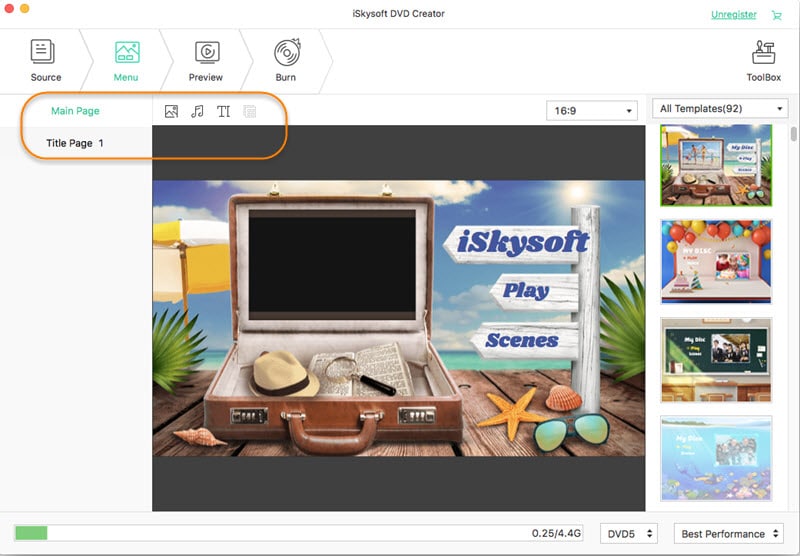
Select a DVD menu. Go to the DVD menu interface and choose the "Menu" button on the right bottom to open the menu editting window. Select either a static or animated template from an array of preinstalled templates as the below picture shows.
Double click your favorite template, then the template will appear in the left panel for previewing. If there are not enough template titles for your video files, DVD menu will be split into multiple pages automatically.
Step 2
Customize animated DVD menu. If a dynamic template is selected, how to further customize it?
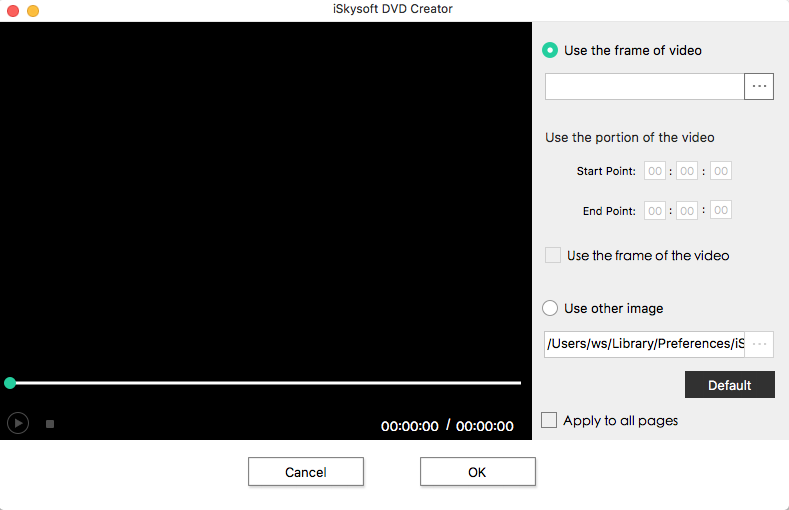
Select a video and click the gear icon below the video to choose a thumbnail for your DVD menu by dragging the slider or set the exact time with the up-down list. Plus, you can also set the image still if you like. When setting is done, you can preview the edited effect in real time.
Step 3
Edit static DVD menu. It is more flexible when it comes to editing static template. You can customize such objects as play button, video name, frame and background image of the DVD menu.
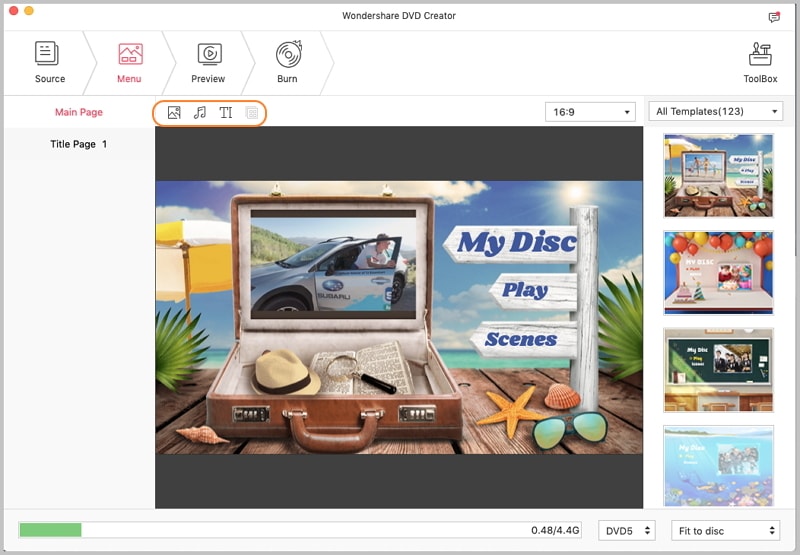
On the top part of the window, you can find items like "Button", "Frame", or "Text" to edit. To customize the frame and play button, select your favorite template by double clicking one of the existing templates and apply it in your DVD menu. When it comes to personalizing the video name, it allows you change not only the title, font format, and size, but also the size in the “Text” editing interface.
Step 4
Customize DVD menu background. In case of static menu, it even allows for customizing the menu background. Click the gear icon and drag your favorite image to the background setting areas to replace the DVD menu's background.
When all is done, don't rush to burn it to a DVD disc or save it right away.Instead, yo can preview your work to make sure that you get what you want. If it is not up to your expectation, continue to customize until you are 100% satisfied.
Note: if DVD menu matters nothing for you, you can choose no menu in the Static Menu list, and the videos burned in DVD will be played one by one in this case.
Step 5
Burn DVD. You can convert to sorts of DVD Disks: DVD–5 and DVD–9; DVD-R, DVD+R, DVD-RW, DVD+RW, DVD+R DL, DVD-R DL, DVD-RAM
Then burn your DVD: click "Burn" button to set burning settings and burn your DVD to DVD, DVD Folder or ISO File.
After finish burning, just enjoy your DVD yourself or share it with your family and friends and tell them that it's your own creation DVD menu and your own stylish DVD!


