iLife is a software suite designed by Apple for organizing, editing, and publishing photos, movies, and music. iDVD is considered as the last step to burn creations to DVD. It allows you to burn QuickTime movies, MP3 music, or photos to DVD for play on home DVD player. It's a must-have tool for a Mac user. Unfortunately, iDVD doesn't work on Windows platform, including Windows 7, Vista, XP and all. What you need is an alternative program to iDVD for Windows platform. Here is the best solution for you.
As well-known DVD creating software, iSkysoft DVD Creator for Windows is highly recommended as an iDVD for Windows alternative. It's the stable application you can count on with user-friendly interface, easy-to-use feature, and broad format supports. Compared to iDVD's limited video support, DVD Creator enables you import any video/photo/music without conversion for editing and burning to DVD in no time. Download the best iDVD alternative for Windows now for a free trial. To help you get started quickly, I'll show you how to use this equivalent to iDVD on Windows.
Why Choose iDVD for Windows
Burn Any Formats

Burn videos in MOV, WMV, VOB, M2TS, F4V, MP4, AVI, FLV, M4V, MKV, 3GP, and more to DVD in a few clicks.
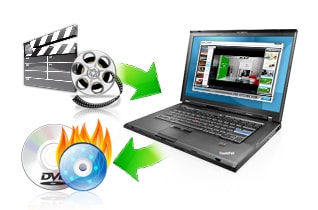
Burn Online Videos

Burn YouTube, Google, Facebook, Vimeo, Dailymotion, and more videos to DVD. Also burn any home movies to DVD.
Burn High Quality DVD

You are able to burn any videos to DVD with high quality at a super fast speed.
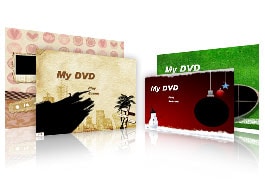
Personalize DVD

Edit video with built-in video editor and choose free DVD menu template for your DVD.
How to Use iDVD for Windows Step by Step
Step 1
Import video/photo files. When installation complete, launch DVD Creator by double clicking icon on desktop. In the primary windows, click the "Import" button to load media files to the program. It supports all popular video formats such as MOV, AVI, MKV, WMV, FLV, MP4, MKV, MPG, MTS, etc. On the left, you can easily arrange video or photo files by dragging and dropping.
Step 3
Preview and start to burn. Click the play button in the tool bar, and a standalone preview window will open. There you can have a look your entire DVD movie in real-time. Turn back to make changes it whenever you want.
Lastly, click the "Burn" button at bottom to choose the output file format and location. After all settings are done, click the "Start" button and the iDVD for Windows alternative will start burning movies to DVD.
Video Tutorial on How to Burn DVD with iDVD for Windows
Tips: More you can do with iDVD for Windows
1. If you drag multiple photos and or folder containing photo files, a photo slideshow will be created automatically, and is ready to burn to DVD disc. To customize your slideshow, click the Edit button next to the slideshow thumbnail.
2. At the bottom of the primary window, choose D5/D9 disc you would like to burn to and set the resolution.
Part 2: Burn iDVD Project on Windows?
Since iDVD doesn't support Windows system, it's possible to burn an iDVD project on Windows with DVD burner? Yes, but there is some tricks. Do the following:
1. When you have finished your iDVD project, go to File > Save As Disc Image.
2. When complete, a disc image (.img file) will be created in your selected location.
3. Double click the img file to mount it to your Mac so that you can see it in the Finder.
4. Go to Application > Utilities, and open the Disk Utility application.
5. On the left hand side of Disk Utility, you should be able to see your disc image.
6. Select the image and then click on the Convert button.
7. Select "CD master .cdr" from the drop down menu.
8. Move the new .cdr file to your PC by a USB stick or Dropbox. Once on your PC, change the filename extension from .cdr to .iso.
9. Since ISO is supported by almost any DVD burning software, you can easily burn it to DVD disc on your PC. Note that DVD Creator for Windows doesn't support ISO format. However, iSkysoft Video Converter Ultimate DOES support.
Some people are crazy for iDVD's fantastic looking menus. This is a different way to use iDVD on Windows.


