Part 1: An Easy Way to Burn iMovie Projects to DVD on iDVD
To burn iMovie projects on Mac (including new Mac Lion, Mountain Lion and Macericks), I highly recommend you to use iSkysoft DVD Creator for Mac, which is designed as iDVD alternative and can help you to meet your needs of editing video and burning DVD. If you are having trouble on editing your video on iMovie and finding ways to transfer the video to iDVD for burning, why not just try this all-in-one DVD burner.
Why Choose iDVD Alternative
Support Various Formats

Burn DVD from any video formats like AVI, WMV, MKV, MP4, FLV, 3G2, MOV, MTS, VOB, F4V, MPG, MPEG, TS, 3GP, M2TS, TRP, DAT, MKV, M4V, TP, ASF, etc.
Burn Online Videos

Support burning videos from YouTube facebook, Dailymotion, Google Videos, Vimeo, Facebook Videos to DVD. Also burn videos from Camera, Phones or other devides to DVD.
Diversified DVD Templates

Provide a variety of DVD templates that let you personalize your DVD with the right DVD themes. Also support DVD standards like DVD–5, DVD–9, and more.
Make Photo Slideshow

Import any photos to this powerful DVD creator and make photo slideshows with greate background music, then burn photo shows to DVD.
How to burn iMovie projects with alternative to iDVD
Step 1
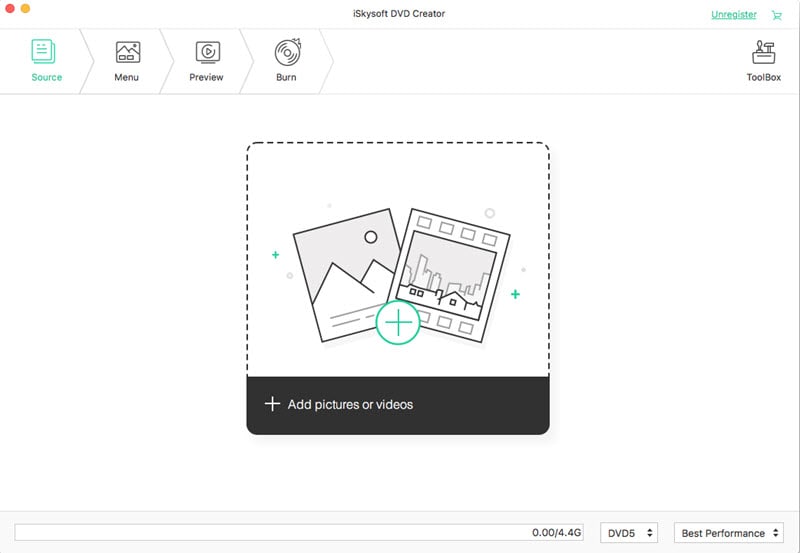
Import video to this DVD Creator. When you have installed the creator on your Mac, launch the program. And click the “+” button on the top right corner of the primary window to open file browser. Select the video you want and import it to the program. Alternatively, you can directly drag and drop the video file to the program dock, and the file will be loaded immediately.
Step 2
Edit your video. This DVD tool has similar features as iMovie for you to personalize your videos before burning. To do so, you can click on the video, and you will see an “Edit” button on the right side of the video thumbnail. Click the button to go to edit window.
Click the “Crop” button, you can set the “Height” and “Width” of your video. You also can click the “Trim” button to remove any part of your video. If needed, you can add effects to your video to make it more attractive.
Step 3
Select a menu. This creator provides you with diversified menu templates. You can click the “Menu” button to show menu list, and double click your desired menu to apply it to your video. Then click the “Preview” button to check the video.
Note: If you are not satisfied with the existing menus, you can click the “More Templates” option to download menus.
Step 4
Start burning DVD on Mac. If everything is OK, insert a blank DVD disk to your Mac. And click the “Burn” button to open the output settings window. Then check the “DVD Disc” option and click the “Save” button to burn your video to DVD.
With the help of this DVD creator, you can edit and burn any of your video to DVD but no need to export iMovie to iDVD anymore. Just try it out.
Part 2: How to Export iMovie to iDVD
If you are working on the latest version of iDVD, you can follow the below simple steps to export iMovie projects to iDVD:
Step 1: When you have finished your project on iMovie, share it to the theatre, save it as a file in your iMovie Folder.
Step 2: Launch iDVD, for projects in theatre, click Create a New Project in the main interface. If the files are saved in iMovie Folder, go to the File menu and select Magic iDVD option.
Step 3: Click the Movies tab and select the project you have just finished, and then drag the iMovie project to the area saying "drop movies here". Then you export iMovie to iDVD.
Step 4: Lastly, click the Burn button to start burning.


