“I have several video footages with my family moments taken by my new Mini DV. The question is how can I turn my videos from Mini DV into DVD, so that I can watch them on my big screen TV with the DVD player?”-Lisa
If you have got the same question, you are lucky to find solution in this article. Here I will share some useful tips on how to convert Mini DV to DVD on Mac. To do the conversion, I highly recommend you to use an easy-to-use iSkysoft DVD Creator for Mac (and iSkysoft DVD Creator for Windows version is also available).
This Mini DV to DVD converter supports converting any video format like MTS, AVI, MOV, MPEG, MP4 and more to DVD disc, so you can meet your diversified conversion demands. If you want to make your family video more attractive, you can use its built-in video editing tools to personalize the video by trimming, cropping, or adding effects. To make your own DVD collection, you can apply impressive menu template for your DVD from individual menu list. Just follow below step-by-step guide to start the conversion.

How to turn Mini DV video to DVD disc easily
Step 1: Download and install the converter
Click above download link for the program. After you finish downloading the .dmg file, double click the file to open the installation window. Then follow the prompts to set up the converter. After that, drag the program icon to the “Applications” tab to save it on your Mac hard drive.
Step 2: Import Mini DV video to the converter
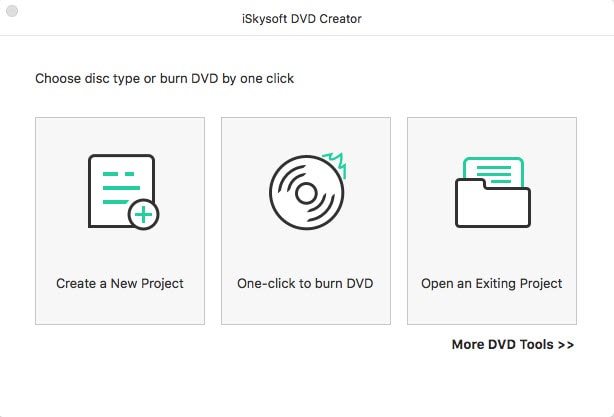
Run the program, and click the “Create a New Project”. Then you will have three options to import Mini DV videos to the program.
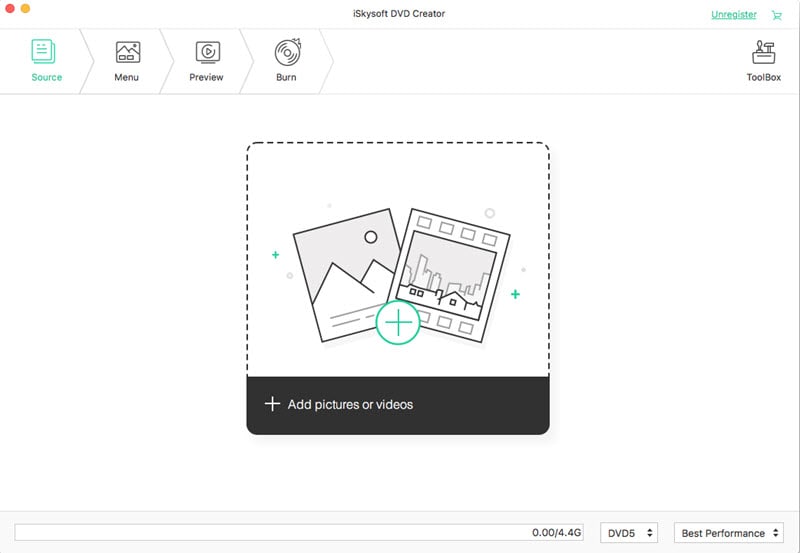
- 1) Click the “+” button to open the folder where you have saved the video and select the file to import to the program.
- 2) Directly drag and drop the video to the converter, the video file will be loaded immediately.
- 3) Click the “Media Browser” button to open the built-in browser and find the video you want, then import it to the converter.
Step 3: Edit your Mini DV video (Optional)
Click on the video file, you will see an “Edit” button on the right of the video thumbnail. Just click the button to go to the editing interface. To make your family video more eye-catching, you can trim the part you do not want, or add video effects on it.
Step 4: Start the Mini DV to DVD conversion
Now click the “Menu” button to show the menu templates, you can double click the menu you like and apply it to your DVD. When everything is OK, insert a blank DVD disc to your Mac and click the “Burn” button to open the dialog for output settings. Then check the “DVD Disc” and click the “Save” button to start the conversion.
When you’re done, you can enjoy your family moment on DVD player anytime you want. Just take a trial.


