YouTube fans might want to download and burn YouTube to DVD, so that they can enjoy YouTube videos on DVD player or big screen platforms. If you are one of them, you will be lucky to find this article. Here we will show you an easy guide on how to download and burn YouTube videos to DVD on Mac (macOS Sierra) and Windows.
Part 1. Burn YouTube Videos to DVD on Mac(10.13 macOS High Sierra)

To convert YouTube to DVD on Mac, you should first get a YouTube to DVD converter for Mac. iSkysoft DVD Creator for Mac is the best Mac DVD burner to help you burn YouTube file to DVD movie on Mac OS X, Snow Leopard, Mountain Lion, Yosemite, and EL Capitan included. It also allows you to edit videos and set DVD menus before conversion.
Key Features of This YouTube to DVD Converter:
- Newly designed user-friendly interface.
- Create DVD from YouTube, Facebook, Vimeo, Vuze, and more other sites.
- Burn any video to DVD, including MP4, M4V, WMV, MKV, MOV, MTS, etc.
- Burn any recorded videos or family movies into DVD.
- Allow you to edit videos before burning to DVD.
- Provide 90+ DVD menu and templates to make your DVD unique.
Burn YouTube to DVD on Mac in an Easy and Fast Way
Step 1 Import YouTube Videos to DVD Creator for Mac
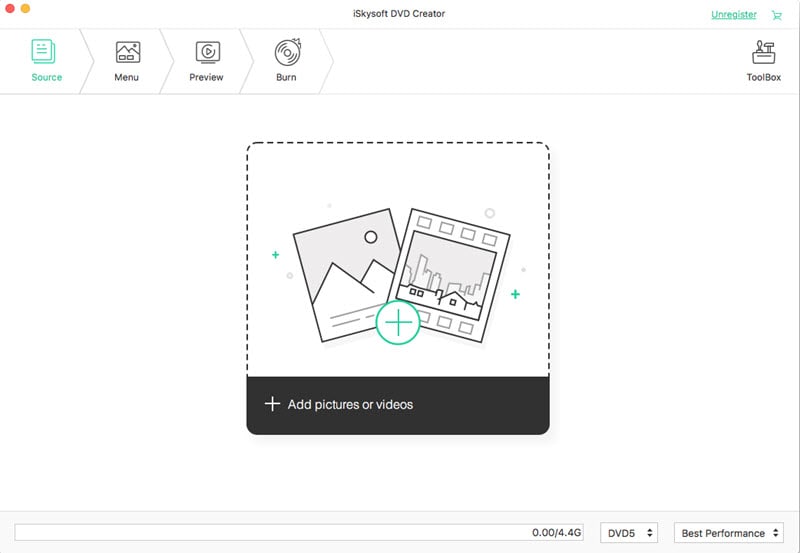
Drag the downloaded YouTube videos to the Mac DVD creator directly, or you can click the "+" button to add YouTube videos. If you want to download videos from YouTube, you can read part 3.
Step 2 Edit YouTube Videos (Optional)
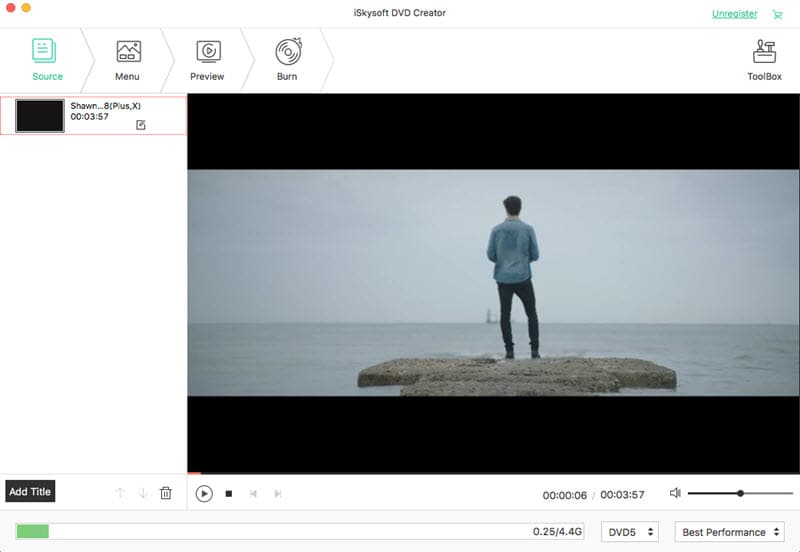
You can edit the videos by cropping, trimming, adjusting effects, adding watermarks etc. Moreover, iSkysoft DVD creator for Mac allows you create personalized menus for your DVD.
Step 3 Start to Burn YouTube to DVD
Hit the "Burn" button to burn video from YouTube to DVD on your Mac. After the burning process, you can enjoy YouTube videos on DVD players or send them to friends for sharing.
Part 2. Burn YouTube Videos to DVD on Windows

For Windows users, no worries, iSkysoft also provides DVD creator for Windows version. This DVD Creator for Windows software is much similar to the Mac version and is capable of burning a wide range of YouTube videos to DVD. It provides a large number of attractive DVD templates so that you can design your DVD and make it special. The simple and easy to navigate user interface makes it a breeze for you to burn YouTube to DVD without facing any difficulties or delays.
Windows Guide to Burn YouTube Video Files to a DVD
Step 1 Add YouTube Videos for Burning
After you download this YouTube to DVD burner for Windows on your PCs, a setup wizard will guide you to process the installation. When finish installation, launch the DVD creator. Click the Import button on top left corner of the main interface to add the YouTube videos you want to burn to DVD.
Step 2 Select a Menu for Your DVD
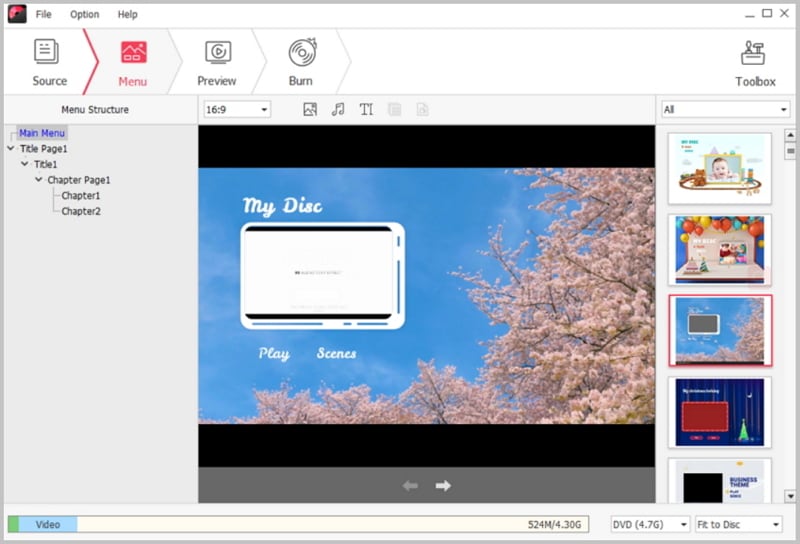
Go to the Menu Template on the right of the main interface, and then double click one of the menus to adopt it as your DVD menu. Or you can choose No Menu if you like.
Step 3 Start Burning YouTube to DVD on Windows
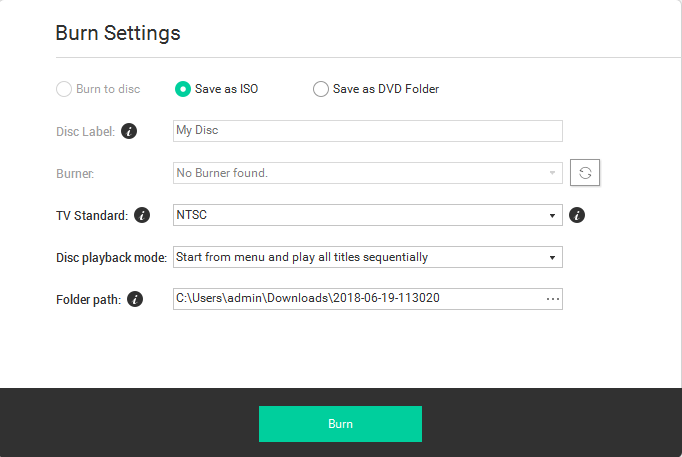
At the bottom toolbar, select a DVD type D5 or D9 and set the resolution. Then preview your DVD to check the effect. Last, click the Burn button to give a name to your DVD and choose the output format as well as destination. When everything is ready, click the Start button to start burning.


