There will be a time when you will require to delete files from iPad. There are a number of reasons why you may want to delete the files stored on your iPad. For instance, you may want to sell it and get the latest version or you may want to give it out to someone you love. There's no point of selling your iPad with all your files still stored inside. Removing unwanted data from your iPad protects you from modern day cases of identify theft.
In order to protect yourself from identify theft and other forms of hacking on your personal information, you need to learn how to delete files on iPad. Below is the detailed guide on how to do.
How to Delete Files from iPad to Protect Your Private Information
dr.fone (Mac) - Data Eraser (IS) (or iSkysoft dr.fone - Data Eraser (IS)) is the ideal program that uses a secure process to delete files on iPad completely. The program provides five data erasing options that enable you to complete the job thoroughly. The available options enable you to erase all private data, erase all deleted data, photo compressor options, express clean up, as well as the ability to erase all data and junk files completely. And it is able to speed up the performance of your iPad by removing all the junk files. The program has a compressor feature that enables you to free up disk space. This enables you to save more files and install more apps on your ipad that you normally would.
Steps on how to delete specific files from iPad
Step 1: Download, install and launch the program
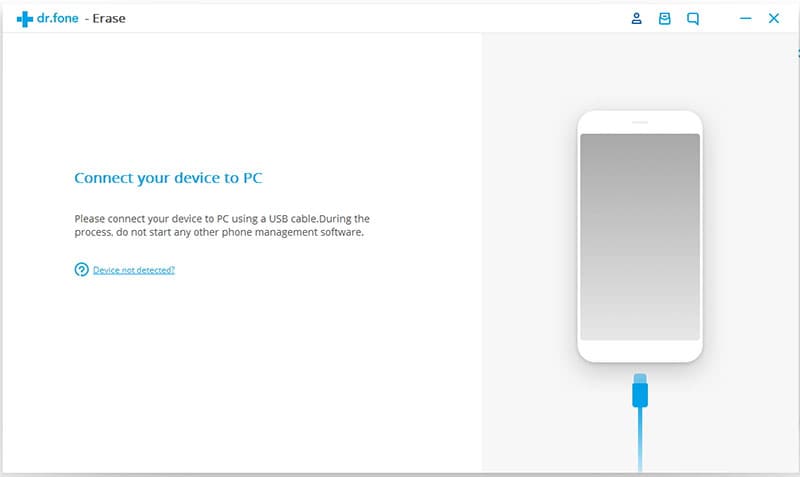
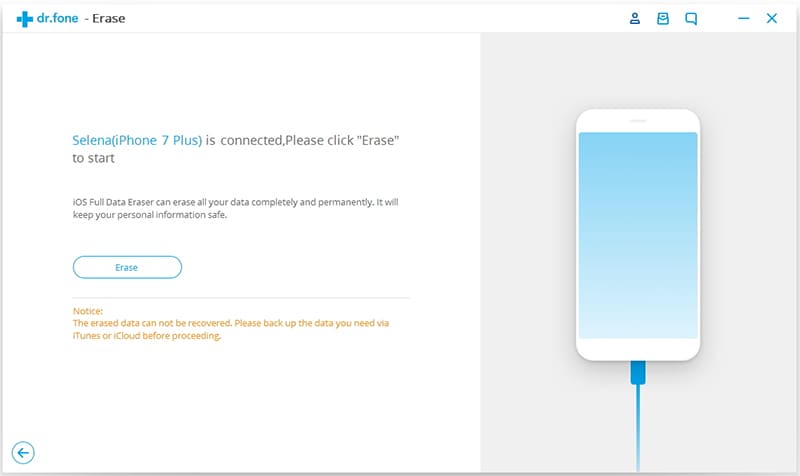
dr.fone (Mac) - Data Eraser (IS) is a lightweight program that doesn't take long to download and install. Once installed, launch the program and then connect your ipad to your mac using a USB cable. The software will detect the device and show the device information on the program window.
Step 2: Select a deletion mode
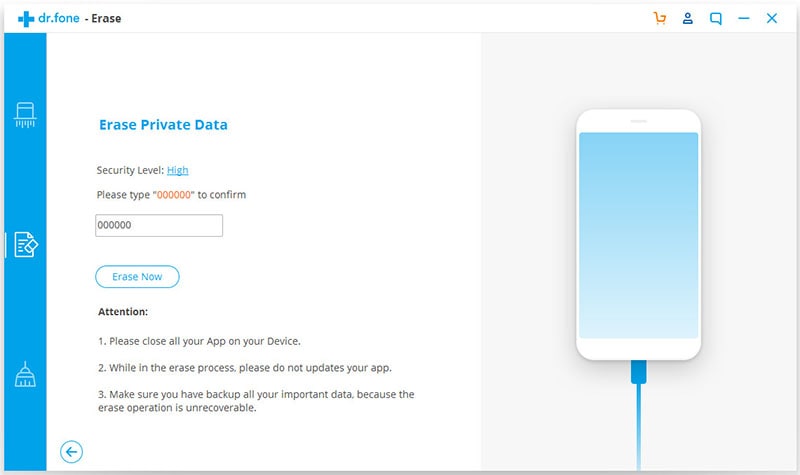
On the program menu, select the "Erase Private Data" mode and click on the start button. The data eraser will perform a scan of the entire ipad and list all the files for you to preview.
Step 3: Find the specific files to delete
After the scan is complete, go through the listed files and select the ones you wish to delete. Once you select them, click on the "Erase Now" button to start the process. A confirmation window will pop up. Simply type in the word "delete" in the dialog box and click "Erase Now". Once you do that, the specific data you had selected will be erased. Once the program is done erasing, you'll get a confirmation message indicating that the process has completed successfully.
Steps on how to delete all files from iPad
Step 1: Launching the data eraser tool
To begin this process, launch the dr.fone (Mac) - Data Eraser (IS) program. If you don't have it installed it on your mac, download it fast them install.
Once you launch the program, connect your iPad to your mac using a USB cable. The program will instantly detect your iPad and the files in the iPad will be displayed on the program user interface.
Step 2: Select "Erase All Data" mode
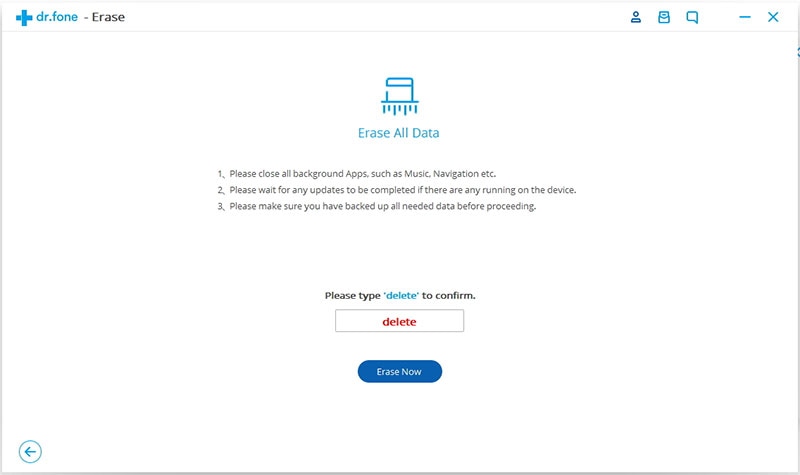
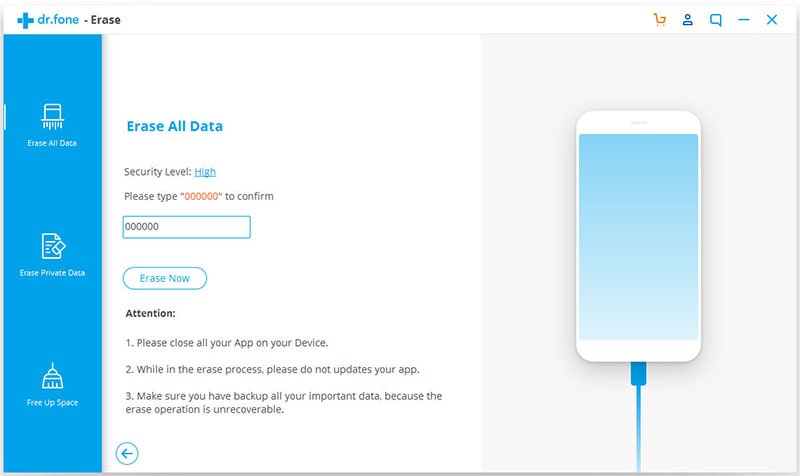
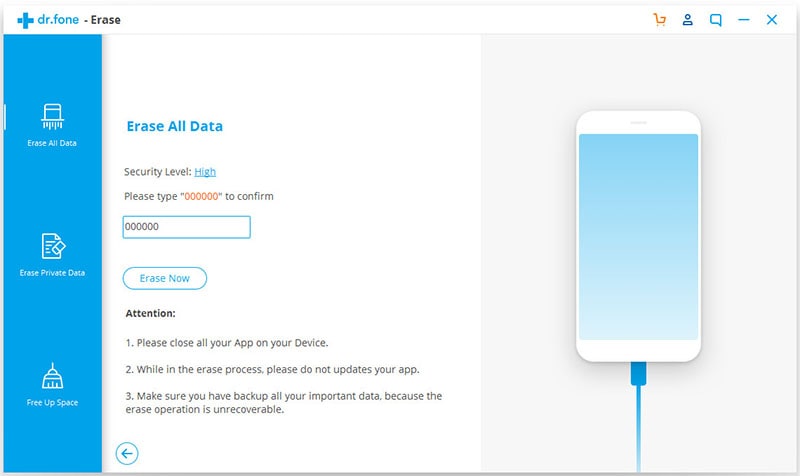
On the user interface of dr.fone (Mac) - Data Eraser (IS), you'll see a number of options. Select the "Erase All Data" mode, as this will enable you to delete all files from iPad. It will open a new window.
Step 3: Start deleting files from iPad
After you select the "Erase Now" option, type in the word "delete" in the dialog box that opens and this will be the confirmation that you want to erase all data on your iPad. As soon as the erasing process is complete, you will get a confirmation message in a new window showing that all the information in your iPad has successfully been removed.
Using this information, you now know how to delete files from iPad. dr.fone (Mac) - Data Eraser (IS) is a wonderful tool for removing unwanted content from your iPad. What's even better is that the software guarantees safe and secure data cleanup. Remember that once the information has been deleted, it cannot be recovered, thus protecting you and your information.


