Contents
- 2. Delete AV Files on iPhone
- 3.1 Delete Apps on iPhone
- 3.2 Delete Icons on iPhone
- 3.3 Delete Updates on iPhone
- 3.4 Delete App Store
- 4.1 Delete Contacts on iPhone
- 4.2 Delete Messages on iPhone
- 4.3 Delete All Email on iPhone
- 4.4 Delete Calendar Events on iPhone
- 5.1 Delete Downloads on iPhone
- 5.2 Delete Other on iPhone
- 5.3 Delete Everything on iPhone
- 5.4 Delete Info from iPhone
- 5.5 iPhone Delete Button Not Working
Sometimes you might want to uninstall some apps in your iPhone in order to free up some space to accommodate other apps or transfer some media files and documents to the phone. However, most people find themselves at crossroads whenever they try to delete an app completely from their devices. If you are looking for a definitive guide on how to delete icons from iPhone, you’ve just landed in the right place.
The remaining part of this text takes you through easy to understand guides on how you can do away with app icons that you don’t want on your iPhone screen.
How to Delete an Icon on iPhone
Note that this is a basic guide on how to remove icons from iPhone. If you want a more advanced method of permanently deleting all apps, move on to the second part of this article.
i).Start your iPhone and go to the home screen.
ii). Once you’re on the home screen, press the home button or simply touch the screen with all your five fingers and draw them in like a claw.
iii). Locate the app icon that you want to delete and press and hold it for a few seconds.
iv). All the icons on you device starts wobbling gently and a grey cross in a circle is placed besides each of them. Simply click on the cross next to the icon you want to delete.
v). On the dialog box that appears, press on the Delete option to confirm that you want to delete the app.
That’s it. The app will vanish from your iPhone as soon as you hit Delete Action.
How to Delete Apps on iPhone Easily
In the second part, we look at the easiest and the most effective method to permanently remove icons from iPhone. This is inclusive of all the app data. To accomplish this task, we need to use a program known as dr.fone (Mac) - Data Eraser (IS) (or dr.fone - Data Eraser (IS)). It is a program that has been developed to help prevent your personal data from being accessed illegally. The program employs US military data destroying techniques to completely erase all your personal data from your phone. This is far much better compared to the regular factory reset method which does not completely erase the data. This gives your data a high level of security.
Key Features of dr.fone - Data Eraser (IS):
- It allows you to erase your private data such as messages, browsing history, passwords, browser cache, and so on from your iPhone device.
- The program enables you to erase the already deleted files such that they become unrecoverable.
- It is also a space saver that effectively compresses your images, freeing up more space on your iPhone device.
- It also increases the speed of your device by cleaning it up and killing all the background activities.
Steps on How to Delete Apps on iPhone
Follow these steps whenever you want to erase all the apps from your iPhone easily and effectively. Note that the program does not require you to root your device or factory reset it.
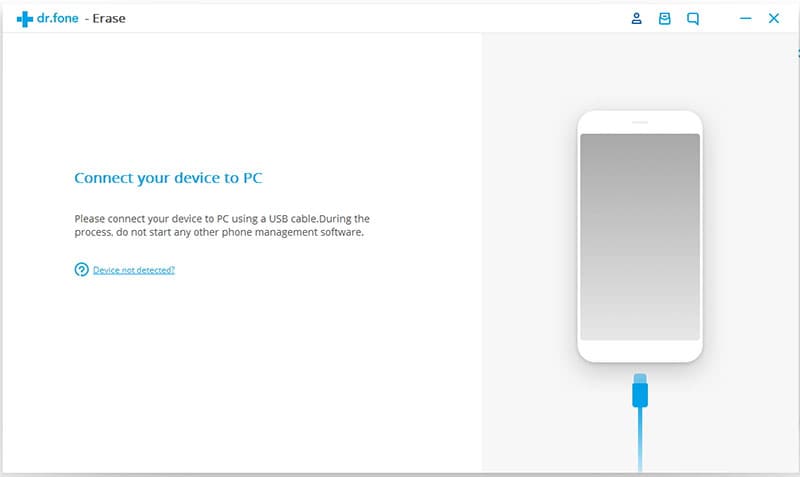
Step 1: Launch the program
Download and install the data eraser on your Mac or Windows PC. After the installation process is over, click on the program’s shortcut icon to launch it. This will take you to the program’s main window.
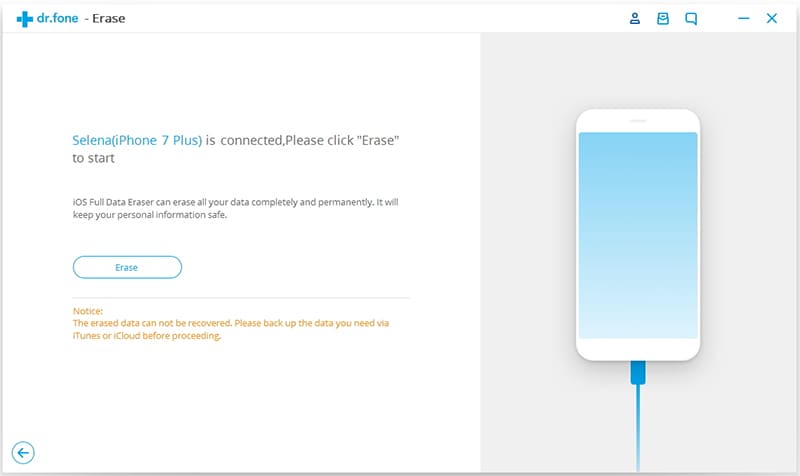
Now connect your iPhone to computer. And you will see your iPhone information on the program interface.
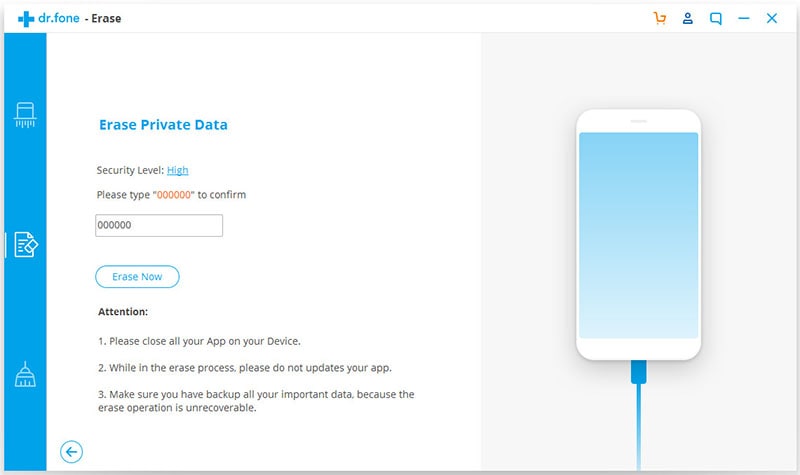
Step 2: Select the data erase mode
Click "Erase Private Data" on the left side of the program interface. And click "Erase Now". The program will start scanning your iPhone to figure out all the detailed information.
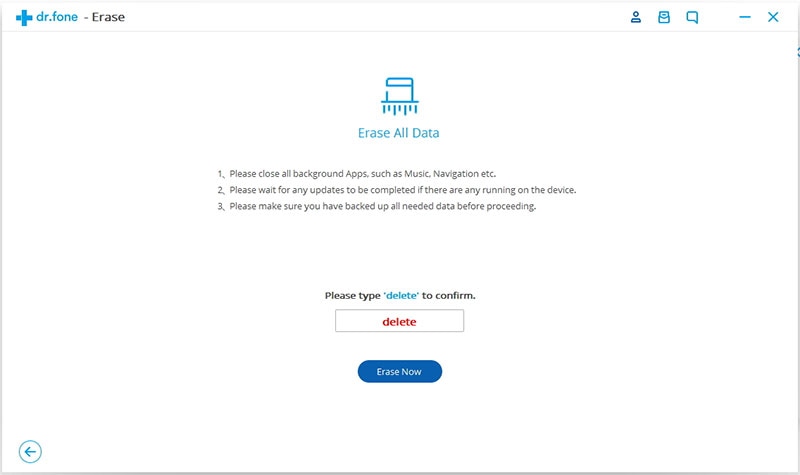
Step 3: Start to delete apps from iPhone
Once the scanning is over, it directs you to another screen that prompts you to enter the word "delete" to confirm that you want to delete your iPhone apps permanently. After tying the word, click “Erase Now” to start the deletion.
Good! The Erasure process has begun. You’re almost done. All through, keep your device connected so to avoid interrupting the erasing process. After a few seconds the process is over and the program present you with a “Completed” screen to confirm this.


