Every iPad and iPhone comes bundled with a Photos app that not only lets you edit your photos, but also allows you to organize them into albums. However, some iPad users seem to experience some problems when it comes to managing albums, and can’t figure out why photos in certain albums can’t be deleted, while it is easy to delete others. If you are experiencing this problem, then you’ll have to learn how the photo app works and how to delete photos from iPad. Photo deletion in the iPad depends a lot on how the specific photos were saved in your device. Fortunately, there are specific ways on deleting photos from iPad.
Method 1: How to Delete Photos from iPad Permanently
As we know, simply delete photos from iPad using the delete button is not safe. The deleted photos can be recoverd with certain tool. So how to delete all photos from iPad permanently without recovery? To do so, you need dr.fone (Mac) - Data Eraser (IS) (or dr.fone - Data Eraser (IS)), which is a handy iPhone iPad eraser tool that allows you to remove unwanted data from your iPad completely with no recoverable.
Key Features of dr.fone - Data Eraser (IS):
- It can deeply scan all data including deleted data on your iPad, iPhone or iPod.
- You will have several deletion options to erase certain data as your need.
- All deleted photos can be scanned and deleted to protect your private information.
- It can help you to clearn junk files in you iPad or iPhone to speed up your device.
Steps on how to remove photos from iPad permanently
Step 1: Launch the dr.fone - Data Eraser (IS)
First download and install the dr.fone - Data Eraser (IS) to your Mac or PC. Here we take Mac version and show you how to delete photos from iPad on Mac.
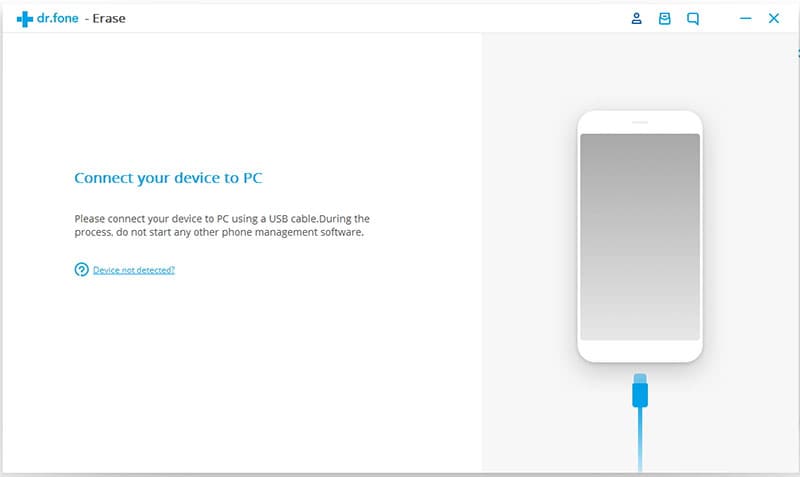
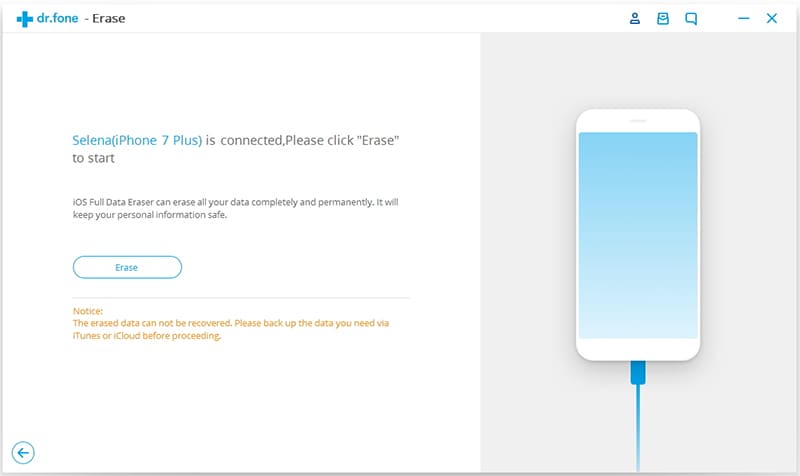
Launch the data eraser and connect your iPad to your Mac with a USB cable. Your iPad will be detected automatically. You can view the device information in the program interface.
Step 2: Select a delection mode
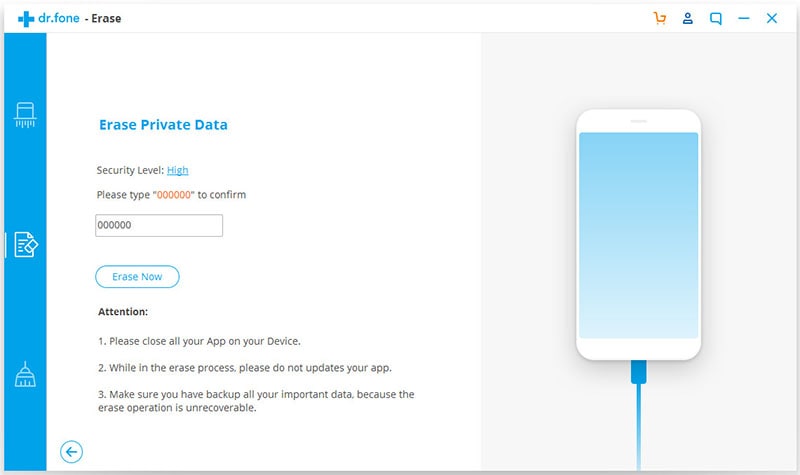
Now in the right side of the program, click the "Erase Private Data" option. This mode will help you to delete any unwanted private data on your iPad.
Step 3: Scan to find photos in your iPad
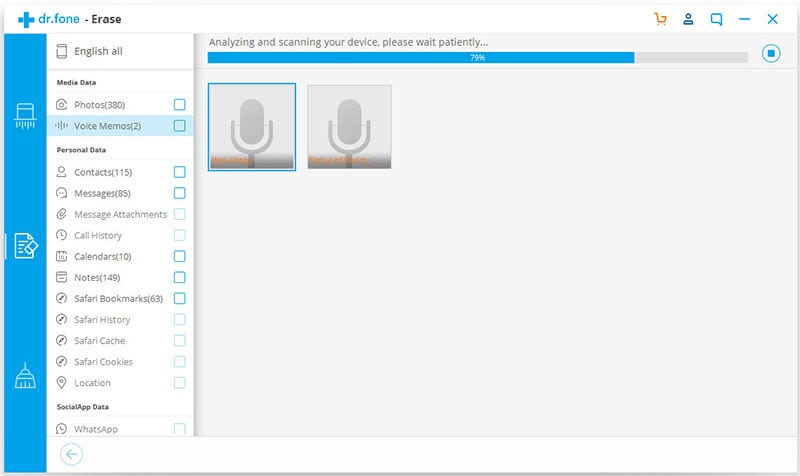
Click "Start" to scan the data on your iPad. When finished, you will see the detailed data on your iPad.
Step 4: Start deleting photos from iPad
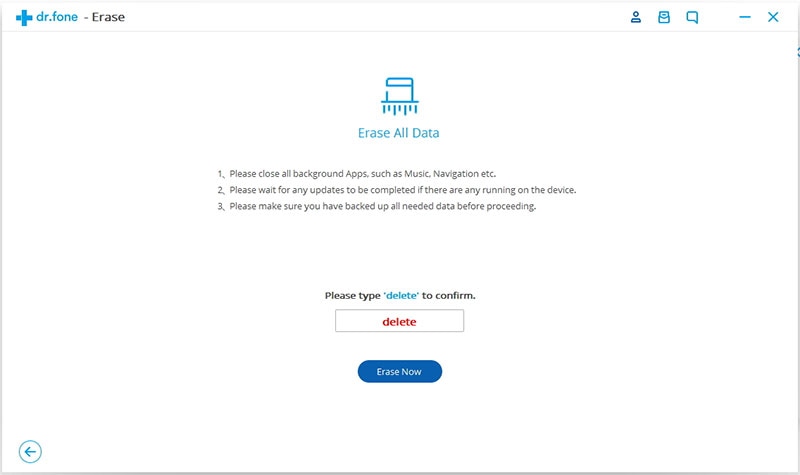
Now check the "Photos" option and click “Erase Now” button to start the process of iPad delete photos. In this step, you will have a new opened window asking you to confirm the deletion. Just type "delete" as prompt to confirm your deletion and click "Erase Now" to delete photos on iPad.
Method 2: How to Delete Photos Taken by the iPad Manually
If you have been taking photos with your iPad’s camera or taking screenshots of your device, your photo albums can easily get cluttered and your may want to remove some or all of them. These photos, including those downloaded from e-mails or web pages, are automatically saved in the Saved Photos album (if you are using the original iPad), Camera Roll album (iPad 2 onwards) or Photo Stream album. Luckily it is quite easy to delete these photos.
Step 1: Open the iPad’s Photos app. If you do not know where it is located, you can use Spotlight Search to launch it quickly or simply say “Launch Photos” for Siri to launch the app.
Step 2: Next select the Albums tag. All your photos would normally be saved in the Camera Roll or Saved Photos album. If you had them saved in a custom album, simply find that album and open it.
Step 3: Tap to select the photo you want to remove. This will open the image in full screen mode. After this, you can simply delete by tapping the trashcan located at the lower right corner of your screen. In case you can’t see the trashcan icon, tap the center of the screen and a title bar will show up.
Step 4: When the trash can is tapped, an options window will come up with a Delete photo prompt. The selected photo will be deleted and moved to your iPad’s Recently Deleted album.
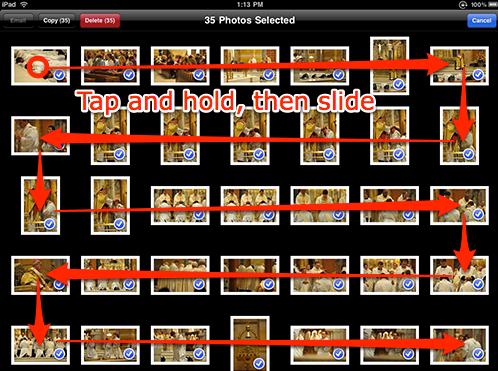
To delete multiple photos in Camera Roll, Saved Photos or Photo stream, open the specific folder then tap the Action button in the upper-right hand corner. A red Delete button will appear in the upper left corner of the screen. Now select each photo you want to delete by tapping it. A check mark will appear on each one. Once you have all of them identified, tap on Delete Selected Photos to remove them or tap Cancel to save and unselect them.
Your iPad has a Recently Deleted album that allows you to restore a photo in case you made a mistake. All photos in this album are automatically purged from the iPad after 30 days. While it is normally fine to leave the photos in this location, you can delete them immediately if you need to clear up storage space on your device. Follow the same procedure described above to permanently delete photos from this special album.
Method 3: How to Delete Synced Photos from iPad
You have probably been using the iTunes sync process to transfer photos from your PC to your iPad’s photos app. Likewise; this is the only process you can use to remove synced photos from your device. These synced photos cannot be directly deleted from the photos app. Here is how you can delete synced photos.
Step 1: Use the data cable to create a connection between your computer and your iPad.
Step 2: On your computer, open the Photos application and remove the synced photos you intend to delete from the iPad. It is not necessary to remove the photos from the computer if they are stored in other locations, but you have to delete them from the synced photos album.
Step 3: Double click the itunes icon on your computer to open the application.
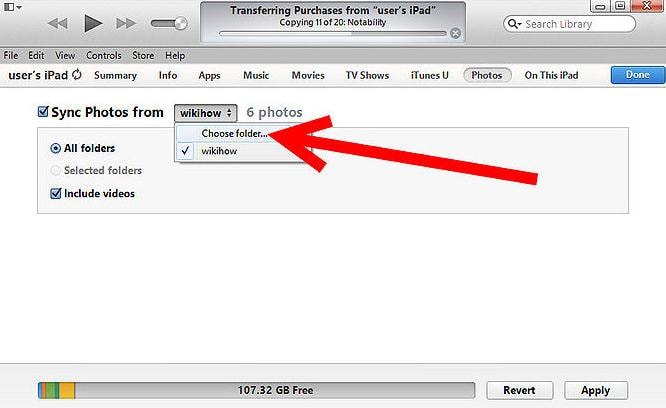
Step 4: The connected iPad will appear on the left navigation panel. Select it, and then open the “Photos” tab in the application before selecting the folder with the photos from the drop down menu that will appear. This is found next to the “Sync Photos From” tab.
Step 5: Click on the "Selected albums, Events and Faces, and automatically include" option then check the album that contains the synced photos on the iPad.
Step 6: Click “apply” to delete the synced photos from the iPad.


