Deleting TV shows you have downloaded for free or purchased via the iTunes store can be a great way to free up space on your iPad. If you do not need the TV shows anymore, there will be no point of letting remain on the iPad and take valuable space. If you delete shows from iPad and realize later on that you did not watch it, you do not have to worry because you can easily re-download it to your iPad. The process of deleting the TV shows is a little more involved as compared to deleting pictures and videos that you take with your camera.
How to Delete Purchased and non-Purchased TV Shows from iPad
To be able to delete TV shows from your iPad with ease, you should consider installing dr.fone (Mac) - Data Eraser (IS) (or iSkysoft dr.fone - Data Eraser (IS)). This application allows you to delete not only the TV shows, but also other unnecessary junk files from your iPad in a single click. You can use it to clean up the device in order to free up storage and speed it up. It also allows you to compress large files with lossless quality and save more space on your device. If you are planning to sell, donate or recycle your iPad, you can use it to delete everything that is contained on the device, including browser history, login information, photos, cached data, and more files permanently without worrying about them being recoverable.
Key Features of the Software:
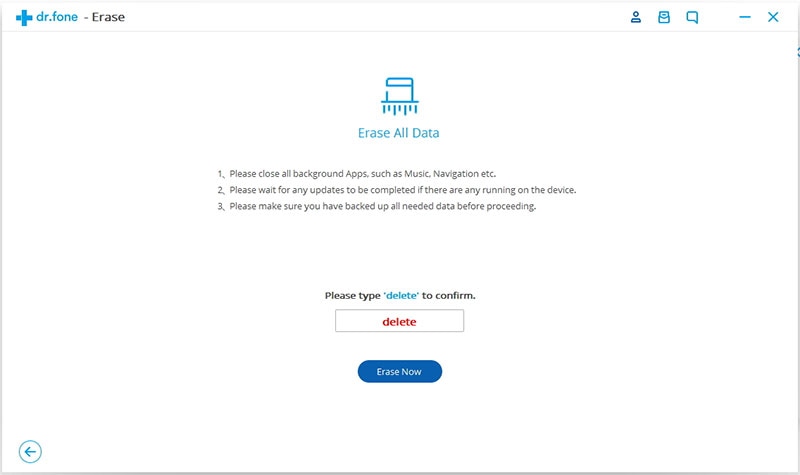
- It can erase your iPad with five erasing modes that include Erase All Data, Erase Deleted Data, Erase Private Data, Express Cleanup and Photo Compressor.
- Apart from the iPad, it is supported on iPhone, Android devices and iPod Touch.
- It allows you to permanently delete data from your iPad and other devices for privacy reasons.
- It helps you compress files and save space on your devices with lossless quality.
Steps for How to Delete iPad Private Data
To be able to delete using the Erase Private Data mode of dr.fone (Mac) - Data Eraser (IS), you will need to do the following.
Step 1: Launch the software and connect iPad to Mac
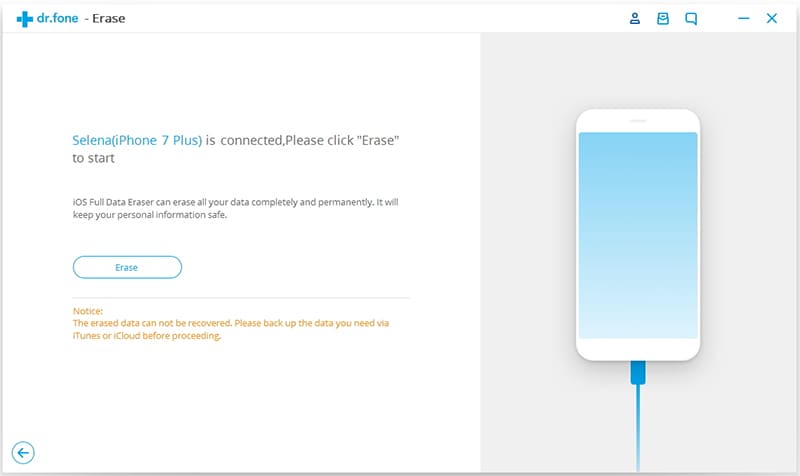
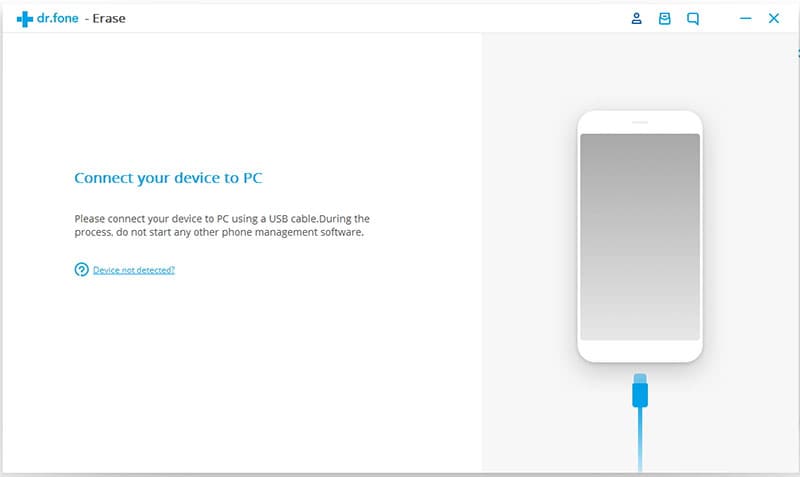
First, you will need to download and install the application on your Mac. Once it has installed successfully, you will need to connect your iPad to the Mac using a USB cable. The iPad will be detected by the application and its details will appear in the main interface.
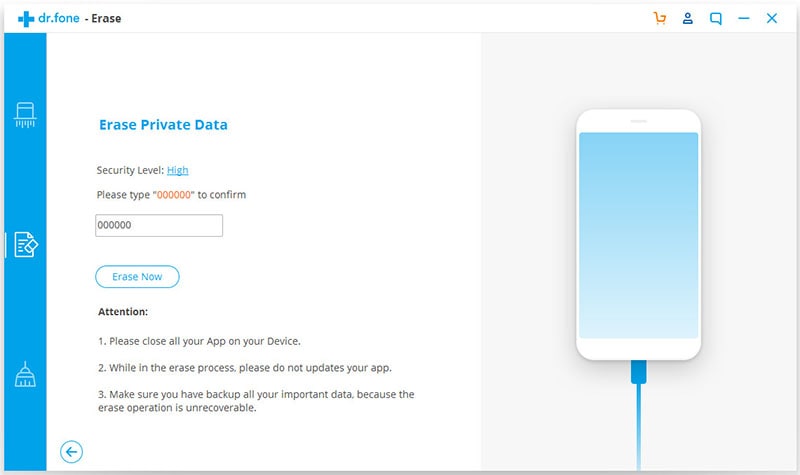
Step 2: Click on “Erase Private Data” option
In the main window, you will need to look for “Erase Private Data” option and then click on it. The eraser will automatically start scanning the data on your iPad. After the scan is completed, you should be able to see the private data in the application’s main interface. Check any data in order to view details.


