Whether you are tired of particular songs or just want to free up space from iCloud, you may want to delete one song, an album or an entire music library. You do not have to buy a new iPhone or device just because the one you have is full of songs or documents. You can simply remove the things that you do not need anymore and then create more space for the new songs that you want to save on iCloud. There are several ways that you can use to delete songs from iCloud easily and quickly.
Part 1. How to Delete Songs from iCloud with iTunes
One of the ways that you can use to delete songs from iCloud is using iTunes. The following is how to do it.
Guide to Delete Songs from iCloud:
Step 1. Making sure that iTunes is open, click on Music on the left side of the window.
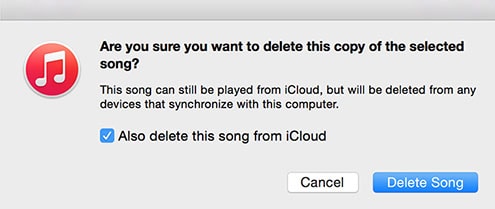
Step 2. After that, choose the song that you would like to delete, right click on it, and then choose Delete as shown in the screenshot below.
Step 3. In case the song that you would like to delete is available in both iTunes on your computer and iCloud, make sure that the checkbox is selected in order to delete the item from iCloud too.
Note: When you delete the song from iCloud, it is also going to be deleted from any iPod, iPad or iPhone that is enabled for iTunes Match and syncs with your iTunes library.
Part 2. How to Delete Songs from iCloud without iTunes
You can also delete songs from iCloud without iTunes. This is achieved directly on the iOS device that you are using without the need to re-sync to iTunes. The following is what you will need to do.
Guide to Delete Songs from iCloud:
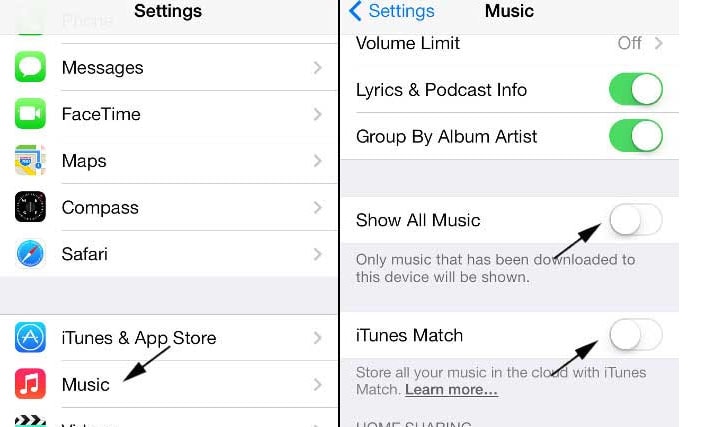
Step 1. First, you will need to make sure that iTunes match is disabled on your device. To do this, simply open the Settings app on your device, tap on Music, and then turn off iTunes Match. Also, make sure that the switch for "Show All Music" is turned off.
Step 2. Once you have done that, quit the Music app from task switcher and try deleting the songs that you want to get rid of. You can also delete entire albums by going to Album View.
Step 3. To delete the songs, go to Settings, and then General, and Usage, and then Music. After that, tap on Edit, and then tap the Delete button to get rid of the music.
Part 3. How to Delete Songs from iCloud on iPhone/iPad
To be able to delete songs from iCloud on your iPhone or iPad, the following is what you will need to do.
Guide to Delete Songs from iCloud:
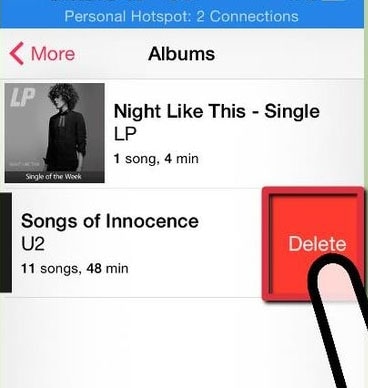
Step 1. First, you will need to launch the music app on your iPhone or iPad and then access the music library as usual. In some versions of iOS, you will be allowed to delete individual songs only while other versions allow you to delete the entire album or artists.
Step 2. To be able to delete an individual song, you will need to access that song in the Music app and then swipe the song entry from left to right in order to reveal the Delete button.
Step 3. Once the Delete button comes up, tap it order to remove the song that you would like to delete. To be able to delete an entire album of songs, you will need to go the bottom menu of the Music app and then choose Albums. In some cases, you may need to tap More to find this option.
Step 4. After tapping on Albums, the Album view will be opened. You simply need to swipe the Album that you would like to get rid of to reveal the Delete button and then tap it to get rid of the entire album. Another option is to delete songs by the artist. In this case, you will need to select Artists from the bottom menu, swipe artist that you would like to remove songs, and then tap on the Delete button.
Note: If there are stubborn songs that will not be deleted on your iPhone or iPad, you can get rid of them by going to Settings on the device, and then tap General, and then Usage, and then Manage Storage in the Storage section. After that, tap the Music app, and then Edit, and then tap the Delete button that appears next to All Songs.
Part 4. How to Delete Songs from iDevice and iCloud
To delete songs from iDevice and iCloud quickly and easily, you should consider using dr.fone (Mac) - Data Eraser (IS) (or you can use dr.fone - Data Eraser (IS) version). This application will simultaneously delete the iCloud backup songs you have on your iPhone. You can use it to delete songs and other data permanently with 100 percent unrecoverable. If you are planning to sell or donate your iPhone, you can do so without worrying that your private information may be exposed to people with malicious intentions.
Key Features of dr.fone (Mac) - Data Eraser (IS)
- It allows you to delete junk files from your iPhone in a single click.
- It is supported on a wide range of devices including the iPhone, iPad, iPod touch and Android.
- It features five erasing modes that you can choose from depending on the outcome you want on your iPhone.
- You can use it to compress iPhone photos and other files in order to back them up on a computer and save space on the device without messing up their quality.
Step-By-Step Guide on How to Delete with dr.fone - Data Eraser (IS)
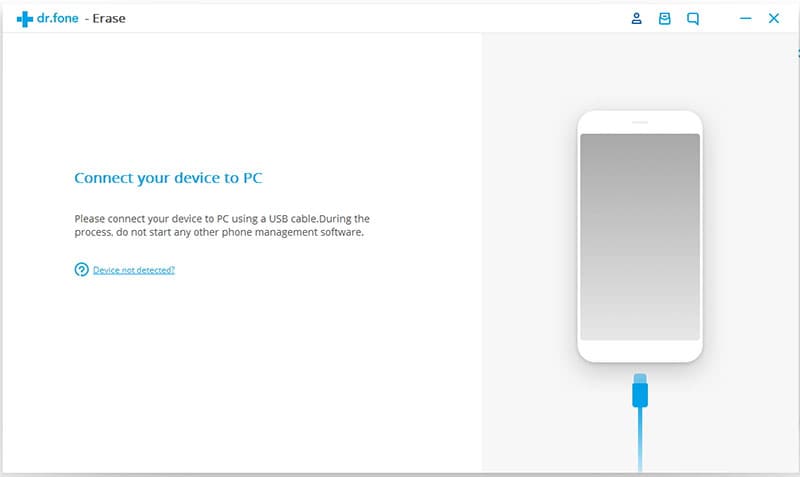
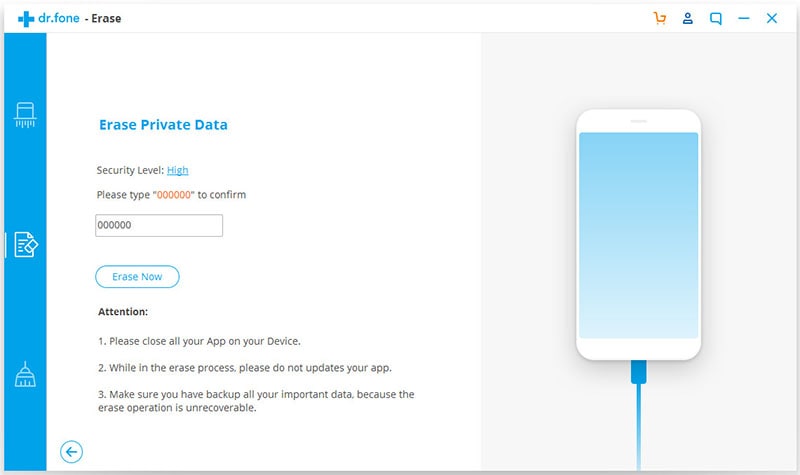
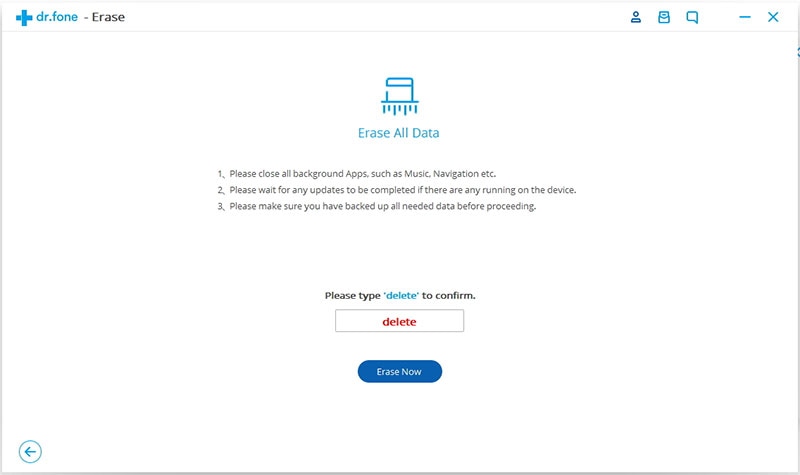
Step 3. After that, you should see the private data that you would like to delete in the program interface. Check any data in order to view details. Click the "Erase Now" option. This will bring up a window that notifies you to type "delete" in order to confirm deletion. Do so and then click “Erase Now” to begin erasing the private data.


