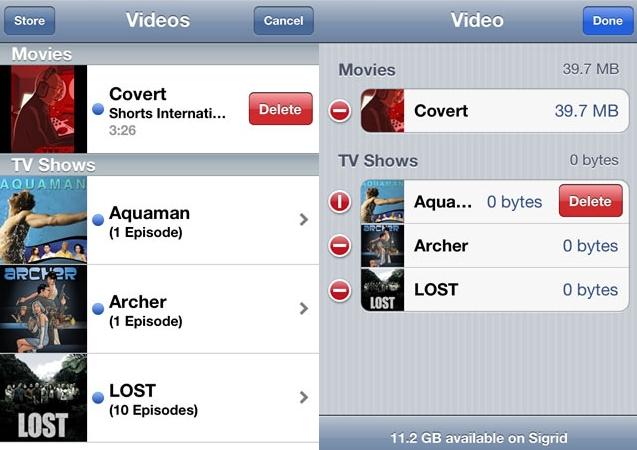
Deleting videos or movies from iPad is a great way to reclaim space. On the other hand, if you are new to Apple products and don’t know how to delete videos from iPad, don’t worry. In fact, this has been a pressing problem that has been troubling newbies a whole lot. Anyway, here are 2 options available for deleting videos from iPad you could try.
Method 1: How to Delete Videos from iPad without iTunes and iCloud
A professional and secure way to delete videos from iPad, without leaving any trace of unwanted video file behind should be using dr.fone (Mac) - Data Eraser (IS) (or dr.fone - Data Eraser (IS)). It is simply the worlds top iPhone, iPad, iPod and Android Data Eraser ever built in the history of cell phone gods. This snappy app can also securely erase messages, browser history, log in information, photos, cache data, music and much more – with 100% unrecoverable of deleted files. Some cool features found on dr.fone - Data Eraser (IS) include:
- Erases all previously deleted data effectively.
- Erases your device permanently.
- Clear junk files on your iPad in 1 click.
- Speeds up your device.
- Powerful scanning ability.
Steps on how to remove videos from iPad
Step 1: Download and install the data eraser
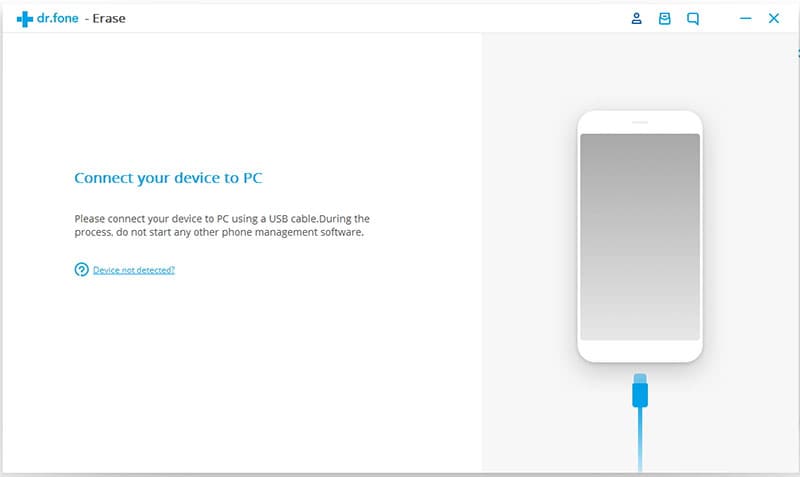
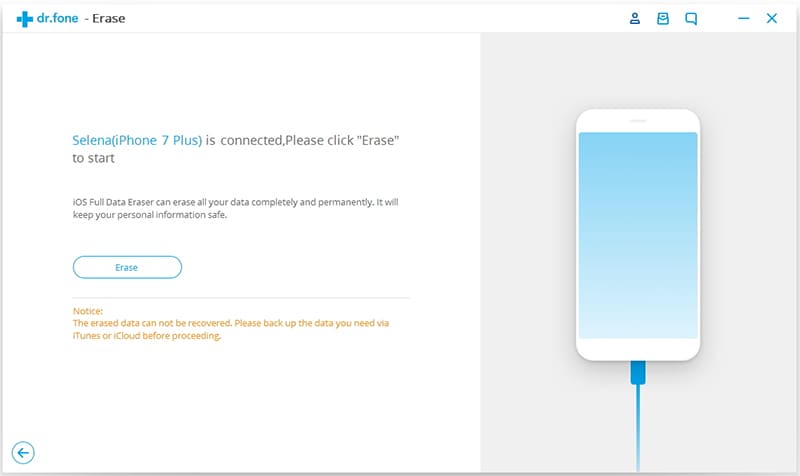
To get started, first download and install dr.fone - Data Eraser (IS) software in your device. And run the program and connect your iPad to your computer. The program will automatically detect your phone and show the device information on the program window.
Step 2: Select an erase mode
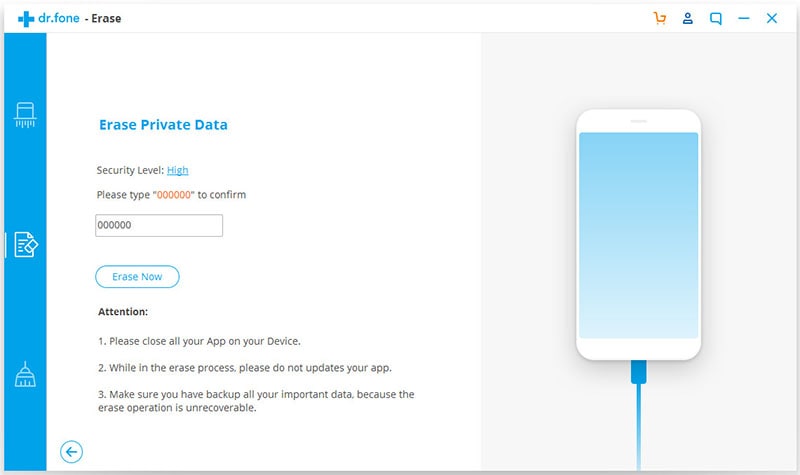
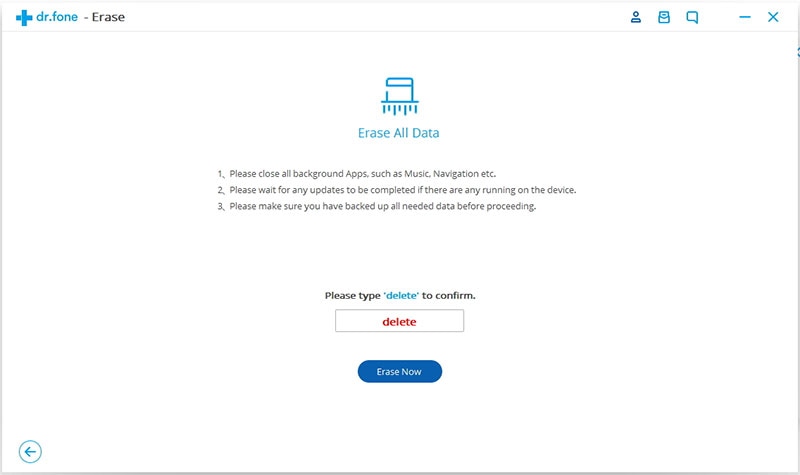
Choose “Erase Private Data” mode from the right side of the program interface. Click the “Start” button, to analyze and scan your phone’s data of which you’re about to delete. After all scanning is through, all your private data files will be displayed and you can view the details.
Method 2: How to Delete Videos from iPad Photo Library
Ideally, not every picture or video you take would you wish to keep for long, and not all of them would you even like other people to see. That’s why everyone should find some clean and neat ways of clearing videos from their iPhone or iPad. Just in case you’re using iPad Photo Library, actually you can securely free up storage on your device by deleting all videos, which you necessarily don’t want. Also if you happen to delete any valuable picture or video by mistake, iPad Photo Library has some cool features you can use to retrieve any lost photos or videos nonetheless. Anyway to get started simply:
Step 1: Lauch the “Photos app” on your iPhone or iPad.
Step 2: Tap on the “Photos tab” at the bottom.
Step 3: Choose the photo library category you wish to delete some videos.
Step 4: Tap on “Select” in the top right.
Step 5: Tap on “Select Next” to choose a series of videos instead of a single video.
Step 6: Tap on the “Trash Can” icon in the bottom right.
Step 7: And lastly, confirm you’d like to delete the videos.
How to Delete Videos from iPad iOS 9 and iOS 8
To delete videos you recently added to iPad manually, simply go to Videos app> find the video you want removed> Swipe to the left> and tap “Delete”. It’s that simple!
For iPad running iOS 8: Go to Settings> General> Usage> Manage Storage> Find videos you want removed> Swipe it to the left> And lastly, tap the red “Delete” button.
For iPad running iOS 9: Got to Settings> General> Storage and iCloud Storage> Manage Storage under Storage> Find videos you want removed> Swipe it to the left> and tap the red “Delete” button to delete all videos from iPad.
Above is a summary of some cool, professional and very secure ways you can easily delete videos from iPad. They are quite crazy simple methods to follow, and to ensure all the data you need deleted from your iPad is removed safely in order to free up more storage space for other enjoyments. Simply follow all these methods carefully when erasing videos from iPad, and finding more space for your device won’t be much of a bother anymore!


