It is often necessary to erase everything on iPhone, especially when donating, reselling or trading in your device. The default factory reset and delete features available in every iOS device, although increasingly popular are not an efficient way to use when erasing data from iPhone. This is mainly because the deleted information still remains on the device and skilled data miners with advanced technology can easily restore the deleted data once they lay their hands on the devices. Data exposure puts you at great risk as the sensitive data that falls in the wrong hands may lead to serious implications including identity theft. This article is going to educate you on how to erase everything on iPhone without using iTunes.
How to Erase Everything on iPhone without iTunes
There are various available computer programs in the market that can easily erase everything on iDevices without necessarily having to use iTunes. One such program that stands out from the rest due to its efficiency and zero data recovery ability is dr.fone (Mac) - Data Eraser (IS) (or dr.fone - Data Eraser (IS)).
It is an unique computer program that ensures total safety of information by completely erasing all forms of private data, junk files and even previously deleted files that can be easily accessed using third party applications. The application is very efficient when it comes to erasing all forms of personal information has it has been designed using one of a kind military based overwriting technology that not only renders the deleted data inaccessible but also returns the iPhone to its original state.
Key Features of dr.fone - Data Eraser (IS):
- A sophisticated photo compression technology to free up more iPhone space.
- Ability to uninstall unused iPhone apps.
- Permanent deletion of already deleted files.
- Clearing of elusive private data.
- Three dedicated file deletion modes to ensure the safety of private information.
Steps for How to Erase Everything on iPhone
Step 1: Download and install the software
First, make sure that backup all types of data you deem useful using iTunes, iCloud or directly to your PC. Then download the application, locate the downloaded installation device on your MacBook Air, MacBook Pro or iMac and follow the provided installation instructions.
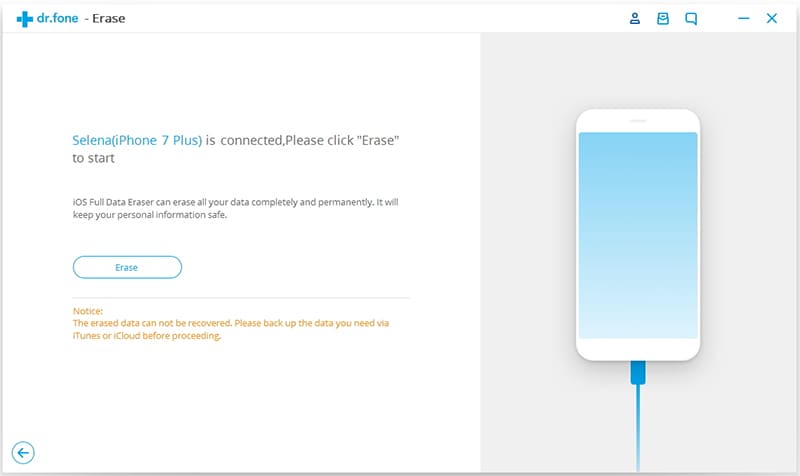
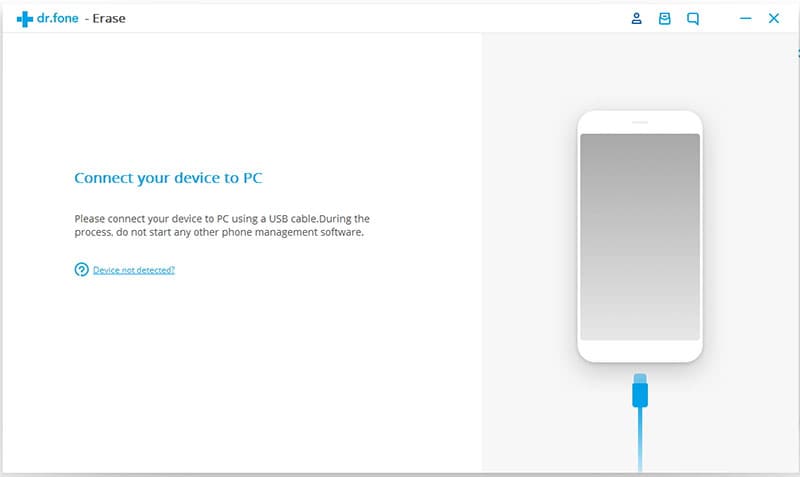
Next, use a conventional USB cable to connect your iPhone to your computer and launch the program. Wait until the program automatically detects your iDevice.
Step 2: Select a mode and start erasing data on iPhone
Select any of the three available file deletion modes depending what you want to achieve.
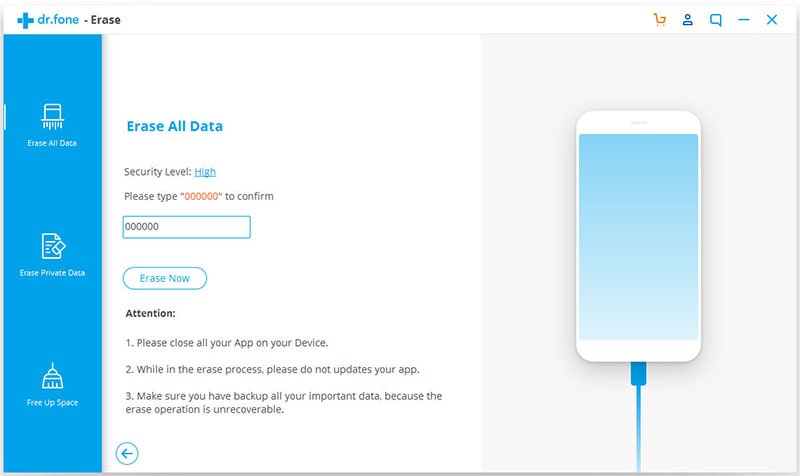
a. Using the "Erase All Data" mode
- Select the "Erase All Data" option provided in the left column.
- Confirm the data deletion process by typing "delete" in the popup box provided and click "Start".
- Wait as all your iPhone data is erased.
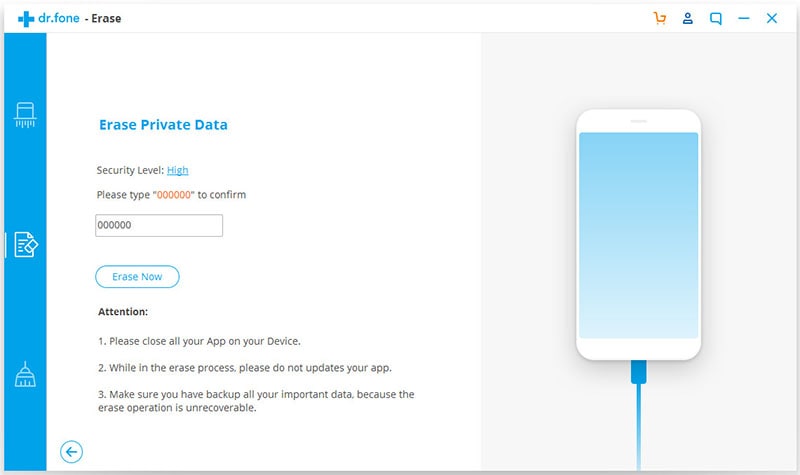
b. Using the "Erase Private Data" mode
- Select the "Erase Private Data" mode provided in the left sidebar.
- Scan and analyze all the available private data on your iPhone by clicking the 'Start' button.
- View the listed private data that can be safely deleted and select the ones you would love to delete.
- Click the "Erase Now" option and type "Delete" once prompted to confirm the deletion process.
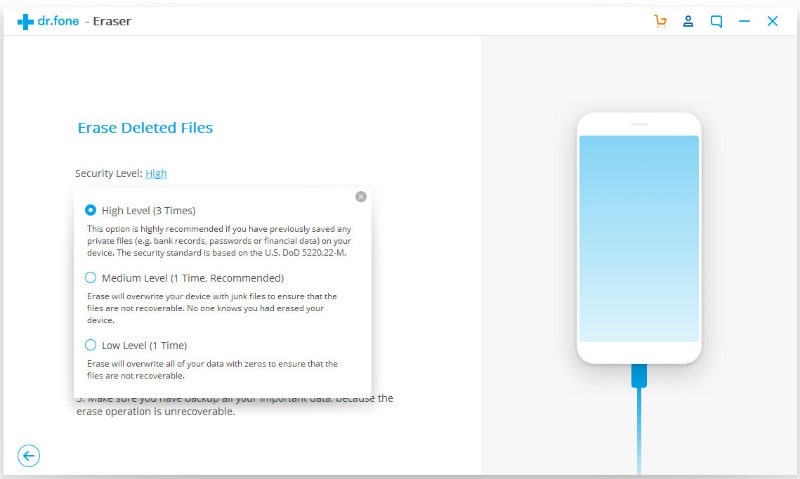
c. Using the "Erase Deleted Data" mode
- Activate the process by selecting the "Erase Deleted Files" feature provided in the program's left sidebar interface.
- Scan for previously deleted files.
- Select the relevant data you wish to erase permanently from your iPhone.
- Click "Erase Now" and type "Delete" once prompted then wait.


