Contents
- 2. Delete AV Files on iPhone
- 2.1 Delete Albums from iPhone
- 2.2 Delete Videos from iPhone
- 2.3 Remove Music from iPhone
- 3.1 Delete Apps on iPhone
- 3.2 Delete Icons on iPhone
- 3.3 Delete Updates on iPhone
- 3.4 Delete App Store
- 4.1 Delete Contacts on iPhone
- 4.2 Delete Messages on iPhone
- 4.3 Delete All Email on iPhone
- 4.4 Delete Calendar Events on iPhone
- 5.1 Delete Downloads on iPhone
- 5.2 Delete Other on iPhone
- 5.3 Delete Everything on iPhone
- 5.4 Delete Info from iPhone
- 5.5 iPhone Delete Button Not Working
Do you frequently delete music from your iPhone but find that some songs don’t get deleted like they are supposed to? Don’t worry, this is a generic problem that most iPhone users face every day. Normally, you can tap on any song or album, or the entire music library and delete them with a red “Delete” button. However, you need to do the deletion one by one and the deletion can be recovered. So if you want to avoid this kind of problem, below is a simple guide that will help you on how to remove music from iPhone quite fast and easy.
How to Delete Music from iPhone without iTunes
How do I delete music from my iPhone but not iTunes? Sometimes it’s easy to come across a random song we didn’t mean to add to our iPhone library. Thus, it’s very important to be aware of the many ways we can delete such songs with just a few taps. To remove a song from iPhone, without deleting it from your iTunes library or iCloud, this is what you should do:
dr.fone (Mac) - Data Eraser (IS) (or dr.fone - Data Eraser (IS)) provides a very neat, fast and secure way, you can easily wipeout files from your iPhone seamlessly at the touch of a button. It is thus a powerful program that allows you to delete all data or cache stored on your iPhone, iPad, and iPod permanently. Ideally, once the files are deleted they can’t be recovered, so make sure you back up all the files you don’t want to lose first before using this program.
Key Features of dr.fone - Data Eraser (IS):
- Permanently delete all personal information from iPhone.
- 1 click clear junk files from iPhone to speed up your device.
- Compress iPhone files to free up your device storage.
- Works with all iOS devices – Jail-broken friendly and also compatible with carrier-locked iPhones.
How to Delete iPhone Music Using “Erase Private Data” mode
Step 1: Open the dr.fone - Data Eraser (IS)
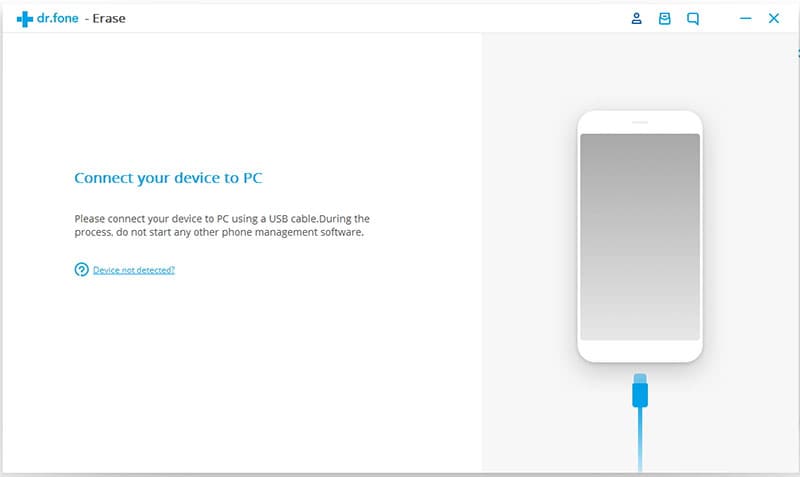
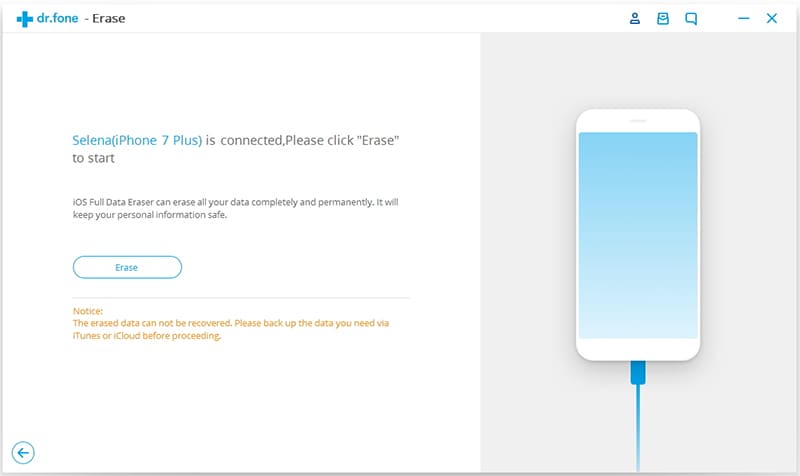
Install the run the iSkysoft Data Erase on your computer. And then connect your iPhone to the computer with a USB cable.
Once connected, you will see the device information on the program window.
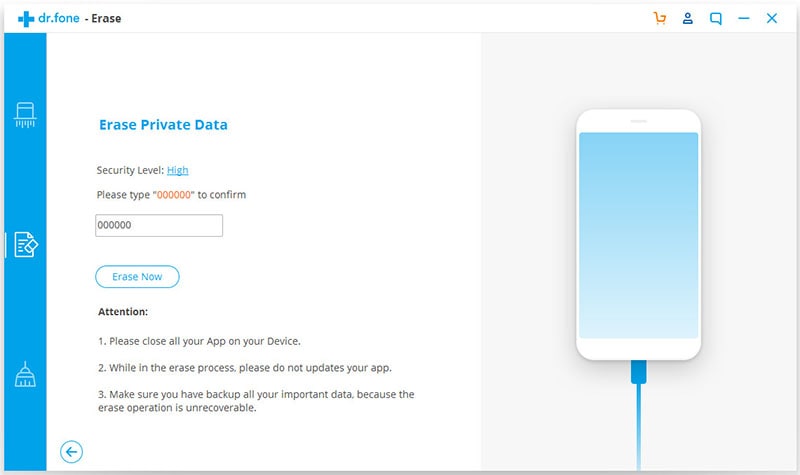
Step 2: Select "Erase Private Data" mode
On the left side of the program main interface, click the "Erase Private Data" mode, and then click "Start" to get ready for deleting. The program will start scanning your iPhone to find out the private information.
How to Remove Deleted Music from iPhone and iTunes
If you’re an iTunes match subscriber or an Apple Music member, you can easily delete files from your iCloud Music Library quite fast and easy. Every time you delete files from your iCloud Music Library, you also delete files from any iPhone, iPad, or iPod touch that uses iCloud Music Library with the same Apple ID. However, the deletion in this method can be recovered easily. So how can we remove deleted music from iPhone permanently? Here is a step-by-step guide that will help you remove deleted music from both iPhone and iTunes seamlessly.
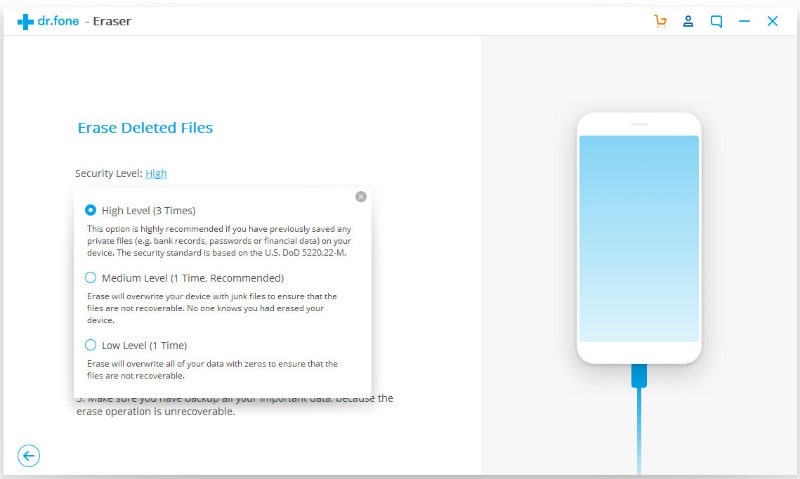
Step 1: Choose the "Erase Deleted Data" mode
Launch the data erase and connect your iPhone to the computer. Click “Erase Deleted Files” in the left sidebar of the program.
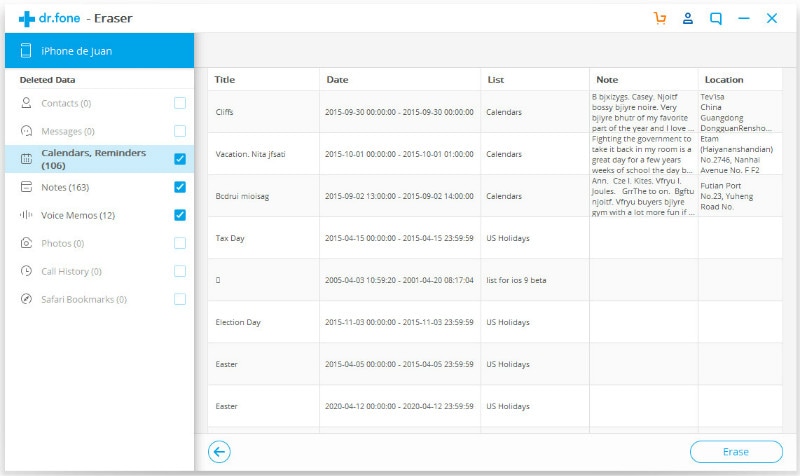
Step 2: Select music
Click "Start" and the data eraser will start scanning your device. When finished, you can view all the previous deleted files on the main interface. Check "Music" if you want to delete all the songs from iphone.
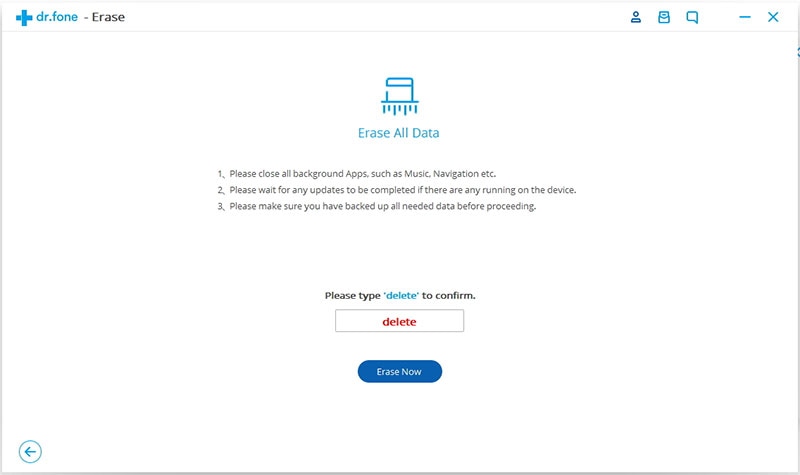
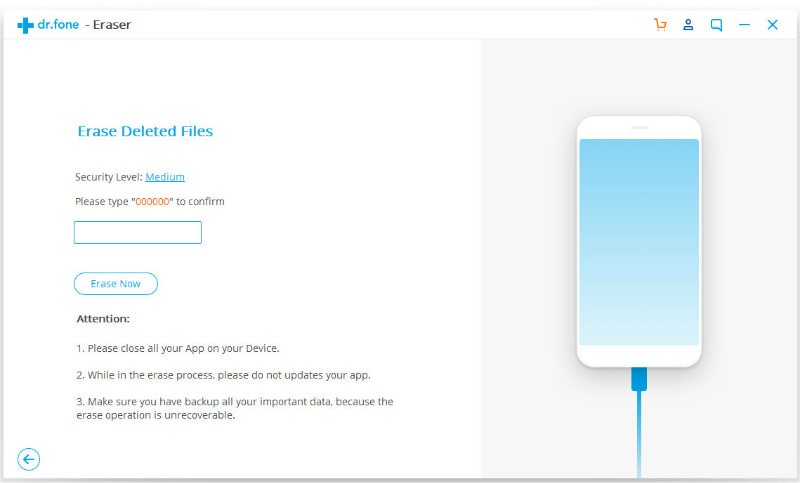
Step 3: Delete music off iPhone
Click "Erase Now" and in the prompt window, type the word “delete” to confirm the deletion of files.
Note: During this process, though, all the deleted files you’ve backed up to your iTunes will also be erased, making sure no data can be recovered via iTunes in the future.
In a nutshell, at least now you’re aware of some of the many ways you can use anytime you want to remove music from iPhone and iTune quite fast and easy. Following each of the steps outlined above, will no doubt delete all unwanted music from iPhone -- allowing you to free up sufficient space, which you can later add some files to that are dear to you. More importantly, if you wish to launch a more in-depth, thorough cleaning or removal of files, choose Wondershare SafeEraser for Mac every time to provide you a fast and easy and very secure way of deleting data permanently. Within a few seconds, your phone will have sufficient space with ZERO data left, like it was new again!


