There is no denying the popularity of iPhone and there is also no denying the fact that it is a feature-rich phone which offers a rich Smartphone experience. With a new iPhone releasing every year, we are all tempted to sell the old one and buy a new one. However, with almost all videos, photos and other important data present on the iPhone and with almost all of your important accounts synced with the phone, it becomes important to wipe iPhone entirely if you intend on selling it.
You can wipe iPhone from iTunes. However, you should know that the data wiped with iTunes can be recovered with certain data recovery tool. So, here we share tips for you on how to securely wipe iPhone with iTunes or without iTunes.
How to Wipe iPhone from iTunes
Regardless of the reason why you want to wipe your iPhone, it is important that you back it up first. Once you have backed up your data, you can proceed with wiping your iPhone and can get it reset into a brand new state. Now follow this step-by-step guide to wipe your iPhone using iTunes.
Step 1: Connect your iPhone to PC or Mac
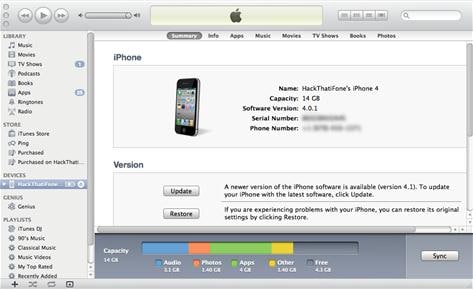
Using the USB cable that comes with the iPhone, connect it your PC or Mac. The iTunes software will be launched automatically.
After iTunes is launched, you will see your iPhone’s name appear in the list of connected devices. Select your iPhone from that list.
Troubleshooting on Wiping iPhone with iTunes
The process of wiping iPhone with iTunes is pretty simple but sometimes it doesn’t go very smoothly. Here are three of the most common problems faced when using iTunes to wipe the iPhone along with their solutions.
1. Firmware Installation Failure
This can happen if your phone is old and can’t be updated to the latest firmware. The solution to this problem is to connect your iPhone with PC again and press the ‘Shift’ key when clicking on ‘Restore’. This would lead you to a submenu from where you can choose to downgrade your firmware rather than upgrading it.
2. iTunes Returns an Error during Restore
This usually happens when your antivirus considers the iTunes malware and tries to stop it. The best way to solve this problem is to disable your antivirus during the restore.
3. iTunes Failed to Sync
iTunes looks to sync with the phone automatically after it is connected and a syncing problem usually occurs when the iTunes version is outdated. Update the iTunes before connecting your phone and you wouldn’t be bugged by this problem again.
How to Wipe iPhone without iTunes
There are other ways of wiping your iPhone as well and there are a couple of reasons why you should look into using those options. Firstly, handling iTunes is no easy task and in many cases, one problem or another comes up when wiping the iPhone with iTunes. Secondly, iTunes doesn’t wipe your phone entirely and your data can actually be restored with a high-tech recovery program even after it has been restored.
So the best option to wipe iPhone is to use dr.fone (Mac) - Data Eraser (IS) (or dr.fone - Data Eraser (IS)). It is a very good software which has been designed to ease the process of wiping any phone. The software not just deletes access to your important data like iTunes, it actually deletes the data from the memory so that it becomes irretrievable even if someone uses a high-tech data recovery software. With different modes of erasing available, the software allows for flexibility too to ensure that you can employ the software according to your needs.
Key Features of ddr.fone - Data Eraser (IS):
- Capable of getting rid of every single bit of data from your iPhone.
- Flexible deletion options available that allow you to delete all the data, private data or the data already deleted.
- Capable of improving your phone’s performance with the "Clear Junk Files" option that deletes all the unused data on your phone.
- Extremely simple user-interface.
Steps on how to wipe iPhone without using iTunes
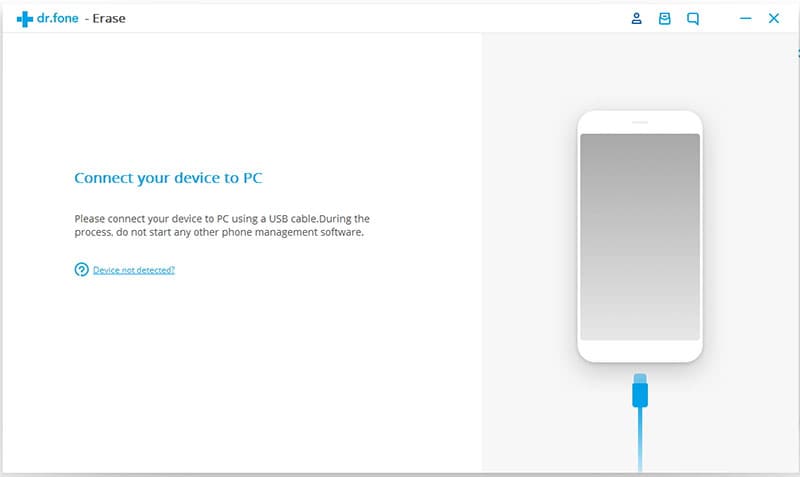
Step 1: Launch dr.fone - Data Eraser (IS) and connect your iPhone
Once downloaded data eraser, open the installer to install the program. Launch the program by double-clicking on its icon on desktop.
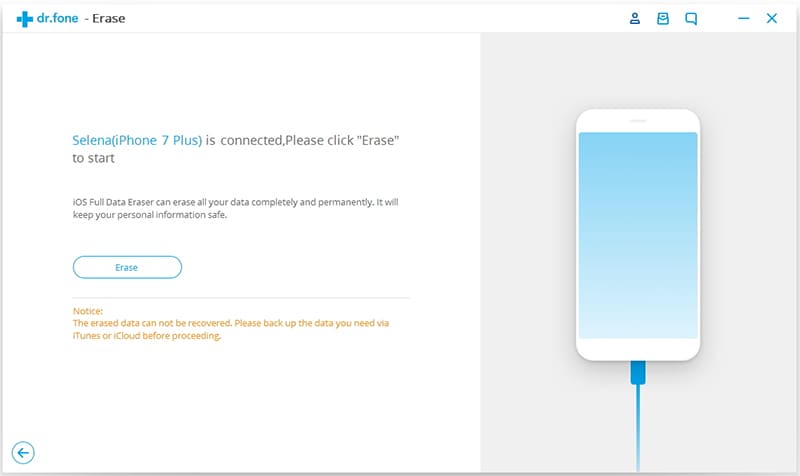
Once you have completed the installation, you should connect your phone with the PC. The program would detect the phone and its name would be visible on the software’s display screen.
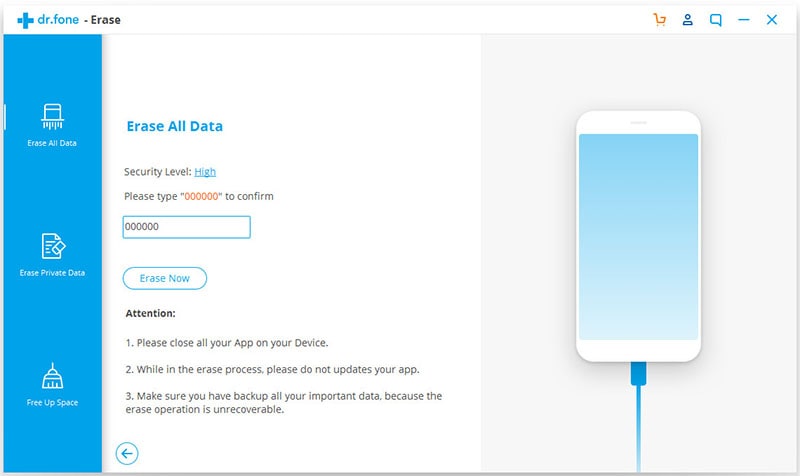
Step 2: Select "Erase All Data" mode
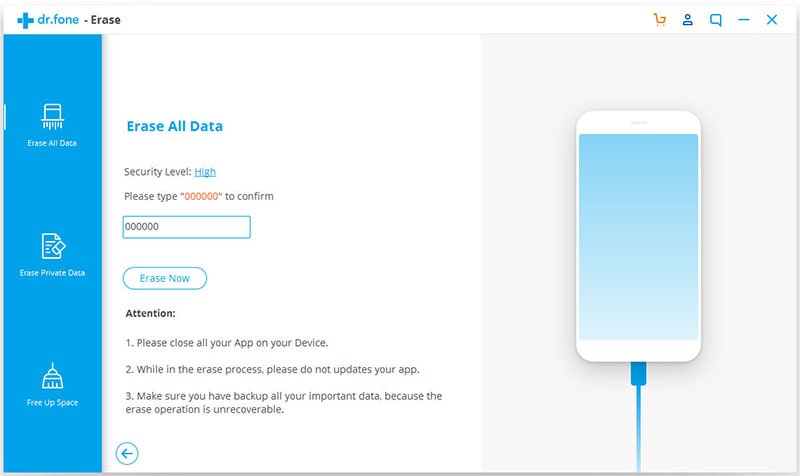
Select "Erase All Data" mode available in the left pane and then click on "Erase Now" to start the process of wiping your iPhone.
Step 3: Start wiping iPhone wihtout iTunes
After clicking on "Erase Now", a window would appear asking for confirmation. Type "delete" in the text section and then click on ‘Erase Now’ to confirm the deletion process.
After the process would be completed, the software will let you know by showing ‘Completed’ on the screen.


