The iPhone is a great invention that gives you the chance to store all your contacts, messages, photos and emails. In many ways the iPhone is a storage bank of your personal information. Thus, when you are thinking about buying a new version of the iPhone, it becomes necessary to wipe all the personal data that is present on your existing Apple handset. To do so, you need a reliable iPhone wipe app.
Using a good app to wipe iPhone can ensure that all of the data is cleared away in a proper manner and there is no way for it to be restored. There are a number of apple iPhone wipe apps available that can wipe away the data on the iPhone. Here we pick up the best one and show you how to wipe iPhone easily.
The Best iPhone Wipe App
The iPhone wipe app that is the best among the apps all in terms of performance and effectiveness is dr.fone (Mac) - Data Eraser (IS) (or dr.fone - Data Eraser (IS)). There are a number of reasons why the dr.fone - Data Eraser (IS) is the best iPhone wipe app available in the market today. It is an amazing app that can delete all the contacts, messages and emails that you might have on your iPhone completely, leaving behind no trace of your identity in the device. The dr.fone - Data Eraser (IS) offers a number of great features to you which make it a quite useful app for iPhone users.
Key Features of dr.fone - Data Eraser (IS):
-
1. 3 Deletion Modes
The dr.fone - Data Eraser (IS) offers you 3 different deletion modes which are all very effective in erasing your personal data from your iPhone. -
2. Junk File Removal
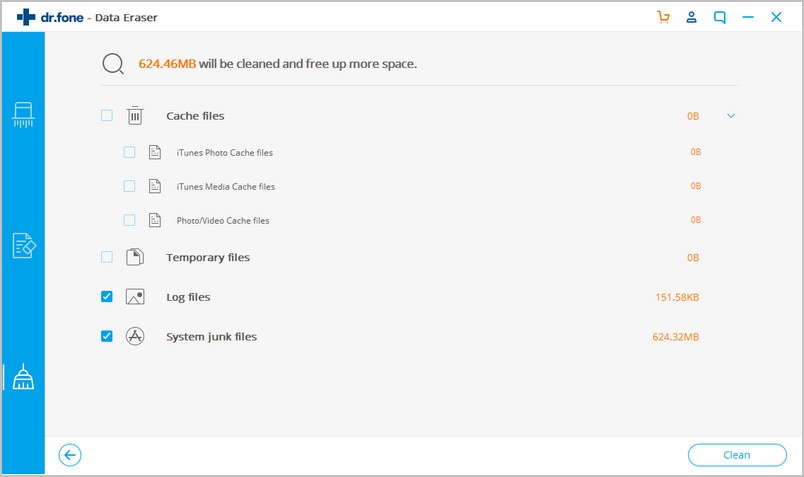
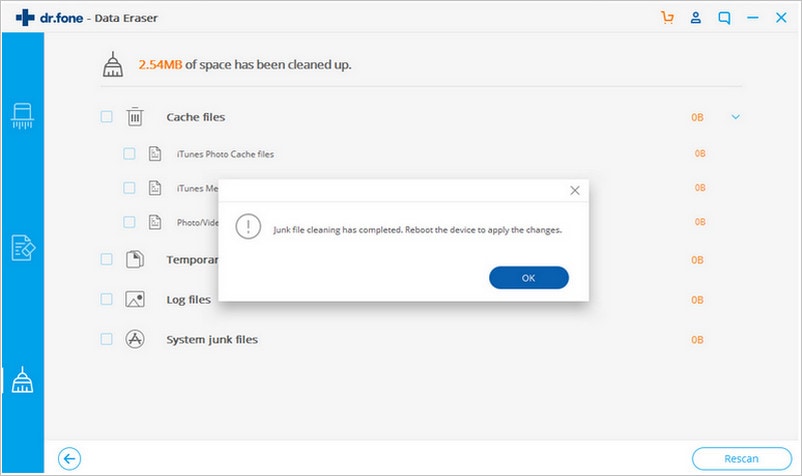
This incredible app allows you to remove junk files from your device which had been taking up a lot of the space and were slowing down your iPhone, thus enhancing your phone’s speed. -
3. Permanent Data Deletion
The dr.fone - Data Eraser (IS) deletes all of the data present on your iPhone permanently that cannot be recovered by even the most powerful data recovery tools. -
4. Erase Deleted Files
This app also provides you the chance to erase all the deleted files from your iPhone permanently by using the “Erase Deleted Files” option. -
5. Photo Compressor Mode
There is a photo compressor mode available in this app which helps in compressing the size of the photos and thus freeing up some space on your iPhone.
Steps on how to use data eraser app to wipe iPhone
The following is a guide on how you can wipe the data on your iPhone using the Erase All Data mode of the dr.fone (Mac) - Data Eraser (IS).
Step 1: Download and Installation of Data Eraser
The first step of wiping the data from your iPhone using the dr.fone - Data Eraser (IS) is to download it on your computer. You will then have to install it on your computer and then double click on its icon to launch the software.
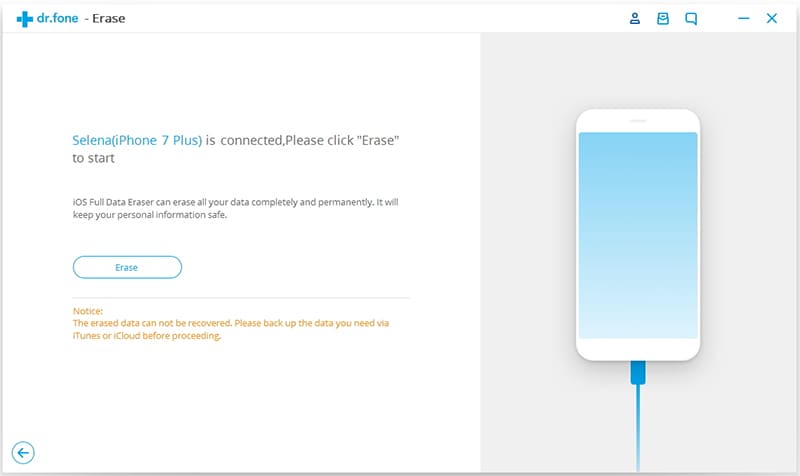
Now, connect your iPhone to your computer using the USB cable. If the iPhone has been successfully connected, you can see the name of the phone appear on the program’s interface.
Step 2: Selection of Data Erase Mode
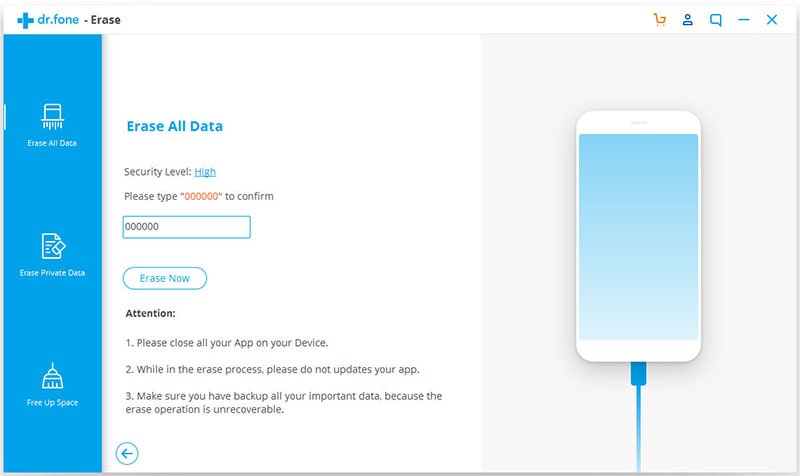
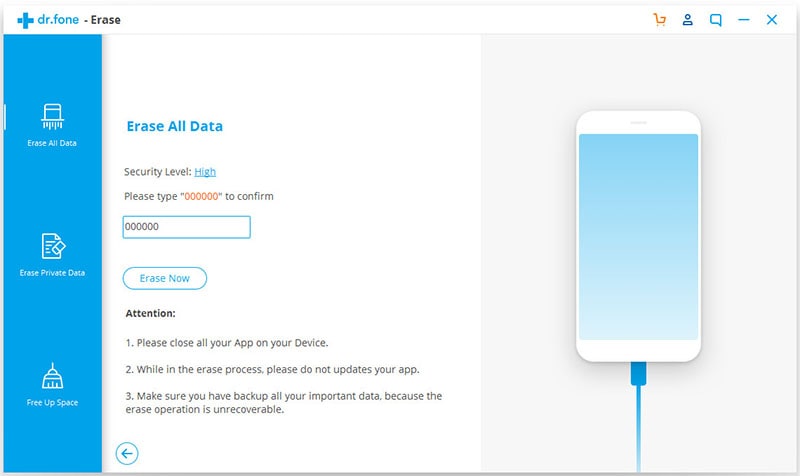
The second step is the selection of the mode that you want to use for erasing the data on your iPhone. Select the "Erase All Data" mode in the primary window to wipe out all of the data present on your iPhone.
Step 3: Start Deletion of Data
After the selection of the mode, you have to click on the "Erase Now" button. In the window that appears, type the word “delete” to confirm the deletion of the data. The program is going to conduct a scan of the files after which you will have to click the Erase Now option to start the deletion process.
Steps on how to use data eraser app to clear iPhone junk files
The following is a guide on how you can wipe unnecessary data from your iPhone using the Clear Junk Files mode of the dr.fone (Mac) - Data Eraser (IS).
Step 1: Selection of Express Clearup Option
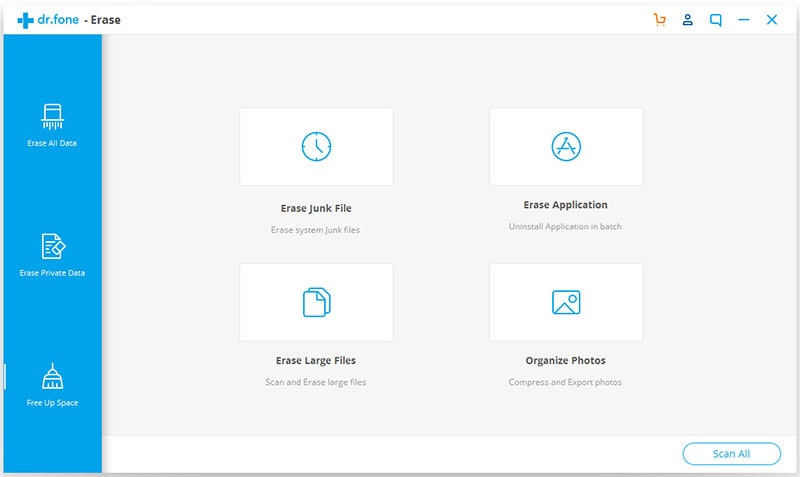
The first step of erasing junk files is to select the "Express Clearup" option in the main window of the software.
Step 2: Start Scan the Junk Files
Click the "Start" scan button to begin the scanning process in which the software is going to scan the files present on your iPhone and determine which one of them are junk. Once the scanning process is finished, you will see a list of the junk files that can be deleted.


