The popularity of Lexar photographic products is hidden from none of us. Most of us use Lexar's SD cards, Memory Sticks, Compact Flash, key drives and other such products for storing our valuable data. However, even these well-known products are not completely free from the threat of corrupted or lost data and may leave you with knee-buckling feeling once you encounter data loss. To sidestep the chances of completely lost or damaged data, we have selected the best data recovery software here which offers an outstanding Lexar photo recovery.
The Safest Software for Lexar Photo Recovery on Mac and Windows
Although you may have various data recovery tools in your system for emergency, it is not always possible that all of them work for all of the devices. But the software we have reviewed here is an amazing tool for any internal hard drive or external storage device. iSkysoft Data Recovery for Mac (or iSkysoft Data Recovery for Windows) is the ultimate solution for any kind of data loss. Your data may have lost, deleted or formatted from any of the internal or external hard drive or some other storage media devices. But this tool can work extraordinarily well in any of these scenarios.
It has four data recovery modes for recovering lost partitions and volumes as well. Other than photos, the tool can also recover lost or deleted videos, music, documents, audios, archive files and more. It performs powerful scan and restores data in only few minutes.
Why Choose This Lexar Photo Recovery Software:

- The user interface of the tool is very interactive and offers numerous remarkable features.
- The program also allows you to preview the folders and its content before actually recovering them.
- You can also benefits from its two scanning modules and run either of them. Deep Scan is extremely powerful and competent.
- It performs read-only process which is great for recovering data in its original form.
Step-by-Step Guide to Use Lexar Photo Recovery Software
Step 1 Download Lexar Photo Recovery Mac Software
Download and install the program from its official website. Click on the application's icon to launch it and go to its main menu. On the main interface, you will see the supported file types. Click the ones that you want to recover.

Step 2 Scan the Hard Drive
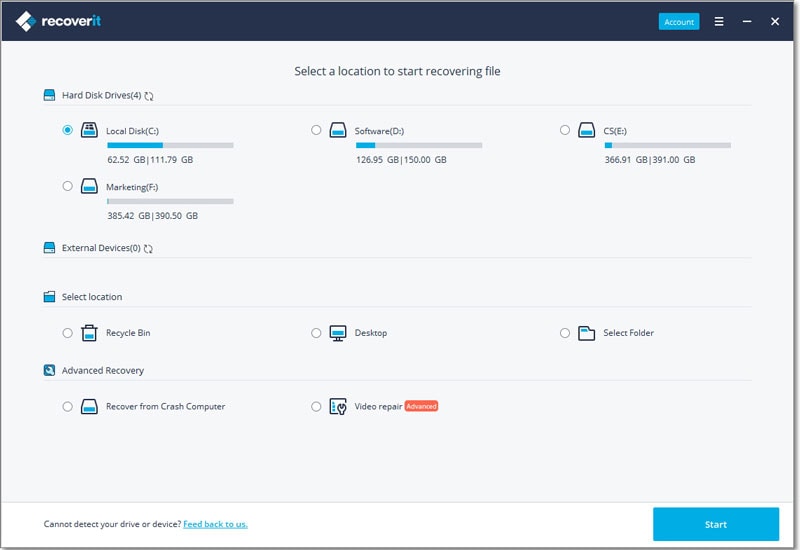
All the drives will queue up on your screen. Select the one which you want to scan and click on the "Scan" button. You can also mark "Enable Deep Scan" box to thoroughly search your entire drive.

Step 3 Lexar Photo Recovery on Mac
After the scanning process, all the lost files will appear on your screen. You can use the Preview option to view folders and its contents. This will help you recover exact files. When files are selected, click on the "Recover" button and then on "OK" to save your files to the desired storage device.

Make sure you never save the recovered files on the same drives from where they were originally lost. This will eliminate the possibility of overwritten and damaged files.


