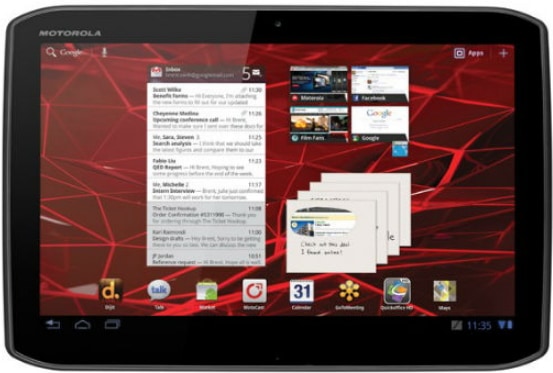
Motorola is one of the toughest brands that has been in the market for as long as possible. The Motorola Xoom is actually an improved Android based version, introduced by Motorola. Motorola Xoom is actually the primary device that runs Google’s Android 3.0 Honeycomb operating system. Motorola Xoom photo recovery is duly an important aspect of this brand. The brand can be used for various activities including taking photos or video chat with its 2MP front facing camera. Its memory is also extendable and can be used to save files of up to 32 GB capacity. The problem only occurs when you lose such much data and have no idea how to retrieve it.
- Part 1. 3 Steps to Recover Deleted Photos from Motorola Xoom
- Part 2. Common Data Loss Scenarios of Motorola Xoom
- Part 3. How to Backup Motorola Xoom Data to Prepare for Future Data Loss
Part 1. 3 Steps to Recover Deleted Photos from Motorola Xoom

Be rest assured that you can get your peace of mind with Recoverit for Mac (Recoverit for Windows). Use this tool to do Motorola Xoom photo recovery in three simple steps. This software gives you the ability to recover over 550 data types, making it the right option to do Motorola Xoom photo recovery for you. It will also let you do a filter search by file name or date in order to find your files within the shortest time.
Why Choose This Motorola Xoom Photo Recovery Software:
- It is prudent to recover only what is necessary. Because of that, it lets you have a full preview before doing a recovery for your data.
- Read only recovery feature works towards ensuring that no data is written to your Motorola Xoom phone before recovery.
- It has the ability to restore all the files lost due to deletion, system error or formatting. You can also check the quality of your data before doing a recovery.
- It works within just a few clicks and will not require any special skills. It comes in a user friendly interface making it easy to use.
Step-by-step Guide to Recover Photo from Motorola Xoom
Step 1. Connect the Phone
Connect the Motorola Xoom to the computer. You can decide to use a USB cable and connect the phone as an external SD device. Another better option is to take out the SD card and use a card reader to connect it to the computer. Once the SD card is detected, you will be able to perform a scan. Select the file types firstly, and click "Next" button to continue.
Step 2. Scan SD Card Data
After you enter the second window of the software, you have the chance to choose the location of your Motorola Xoom storage or SD card, click "Start" button to start scanning. The scan is also an easy process as long as the SD card has already been recognized. Start by doing the "Quick Scan" which normally runs very fast. A further "Deep Scan" would be ideal if you prefer to do a thorough check and scan of your Motorola Xoom device. The system will scan all your files within limited time.
Step 2. Preview and Recover Motorola Xoom Photos
Select which kinds of data you need to restore. Do this via the "Preview" option and make the correct decision regarding the quality of data to be retrieved. You always leave aside those photos and videos that are really of not good quality. After you review your lost data, it is now time to do a recovery of the same. Select all the data that you need to restore which can be videos, pictures, music files, documents and other archives. Check all of them then move to "Recover" button. Click on it and let the system restore them back. Meanwhile, you can save the data to any external device or better still, restore them to your Motorola Xoom device.

Part 2. Common Data Loss Scenarios of Motorola Xoom
Virus Infection
Malware attack as well as viruses can cause great damage to the memory card of your Motorola Xoom device. They work by eating up files, leading to great file and data loss.
Transfer Error
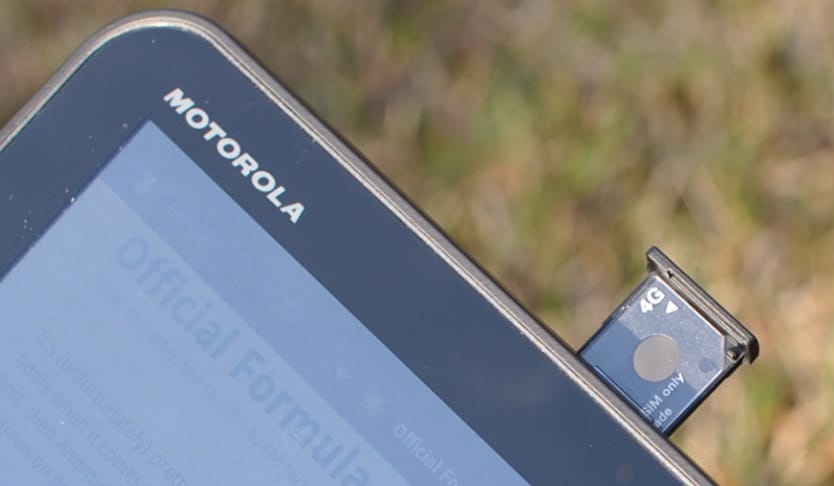
This mostly happens when there is power failure. In the event that you were transferring some data between devices and power suddenly goes off, there is a high possibility of memory card damage.
Accidental Deletion
This happens when you accidentally delete data such as photos, videos and documents.
Mistaken Formatting
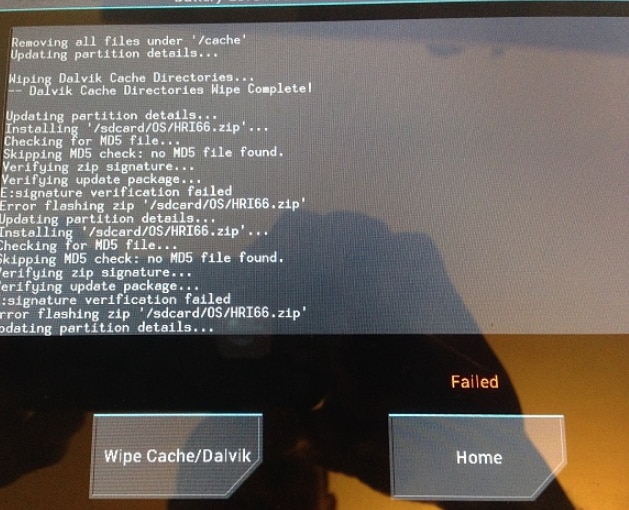
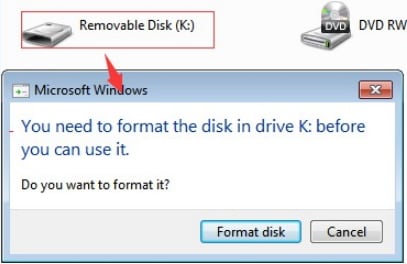
In a case when the computer under use prompts you to format your device and you suddenly hit that ‘format’ button, it do leads to data loss.
Part 3. How to Backup Motorola Xoom Data to Prepare for Future Data Loss
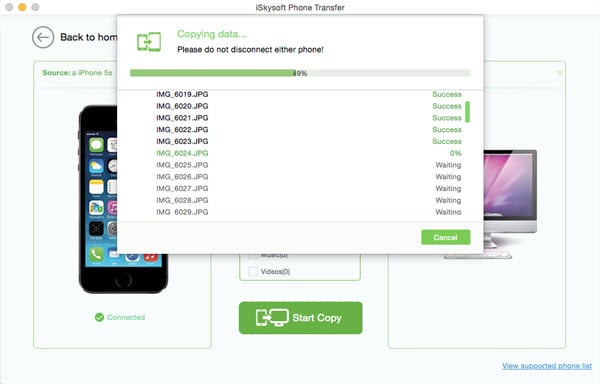
Step 1. Install iSkysoft Phone Transfer Program
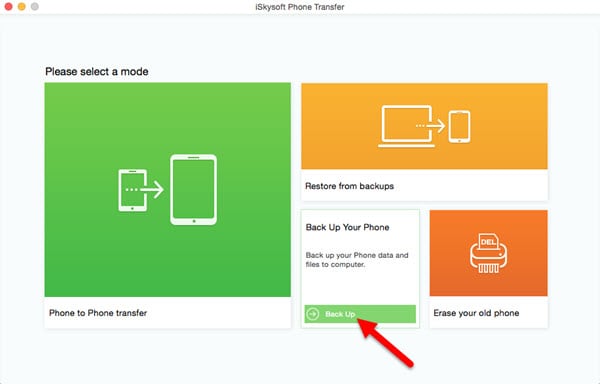
Connect your Motorola Xoom device to your computer and install the iSkysoft Phone Transfer program. Once the program is successful, click on the "Backup Your Phone" button. A back up list will be displayed.
Step 2. Select Data to Backup
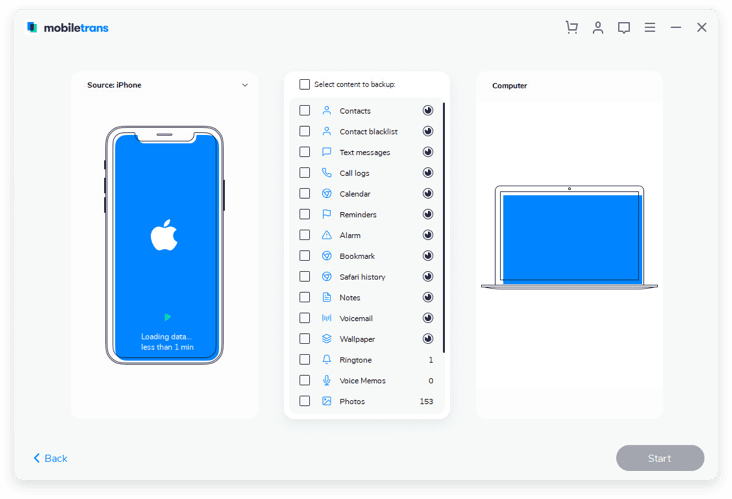
The system will allow you to select which kinds of data to back up to your computer. You will also have the option to change location of backup data. These data will be automatically checked and then you'll be prompted to start copying. Click on "Start Copy" button.
Step 3. View Backup Data
When the transfer is complete, click on "OK" to enable the backup folder open. Check on your data and save them appropriately. You can either save them in your computer or restore them back to your Motorola Xoom device.
