Hard drive failure happens all the time and the problem is that most of the time you don't even know you're experiencing hard drive failure until it happens and you lose all your data. It is a nightmare situation that most of us don't know how to fix or even what to do to get the missing data back. If this is what you are going through, we can help. In this article we are going to help you deal with portable hard drive data recovery problems, most especially how you can recover data from your portable hard drive.
Part 1. How to Perform Portable Hard Drive Data Recovery Easily and Completely
One of the easiest ways to recover data from a hard drive regardless of how you lost the data in the first place is to use a data recovery programs. There are very many data recovery programs in the market that can do the job reasonably well but if you are looking for the best, it can only be iSkysoft Data Recovery for Mac (or iSkysoft Data Recovery for Windows).
Key Features of Recoverit (IS):
- This program is completely safe to use and because it utilizes a read-only system, none of the data on other undamaged partitions will be damaged in any way.
- It can scan your media devices in a absolutely fast speed.
- You can preview scanned audio, images, document files at first before you recover them.

- It make it easy to recover lost, deleted, formatted data from USB drive, sd card, external hard drive and other devices.
Step-by-Step Guide to Recover Portable Hard Drive Data
Step 1 Launch This Software
Visit the official website and download this software on Mac. Launch it and you will open the main interface of it, you can see 6 file type options on the window. Choose type of files from the main interface, then click "Next" button to process.

Step 2 Scan the Portable Hard Drive
Then you will navigate to a window listing all your drives detected by this software. If you do not find your aimed drive, please click "Refresh" icon to scan again. After that you can select your portable hard drive and click "Start" icon to start to search for lost data.

Step 3 Recover Lost Data
When the scan process finishes, you will find all your scanned files listed in the window, and you can preview them before recover them. You can check the quality and contents of these files, after you select the files you want to get back, click the "Recover" button to restore them as soon as possible.

Part 2. What Can be Done before Perform Portable Hard Drive Data Recovery
Before you go ahead and start data recovery procedures, the following are just some of the things that you can do to ensure that the drive itself is not completely damaged. This may be helpful for you if you want to use the drive again. If you know what is wrong, you may have an easier time fixing it.
1. Check Whether the IDE/SATA to USB Enclosure is OK
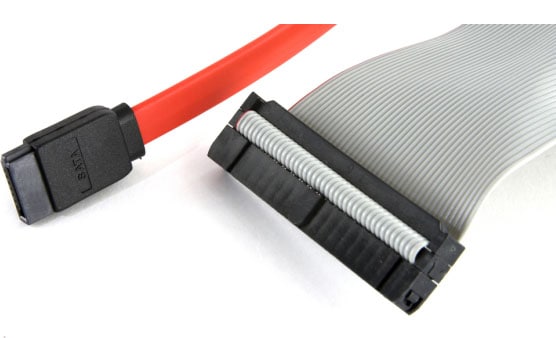
Sometimes a simple problem with a connection inside the drive can cause the drive to malfunction leading to data loss. Therefore, if you suspect that the drive may be damaged, this is one of the things you should check. If this is the case, you can simply open up the drive and use an IDE/SATA data cable or power cable to connect the drive to your computer after you open it up.

2. Is It Making a Weird Sound?
In order to diagnose the problem with the drive, you need to listen to the sounds it makes. A clicking sound is a prime indication that the drive is damaged in some way and if you hear that, you should absolutely either fix it yourself if you know how or send it to a professional. It is worth noting that sometimes you may not be able to fix it at all. In this case simply recover the missing data and get a new drive.
3. Manually Check That the Drive is Recognized
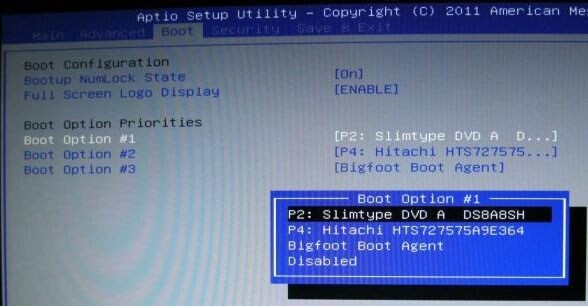
If you hear the disk spinning bust still suspect that it may be damaged because the computer simply doesn’t recognize it, you can try to manually get the computer to recognize the drive. You can do thus via the BIOS. Enter the BIOS after turning on your computer by pressing the trigger key (it will be different for every system) and then navigate through the menu to find the drives connected to the computer. You may be able to find in in the Advanced menu or under Boot Settings.


