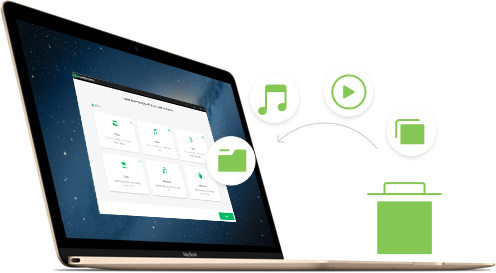
Since the new Mac operation system (OS) has been released, almost all Mac users have upgraded their Mac. They want to enjoy the new features coming with the new system. But many users have encountered the problem, they met the data loss issue after Mac OS X El Capitan upgrade. The users reported that they lose their photos, videos and other documents during or after upgrading to Mac OS X El Capitan. If you are one of them, do not be nervous, it is not a centurial problem. We will provide you the best solution to recover lost data after Mac OS X EL Captian upgrade.
Part 1. Best Data Recovery Software for Mac OS X 10.11
Now, if you have lost your data during or after the Mac OS X 10.11 El Capitan upgrade, do not worry as it can be recovered by using powerful software like iSkysoft Data Recovery for Mac (macOS 10.12 Sierra supported). Offering 4 innovative modes in ensuring data recovery for Mac as easy as it can be.
This software is also user friendly in each of its interfaces. In just three steps, i.e. Scan, Preview and Recover, lost files can be recovered easily. Name any file type that you can; be it media files, documents, emails or archived files, Data Recovery for Mac is able to retrieve all of them. Validity of files can be checked before any recovery process is performed. In the process of recovering your precious files, the software will only perform a read-only process. Therefore, no files will be damaged or interrupted.
Part 2. How to Recover Lost Files from Mac OS X 10.11 Computer
The data recovery process by using the iSkysoft Data Recovery for Mac is easy to follow; you can experience the ease of use by following the steps below:
What You Will Need:
Mac Computer;
Recoverit (IS) for Mac
Time Required:
Time will vary according to file's size
Difficulty:
Easy
Step 2 Select Drive to Scan for Lost Files
In the next window that appears, your drive should be listed automatically. Just click on "Refresh" icon next to "External Removable Device" if the window does not list your desired drive. Then, select the drive where you have experienced data lost.
Next, initiate the scanning process by clicking on the "Start" button which can be found at the top part of the window. It will take a short moment to complete the scanning process depending on the amount of files it is scanning through.
Step 3 Preview and Recover Desired Files
Once the scanning process is completed, you will see the listing of all files that were successfully recovered. Preview the files accordingly and click on those files that you want to retrieve. Click on the "Recover" button to complete the recovery process. You would be able to access the recovered files in the folder which you have been prompted to specify previously.
Part 3. Tips for Upgrading your Operating System
The process of upgrading and downgrading your operating system (OS) is at times necessary as it will allow you to experience better applications, better user experience and other updates offered by Apple and its complementing partners and providers. In another instance, you might upgrade to a new OS because there is limited support for the older OS. Nonetheless, as it is with any new introduced items; you might experience some issues with the new OS such as incompatibility with certain applications or you are just not feeling comfortable with the new interfaces introduced by the new OS. In the process of upgrading and downgrading of OS, users might experience data losses.
Therefore, even though you can rely on powerful software like the Recoverit (IS) for Mac, do always make it a habit to back up your iOS devices to another device or storage in order to cater for unwanted situations like data lost. Upgrading to a new OS might wipe out your data completely. Another option that you can consider is to have partitions of your hard drives and opt to install the new OS in a one of the partitions. With this, you can always be prepared for any data loss scenarios.


