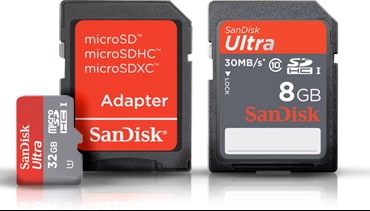
There are two ways for recovering lost, deleted or formatted photos from Motorola Droid Bionic. One is sending the phone or your SD Card to a professional phone repair agency/ lab to restore your photos. The second method involves finding a reliable Motorola Droid Bionic photo recovery tool, and using it to recover the lost, formatted or deleted pictures from the comfort of your home.
Usually, the former costs quite a lot of money, and you'll be handing over your personal data to strangers. What if your private photos land in the wrong hands? In this article, we discuss everything you would like to know about the best Motorola Droid Bionic photo recovery software. We also walk you through an easy-to-follow guide on how to use it to recover lost, formatted or deleted photos.
- Part 1. How to Recover Lost, Formatted or Deleted Photos from Motorola Droid Bionic
- Part 2. Suggestions for Avoiding Photo Data Loss from Motorola Droid Bionic
Part 1. How to Recover Lost, Formatted or Deleted Photos from Motorola Droid Bionic

Recoverit for Mac (or Recoverit for Windows) is all you need to solve all your Motorola Droid Bionic data loss problems. It lets you recover not only photos, but also audio files, videos, emails, documents, and more, from almost all devices including cell phones, computers, USB flash drives, external hard drives, digital cameras, memory cards, etc. Whether you lost files due to accidental or intentional deletion, system error, virus infection, device formatting, or other unknown reasons, Recoverit will get them back safely.
Why Choose This Software to Recover Deleted Photos from Motorola Droid Bionic:
- Supports preview, letting you check the content & quality of data before recovery.
- You are free to pause/stop scanning whenever you want & save the recent scan result for future use.
- Scans & restores your devices quickly, with original file structures & names.
- The "Deep Scan" option greatly increases your data recovery success.
Step-by-step Guide on How to Recover Photos from Motorola Droid Bionic
Step 1: Connect the Phone to a Computer
Use the original USB Cable that came with your Motorola Droid Bionic to connect it to your computer. If the photos are saved on SD Card, you can also unmount & remove the card from your phone, insert it in a Memory Card Reader and then connect the reader to the computer.
Step 2: Download & Install the Software
Go to download Recoverit. Open or double-click the downloaded file to install it. Once the installation process is complete, double-click on the software's icon from your desktop background to launch it.
Recoverit's main window lists the types of files you can recover. These include "Photo", "Email", "Audio", "Document", "Video", & "Others". Select "Photos" then click the "Next" button located at the bottom right corner of the software's interface.
Step 3: Select the Location
In the new window, you are expected to select the location where you lost your photos. There are 4-parts "Common location", "Hard Disk", "External removable device" & "I can't find my partition". You should be able to find and select your phones internal storage space or SD Card by clicking the "External removable device", then select the "Start" button on the bottom right corner of the software's window to start the scanning process.

Step 4: Recover Photos from Motorola Droid Bionic
Once the default scanning process is completed, you'll navigate to a window that lists all the scanned data. There are two ways to find the lost, deleted or formatted files. If Recoverit hasn't scanned your photos in the default "Quick Scan" process, it will provide you with a chance to use "Deep Scan", which scans your phone's internal storage or SD Card more deeply to recover your photos. You can click "Deep Scan" on the bottom of the window to trigger it.
After the scanning process, find the photo(s) you would like to restore, check them and then click the "Recover" button to retrieve them.

Part 2. Suggestions for Avoiding Photo Data Loss from Motorola Droid Bionic
Once you snap some great photos with Motorola Droid Bionic and save them on the internal storage or SD Card, a lot can go wrong either with the smartphone or the memory card. We understand that you don't want to lose your precious photos, right? So, here are tips that will help you avoid photo data loss from Motorola Droid Bionic.
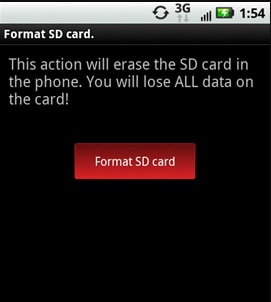
1. Always Format a New Memory Card Before You Can Start Using It
Nowadays, Memory Cards come pre-formatted, but it's still a good idea to format them again once you insert them into your phone. Make sure that the card is formatted from Motorola Droid Bionic, and not when it's inserted in a card reader and connected to a computer. This will help ensure that the memory card uses a file system that the smartphone recognizes.
2. Avoid Big Memory Cards
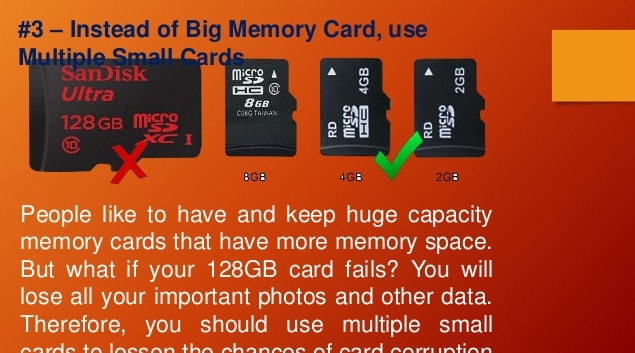
We recommend that you get multiple small cards rather than a big one. If your 128GB card is corrupted, attacked by a virus, fails, or if you accidentally format it, then you'll lose thousands of photos. But if you are using multiple smaller cards, it means that your photos will be spread out, and you won't lose them all at once.
Note: If you have multiple cards, ensure that you keep them in a safe place. A small piece of dust can cause reading or writing problems, and ultimately loss of photos. You can place them in the case they came with and store in a safe place.
3. Stop Taking Pictures If Your Phone or Memory Card is Almost Full
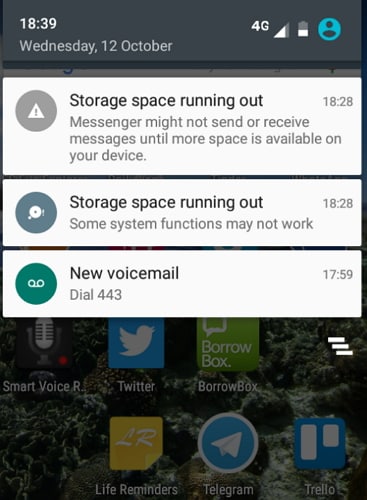
If you happen to take a photo when your phone's internal storage or SD Card is full, you may end up corrupting the data on the phone/ card. This means that you might be unable to access your photos anymore. We recommend that you stop taking new photos once your phone alerts you that the storage space is almost full.
4. Don't Push Your Battery to the Limit
If your battery is low, then you should probably stop taking pictures. This is because, if you continue taking shots until the battery completely runs out of energy, then there is a chance that your phone will go off at the exact moment when the camera will be writing to the internal storage or SD Card (which can cause data loss).
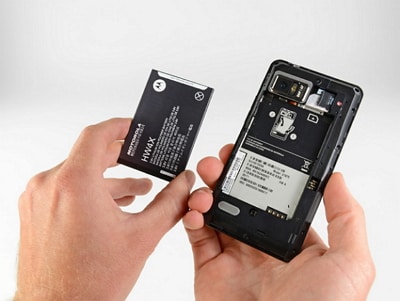
5. Always Safely Unmount/ Eject the Memory Card from the Phone/ Computer
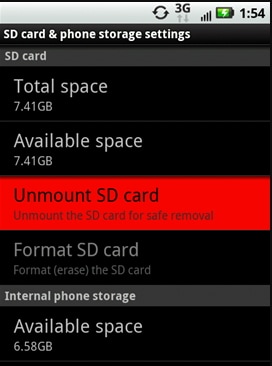
If you want to remove the memory card from your Motorola Droid Bionic, then you should either unmount the card or just switch off the phone first. Also, when you’re done backing up your photos on a computer, you should always make sure that you eject the memory card properly.
Don't just yank the USB Cable or the card reader. You may be thinking that your computer isn't reading/witting the card, but it may still be accessing it. On Windows, there's always an icon for safely removing USB media in the lower right corner of your screen, while on Macs you can simply use the eject button on the keyboard.
6. Use High-Quality Memory Cards & Memory Card Readers
Nowadays, the market is full of cheap off-brand memory cards. Photos taken and saved in these cards are known to disappear mysteriously. So we recommend that you always buy good quality cards, especially the ones from popular brands such as SanDisk, and Lexar. The same applies to the card reader. In fact, the best thing to do is use a card reader that's made by the same manufacturer of the memory card.
