Burning your MKV video files to DVD with subtitles can be quite a challenge when using some burners. However, with Handbrake, everything is absolutely easier. You do not have to drop your favorite movies in a corner just because they are filmed in a foreign language. With this application, you can be able to attach your preferred language to the videos and enjoy watching them with understandable speaking.
Part 1: How to Burn MKV to DVD with Handbrake for Mac Alternative
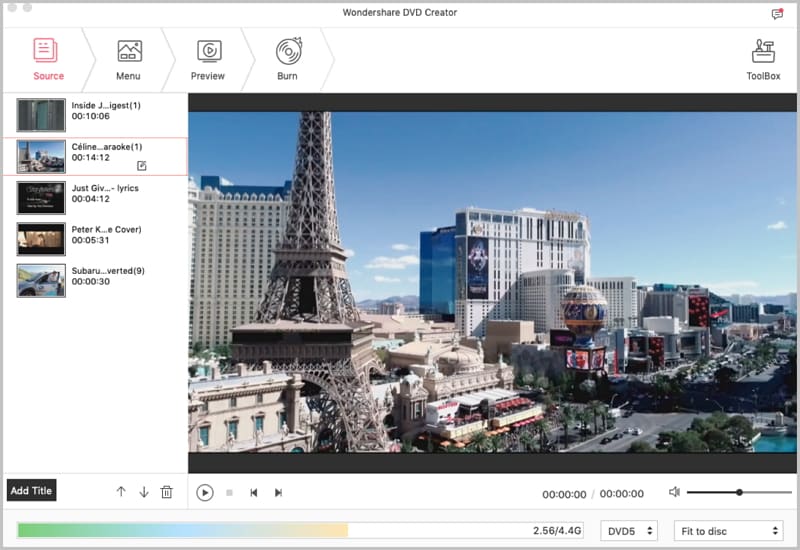
Burning MKV to DVD using with Handbrake can be very tedious and time consuming. If you want to make things easier, you should consider using iSkysoft DVD Creator for Mac (or iSkysoft DVD Creator for Windows). This Handbrake for Mac (macOS Sierra) alternative supports conversion of many types of video codecs, including SSA subtitle, USF and SRT. Apart from organizing and burning video files to DVD, it also offers useful editing functions, slideshow tools, and lots of gorgeous DVD menu themes so you can create a stylish DVD effortlessly. The following are its features.
- It allows burning YouTube, Vimeo, and other videos from the internet to DVD.
- It enables you to burn videos in any format to DVD.
- You can use it import videos shot by a camcorder or phone and then burn them on DVD.
- It allows you to make slideshows with lovely backgrounds.

Step-by-step Guide on How to Burn MKV to DVD on Mac (10.12 macOS Sierra)
Part 2: How to burn MKV video files to DVD with subtitles using Handbrake
- Step 1: First, search for your preferred subtitles. Make sure that they are in a language that you can understand. If the MKV file has a subtitle already, extract it.
- Step 2: Save the subtitle file as an SSA file. To do this, you simply need to go to File after the file has been extracted, and then save it with a *.ssa extension. This will create a format of the subtitle that can be used by handbrake to burn it.
- Step 3: Go back to the MKV video and remux it with SSA instead of SRT so that it can be seen by Handbrake. To do this, use MKVMerge. Open MKVMerge and then click the Add button in order to locate the MKV video file.
- Step 4: Once the MKV video file has been opened, you should be able to see the individual video, audio streams, as well as the subtitle. Uncheck the SRT subtitle file that your MKV video contains currently.
- Step 5: Click Add while making sure that the *.ssa file is selected. Once that is done, you should be able to see the video file in the input files list and the chapters, tracks and tags list.
- Step 6: Provide an output file name and then click “Start muxing”. The MKV video file will be remuxed with the *.ssa file.
- Step 7: Once that is done, go ahead and burn the subtitles in the video using Handbrake. Open Handbrake, and then go to Open, and choose File.
- Step 8: Choose the new MKV file, and then apply the filter of your choice.
- Step 9: Go to the subtitle tab and then click Add.
- Step 10:You should see the *.ssa file. Look for the Burn In check box and then tick it, and then run Handbrake to burn the video file.
Part 3: Troubleshooting on Using Handbrake to Burn MKV to DVD
Problem 1. “Cannot find Handbrake.exe.”
When you get this error, it is probably because Handbrake is not installed properly. You will need to reinstall it.
Problem 2. “Handbrake.exe is not a valid Win32 application.”
You will get this error if you install the wrong version of Handbrake on your computer. You will need to look for the right version and install it.
Problem 3. “Error starting program: Handbrake.exe.”
This error can occur because of a simple malfunctioning of Handbrake. To fix it, you will need to restart the computer.
Problem 4. "Handbrake.exe is not running."
To resolve this issue, you will need to go to the task manager and then stop the Handbrake process, and then restart your computer.
Problem 5. "Handbrake.exe Application Error."
To resolve this issue, you will need to go to the task manager and then stop the Handbrake process, and then restart your computer.
This error could be as a result of corruption of program files associated with Handbrake. You will need to do a clean installation to fix it.


