Contents
- 2. Create DVD Menu on Mac
Part 1: Download Free DVD Menu Templates in DVD Creator
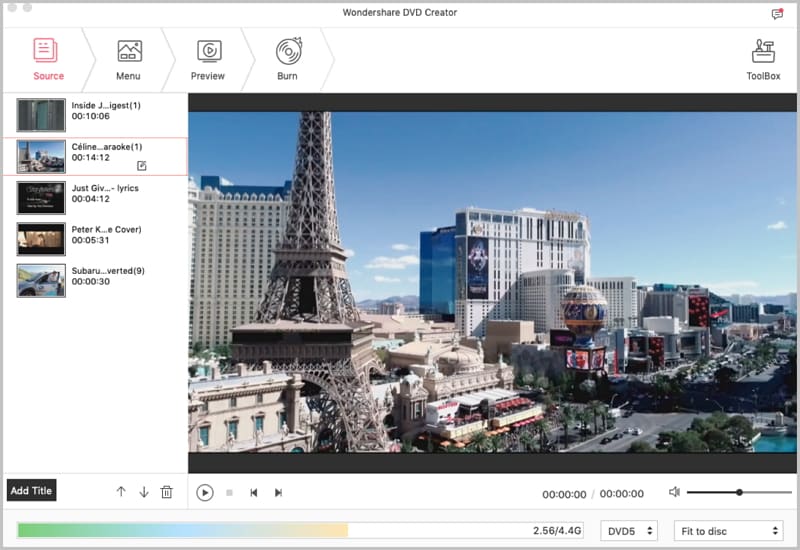
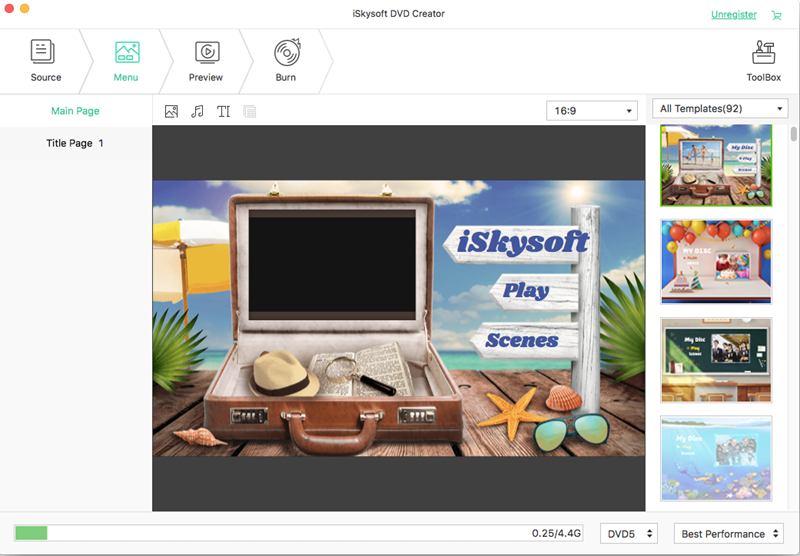
The iSkysoft DVD Creator is a resourceful software which helps users turn their collection of videos into DVDs. With a wide array of DVD template options users can turn creative and spruce up their common audio and video files quickly. It can also take photos and convert them into slide shows with background music of your preference.
Key features of DVD Creator:
- The capability to import pictures, audio files and videos from various file formats, to be burnt into a DVD.
- Users can customize their videos according to their personal preferences with DVD templates, music and other media files. The custom DVD data can be taken to fit one theme by picking a DVD menu.
- It lets users author photos, audios and videos into DVDs which support ISO and .dvdmedia files too.
- It facilitates the burning of videos that are downloaded from social media sites like Facebook, YouTube, VImeo and also torrent sites such as Vuze.
Simple tutorial to burn DVDs using this DVD menu maker:
Downloading and applying more free DVD menu templates is even easier:
- Step 1. Open DVD Creator, and navigate to the Menu. There select the ‘More Templates’ option and you can download free DVD menu templates from the webpage of DVD Creator you would be connected to.
- Step 2. Look through the DVD menu templates to download the templates you like. The downloaded files would be in a compact .zip format. To decompress the downloaded files double-click on them. On doing so a message will appear stating “Templates have been installed successfully. Enjoy!”
- Step 3. On opening the software the next time you will see the new templates in the menu which you can then utilize like all the other DVD menu templates.
Part 2: Top 6 DVD Menu Maker to Download Free DVD Menus
Given below is a list of a few reliable sites where you can find free DVD menu templates.
#1. Burn (Mac)
Burn is an easy-to-handle software that makes burning DVDs a simple process on Mac operating systems. The software lets you burn your files to a disc so that you can utilize the information whenever you want. Not only that the software is also capable of burning files of various formats which can be later shared with users of other operating systems.
The menu templates that Burn consists of are the ‘Default’ theme that it has besides its ‘Console’ theme. Burn also lets users create their own custom themes.
#2. DVDStyler (Mac)
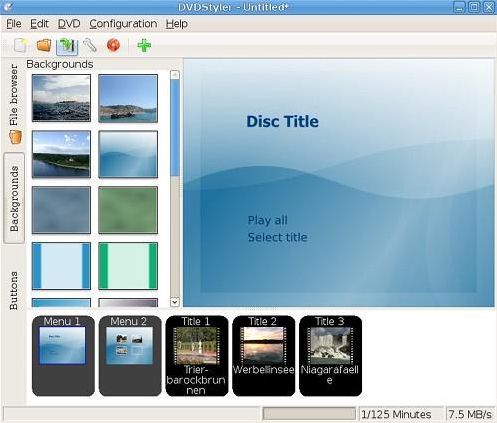
DVDStyler is a free software that facilitates the creation of DVDs with finesse. The software has a cross-platforms interface that allows for making DVDs with video files that can be played on any individual DVD player.
The software also supports the feature of designing DVD menus. The DVD menus that can come with DVDStyler is quite varied, and users get to choose from a wide number of themes.
#3. DeVeDe (Windows)
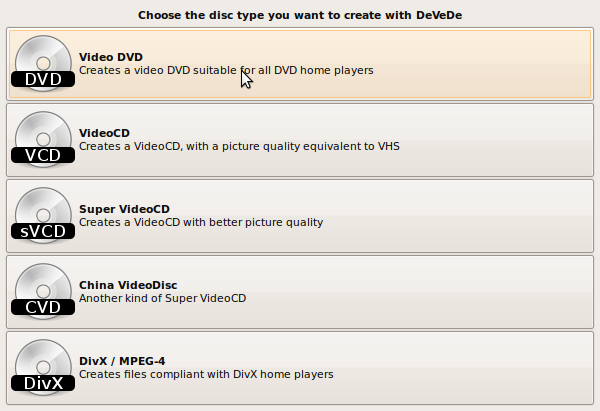
DeVeDe is a free software that helps users to convert open-source videos to DVDs. The platforms lets users take any video in any format and convert it into one of the media types that support DVD images and finally prompts the user to burn it onto a disc.
The menus that can be customized with its help come in NTSC or PAL/SECAM formats also. It also allows users to modify the menu font.
#4. Avi2DVD (Windows)
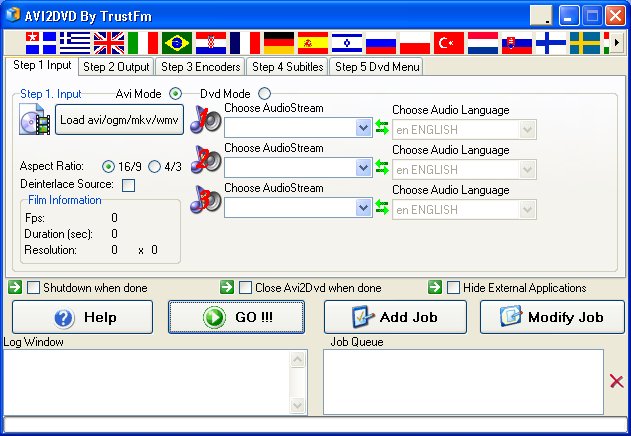
Avi2DVD is a free tool that is compatible with the Windows Vista and Windows 7 operating systems. It helps users convert media files of various formats like Mkv, Wmv, Ogm, Avi, Mp4 to formats like Vcd, Svcd, or DVD. Its simple interface is preferred by many users when it comes to conversion of media files into DVDs.
Its DVD menu design feature lets users customize the text, images, audio, chapters and subtitles according to the theme of the personalized menu.
#5. DVD Flick (Windows)
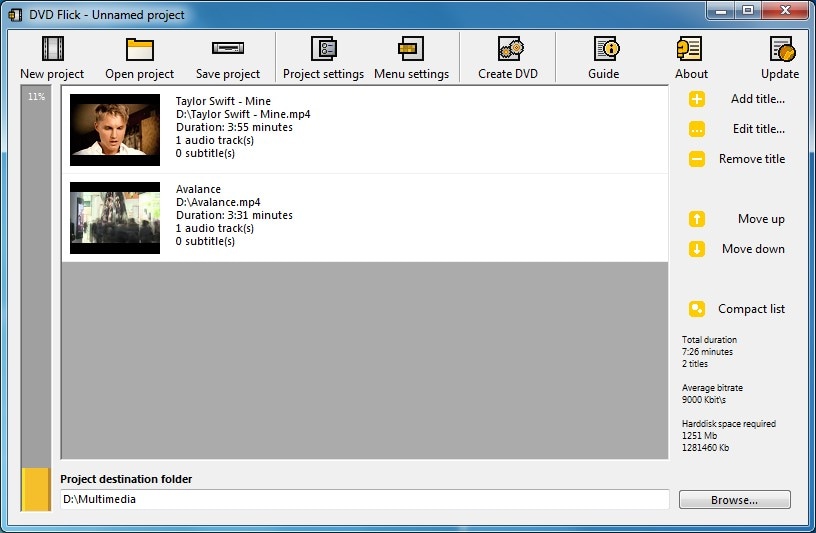
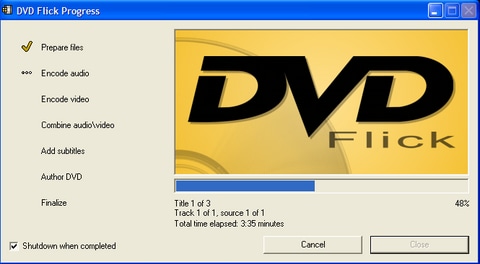
DVD Flick is a DVD burning application that is compatible with the Windows OS. Its functions include the capability of being able to burn multiple video files that are stored in your system’s hard drive to a DVD that will play back on any standalone DVD player. Moreover it lets users add subtitles, audio tracks and a menu for their ease.
The number of DVD Flick menu templates is six in total including, Mosaic, Simple Black, Simple White, Orange LED, The Party and Plasma Sphere. The menu options given by the software can be customized to the last detail centering around the menu template the user chooses.
#6. DVD Menu Studio
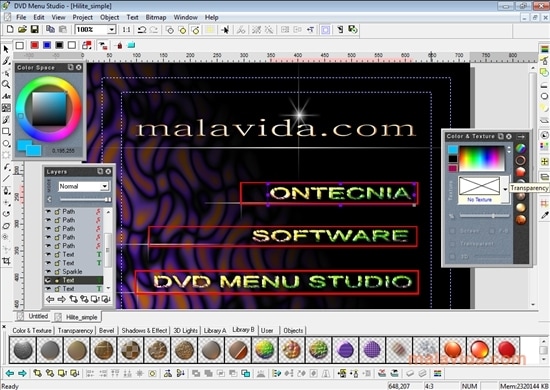
DVD Menu Studio gives the user the liberty to customize their unique DVD menus. It works in the capacity of an image editor and the designed DVD menu is transferred from the tool to another software to be burnt onto the DVD.
The DVD menu options on this tool are quite useful to add changes to the menu templates customized here.
Part 3: How to Get Free DVD Flick Menu Templates
DVD Flick (Windows)DVD Flick is a DVD burning application that is compatible with the Windows OS. Its functions include the capability of being able to burn multiple video files that are stored in your system’s hard drive to a DVD that will play back on any standalone DVD player. Moreover it lets users add subtitles, audio tracks and a menu for their ease.
The number of DVD Flick menu templates is six in total including, Mosaic, Simple Black, Simple White, Orange LED, The Party and Plasma Sphere. These menus are downloaded along with the software. Given here are a few easy steps to customize your Menu in DVD Flick:
- Step 1.Open your browser and navigate to an online menu maker, the “Coffee Fueled Creations”.
- Step 2.Here you can achieve to personalize your DVD Flick menu by using unique images and colors.
- Step 3.In order to utilize this online menu maker, simply fill the form available on the site and click on the ‘Submit’ button.
- Step 4.This will lead to the automatic downloading of a file.
- Step 5.After the file is downloaded navigate to Program files\DVD Flick\templates and create a folder there.
- Step 6.Now paste the compressed files here, which will make the themes emerge on the program of DVD Flick.
Part 4: How to Create a DVD Menu in Adobe Encore
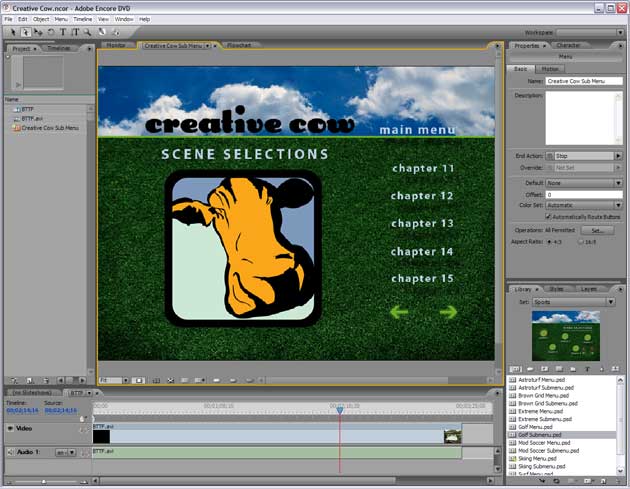
Adobe Encore the tool to author DVDs can also double up as a DVD menu creator that lets users design menus by utilizing either the preset menus themselves or by playing with preset backgrounds and buttons.
The guide to creating DVD menus with preset backgrounds is as follows:
- Step 1.Navigate to the toll’s Library section, and click on the Set menu you want. Then select the option of ‘Toggle Display of Menus’ to show the preset menus.
- Step 2.Pick the menu you need and select the option of ‘New Menu’ at the Library section’s bottom.
- Step 3.The new menu will show in the Menu Viewer and will be added to the Project section.
- Step 4.Now proceed to edit the menu according to your requirements. To edit the text select the proper text tool from the Tools section. Then choose from the options of creating a new text layer, or text object as you wish.
- Step 5.You can duplicate or delete buttons in the menu as required.
- Step 6.Connect the links of the buttons to the items or submenus in the Project section.
Part 5: How to Make a DVD Menu for PowerDirector
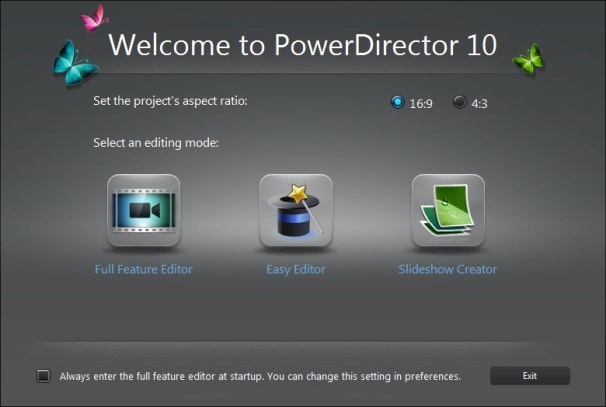
PowerDirector functions as a software for video editing and burning DVDs. One of its many qualities is the feature of customizing templates of DVD menus.
Here is an easy to follow guide to design menus using PowerDirector:
- Step 1.Open the PowerDirector tool and go to the icon with the director's chair. Click on the ‘File’ option and select ‘Open’ from its menu. This will open a file selection window. Here browse for your project file, click on the item and select ‘Open’ to launch the program.
- Step 2.Next select the ‘Create Disc’ section and the DVD menu template collection will appear. Pick a menu template and then select the ‘Modify’ option to start personalizing it. Now the ‘Menu Designer’ section will open.
- Step 3.Here select the ‘Set Background’ option, which will again open a file selection window. Browse for an image to substitute the menu background set by default, on selecting an item click ‘Open’. This will in turn open a dialogue box to re-size the image. Pick the necessary tool from the ‘Stretch’, ‘Crop’ and ‘Letterbox’ choices to fit the image to the background.
- Step 4.Now select the ‘Change Text Properties’ icon. Going through the ‘Menu Properties’ library select a colour for the menu’s text. Navigate to the ‘Disc Menu Font Properties’ toolbar and fix the size, typeface and alignment of the menu’s text.
- Step 5.Next choose the ‘Set Button Properties’ icon. Browse through the library of ‘Menu Properties’ and pick a layout you like to accommodate the menu buttons.
- Step 6.Finally select the ‘Save’ option to preserve your customized template in PowerDirector. You can find it for later use in the ‘Menu Designer’ section.


