DVD Shrink refers to a DVD transcoder program for Windows that allows users to rip and backup DVD movies for free. The program was once very popular, but in the past few years, users have been experiencing various “DVD Shrink won’t start” issues, such as DVD Shrink for Blu Ray not working, DVD Shrink wont work on Windows 8, DVD Shrink can’t copy Disney movies, DVD Shrink cant open VIDEO_TS or ISO files folders, DVD Shrink cant remove copy protections and more.
All these issues can’t be solved within the program since DVD Shrink upgrades ended on July 25, 2004. That’s why it doesn’t work well on the latest Windows versions such as Windows 7 or 10, but works better on Windows XP/2000. In this article, we share everything that you would like to know about the perfect alternative to DVD Shrink for Blu Ray.
How to Burn Blu Ray DVD with DVD Shrink Alternative

iSkysoft DVD Creator is the highly recommended DVD Shrink Blu Ray alternative. It is one of the most popular software on the web due to its excellent features. The software is designed to help you burn any video, music or photo to DVD/ISO files for playback on mobile DVD players or HDTVs. It supports Windows Vista, XP, 7, 8 and Windows 10 as opposed to DVD Shrink. Users are happy with its ability to burn Blu-ray DVD discs, transform digital video collections into DVD, turn photos into a photo show with background music before they can be burned into DVD and so much more.
Key Features of This DVD Shrink Blu-ray Alternative:
- The software allows you to convert and backup media files to DVD folder/ISO.
- You can import audio files, videos and photos by simply dragging them to the program.
- Users are free to collect their favorite DVD menu templates in “My Templates,” and be able to find them with ease next time.
- There are over 40 free DVD menu templates that you can use to personalize your videos.
- DVD Creator supports all types of video and audio formats, meaning that you can burn all types of audio and videos to DVD.
Steps to Burn Blu Ray DVD
Step 1 Launch DVD Creator
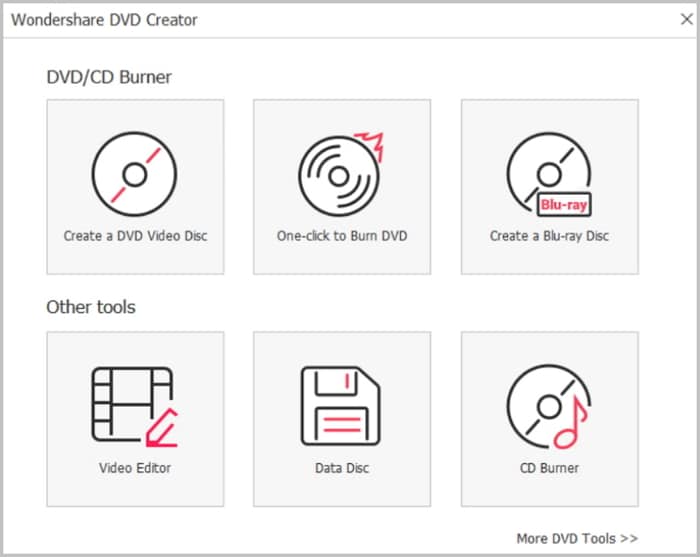
First download iSkysoft DVD creator. Open the “downloaded” file to install the software and then launch it.
Step 2 Import Blu Ray Videos
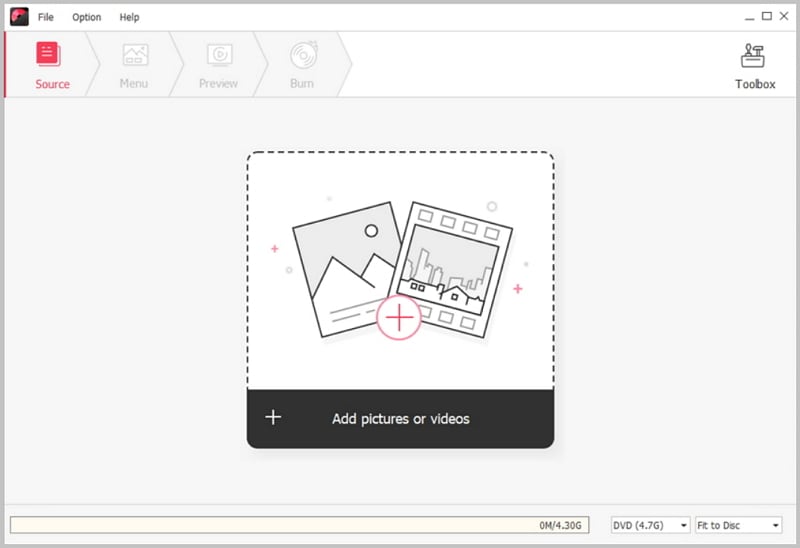
Click the “Import” button that’s located at the left-top corner of the program’s window and then navigate to the folder with the videos that you would like to import to the program.
Step 3 Edit Videos
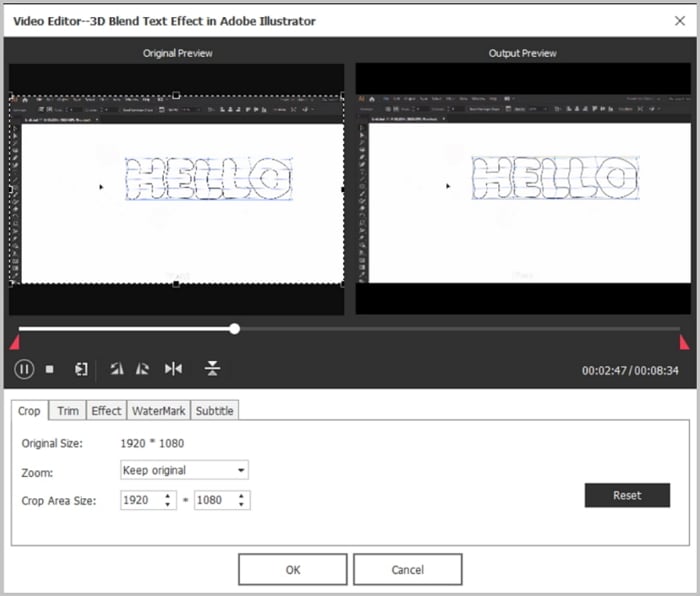
Click the “Edit” button located besides the specific video thumbnail in order to access the video editing window. You can then enhance the video quality by adding effects and watermarks or by trimming and cropping it.
Step 4 Add a DVD Menu Template
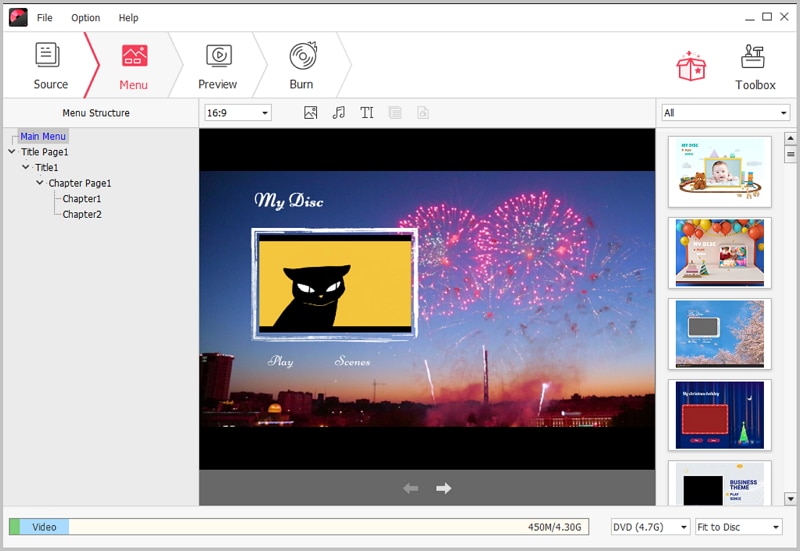
Click the “Menu” tab on the program’s interface to select your preferred menu from the recommended list of DVD menus. Double click your selection to apply it to your DVD. You are also free to click the download arrow and download the free DVD menu templates.
Step 5 Burn Blu-ray DVD
Select BD DL (50G) or BD (25G) to burn a Blu-ray disc or choose DVD (8.5G) or DVD (4.7G) to burn a standard DVD. The software also allows you to select the DVD quality from the standard to high quality. And then verify if everything is Okay and then select the “Burn” option to choose the output file format and the folder where it should be saved. When done, click the “Burn” button to start burning your Blu-ray DVD.


