We all love movies and video clips that we download from time to time from the internet. We also have a lot of stuff on our computer hard drives that we need to back up in order to free space for other stuff which could be more videos. DVDs come in handy in these situations and are the most common way to backup and store files. They are especially very convenient when you need to burn DVD with videos that will work with most DVD players. You will need to have a DVD writer or a DVD burning software installed in order to accomplish the DVD burn process.
Part 1. How to Burn a DVD on Mac Easily

To burn a DVD on Mac, you can get help from iSkysoft DVD Creator for Mac. This DVD burner helps you create DVD discs from your collection of videos with ease, anyone can do it. You can burn DVDs in any format with it, whether from self-made home videos or downloaded movies, slideshows or audios. I would recommend iSkysoft software because it is easy to use and will meet all your DVD burning requirements.
Key Features of This DVD Burn Mac
- A diversity of inbuilt DVD templates for creating customized videos.
- You can edit videos before burning. Trim, crop, adjust effects or add watermarks to videos or add transition effects to slide shows before burning.
- It allows you to burn any videos in any format to DVD. You can also burn home made videos and online videos to DVD.
- You can have multiple DVD format output and burn to DVD disc or DVD file.
Steps on how to burn a DVD
Step 1 Import Videos to the DVD Burner
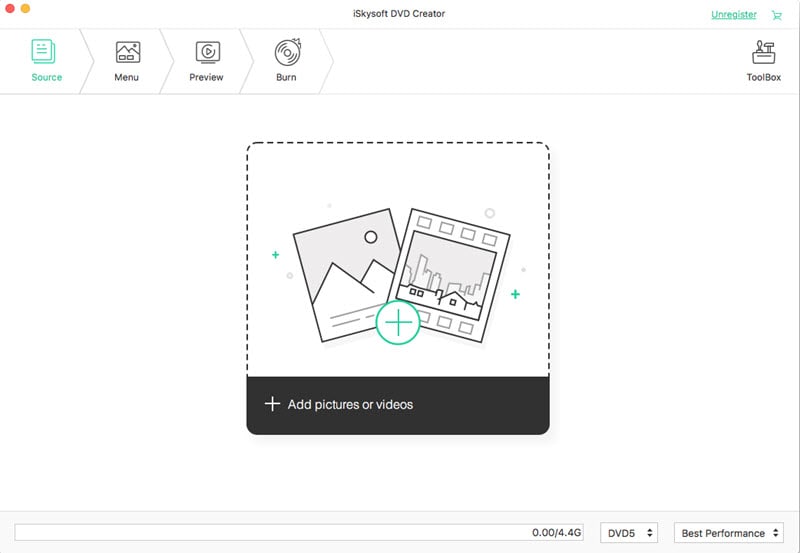
If you don’t have the software, download and install it on your Mac. Run the software and click on "Create New Project" on the interface. And then import the files you need to burn into the program by either clicking on the + button or by manually dragging the files into the program.
Step 2 Edit Videos Before Burning
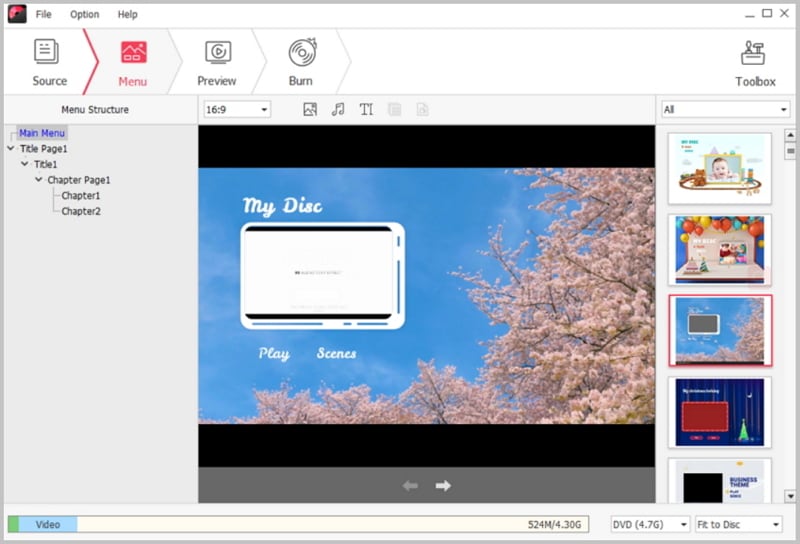
Before burning DVD, you can edit your videos by cropping, trimming and rotating. Also, you can add a DVD menu to the videos to fit your theme.
Step 3 Start to Burn DVD
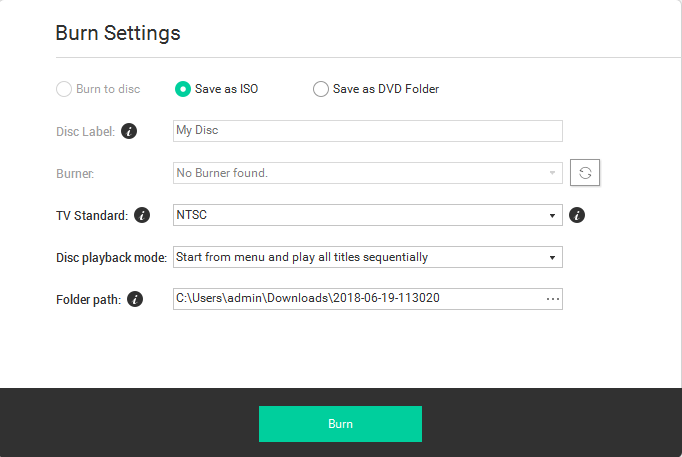
Now click on the "Burn" button to start burning. Before burning, bear in mind the four output options available – ISO file, DVD Folder, DVD Disc and DVD Media file. Choose the right output option (DVD Disc) and set the appropriate parameters including; DVD name, burning speed, TV Standard (PAL/NTSC).
Part 2. How to Burn a DVD on Windows

For Windows users, iSkysoft DVD Creator for Windows version is also available. The DVD burner software is available for Windows XP, Vista, Windows 7, 8 and also Windows 10. You are able to burn media in many formats with it including; video and audio files or even make a slide show with pictures from your Personal Computer combined with your favorite music. Among the video formats you can burn with this software include; AVI, MP4, MKV, WMV, DAT, MOV, F4V, FLV, M4V and VOB. I would recommend this program because it is so easy to use, anyone can use it. It will meet all your DVD burning requirements without all the hustles that come with other DVD burning software. You don’t have to be a guru to use it.
Key Features of DVD Creator:
- A wide range of DVD templates to help you create unique videos.
- Automatically combine videos into one DVD speeding up the burning process and making it easy to navigate.
- Preview ability. You can preview your templates on the preview screen and edit before burning.
Steps to Burn DVD on Windows
Step 1 Import Videos to the DVD Creator
After installing the software on your PC, run the program and click the "Import" button and navigate to the videos you want to burn and import the video.
Step 2 Choose a menu
You can choose the DVD menu template that suits your theme or none at all if you do not need it. Name your DVD.
Step 3 Start burning DVD
Choose D5/D9 disc you want to burn at the bottom of the window and set the resolution. After this, you can preview the design you have come up with on the preview screen and modify to your liking. When you’re satisfied everything is in place click burn. Chose the output format (DVD Disc) and press start to burn your DVD.


