If you have captured some MPEG videos on your camera or have downloaded some MPEG movies from the internet, you may want to watch them on your DVD player or Xbox. To be able to watch the MPEG files on your DVD player, you will first of all need to convert MPEG to DVD format. You can also save some space on your hard drive by burning the MPEG files to DVD.
Part 1. The Easiest Way to Burn MPEG to DVD on Mac

To be able to burn your MPEG files to DVD on Mac, you should consider using iSkysoft DVD Creator for Mac. This MPEG to DVD converter lets you burn DVDs and also create DVD files on your Mac (OS X EL Capitan included) without any hassle, so that you can play everything from your DVD player. Besides burning and organizing video files, DVD Creator is also packed with very useful editing functions, gorgeous DVD menu themes and slideshow tools to enable to create stylish DVDs without much effort.
Key Features of DVD Creator for Mac
- You can burn any formats, online videos, home made videos to DVD in very high quality.
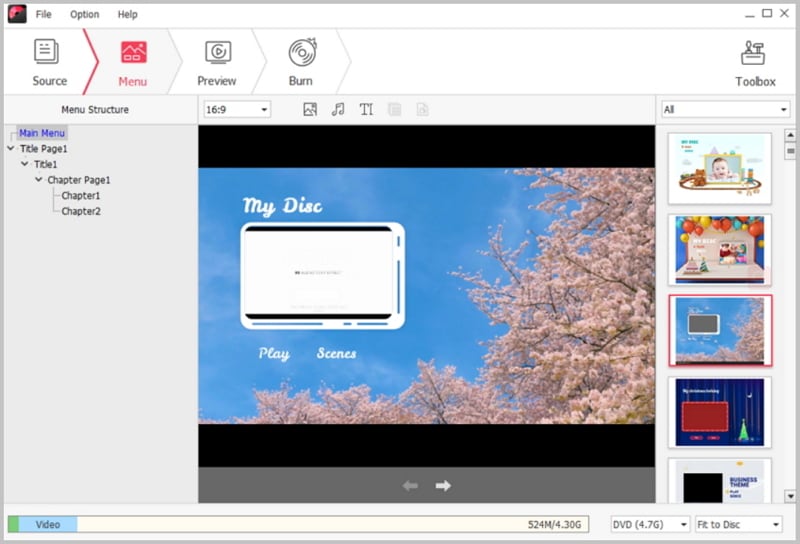
- It has free DVD menu templates that enable you to easily find a template that fits the theme of your DVD movie perfectly.
- It comes with a built-in editor that lets you choose from a lot of transition effects, add captions, change slide duration and do many other things.
- It has a preview window that allows you to make sure that the DVD menu style as well as the video effect that you have selected is what you want.
- It has a simple interface with self-explanatory options to allow you to learn how to use it with ease.
Steps to Burn MPEG to DVD on Mac (El Capitan)
Step 1 Download and Install the MPEG to DVD Burner
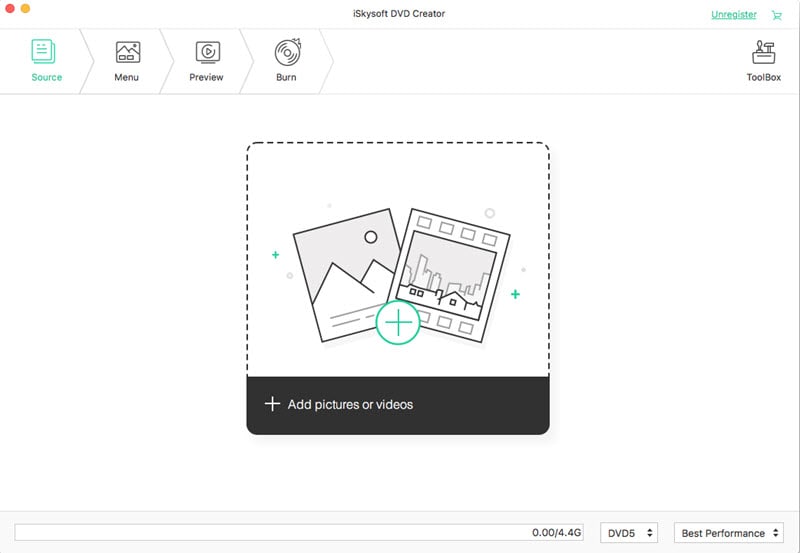
First, you will need to download this program and the install it on your Mac. After that, you will need to launch it to go to the main interface.
Step 2 Import MPEG Files to the Program
The next thing you will need to do is to import whatever files you want to burn to DVD Creator. You can load the files by dragging them directly to the program or by clicking the “+” button that is located in the upper right corner of the program.
Step 3 Start Burning MPEG to DVD
After importing the files successfully, click the big "Save" button. And you can choose the output option and then set the right out parameters. After that, you simply click on the "Burn" icon to start the process.
Part 2. How to Burn MPEG to DVD on Windows

Even on Windows, the best application to use to burn MPEG to DVD is iSkysoft DVD Creator for Windows. It is a really excellent tool for transforming digital video files into DVD disc. It has a wide range of DVD templates to choose from to allow you to create the most unique DVDs from your ordinary videos.
Key Features of DVD Creator:
- It allows you to create high quality DVDs at a very fast speed.
- It comes with an array of custom DVD templates to enable you to find the right DVD theme for your project easily.
- It has a very simple interface with easy to use operation to allow you to make DVDs faster.
Steps to Burn MPEG to DVD on Windows (Windows 10 Included)
Step 1 Download and Install iSksoft DVD Creator for Windows
First of all, you need to download and install this application on your computer. After it has installed successfully, launch it to go to the main window.
Step 2 Add MPEG Videos For Burning
In the main window of the application, click on the “Import” button. It is located in the top left corner of the window. Navigate to the videos that you would like to burn and then load them.
Step 3 Choose a Menu and Preview
The next thing you will need to do is to choose a DVD menu template that fits your theme. If you do not need a theme, choose “No Menu” and then name your DVD. Go at the bottom of the window and then choose either D5 or D9 and then set the resolution. Preview what you have designed and modify where necessary.
Step 4 Start Converting MPEG to DVD
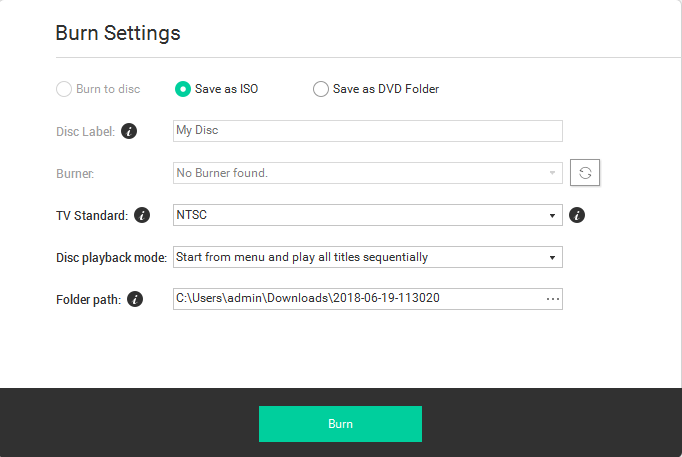
Once you have confirmed that everything is okay, click on “Burn”. Choose the output format as well as location of the file and then click “Start” to begin the burning process.


