If your car stereo supports DVDs, you can burn your favorite music to DVD to listen to them while you are on the go. In this article, we are going to show you how to burn music to DVD using two programs: Windows Media Player and iSksoft DVD Creator.
Part 1. How to Burn Music to DVD with Windows Media Player
Windows Media Player is a reliable program that you can use to burn music to CD or DVD. If you know how to use this program, you can create a mix DVDs of your favorite music to listen in your car. If you don’t know, below is a step by step guide on how to burn music to DVD with Windows Media Player.
Step 1: Insert a blank DVD into your computer’s DVD-RW drive. Note that DVDs come in different types, so you must be sure your computer’s DVD drive is compatible with the DVD disk that you want to use.
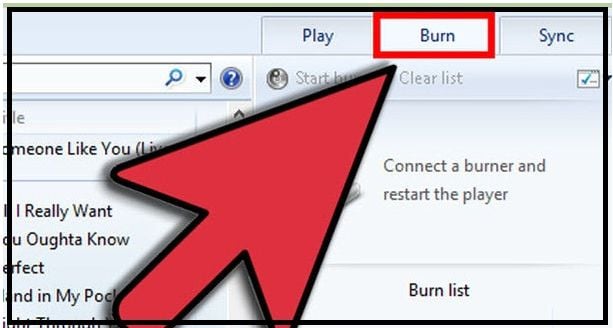
Step 2: Open Windows Media Player program and click on the Burn button.
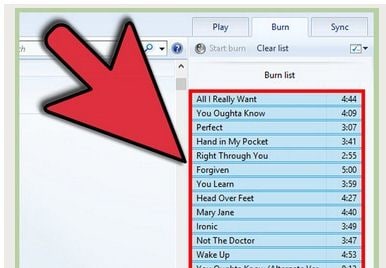
Step 3: Select the music that you want to burn from the albums and playlists and add them to the Burn pane of the inserted DVD. You can do this by dragging and dropping.
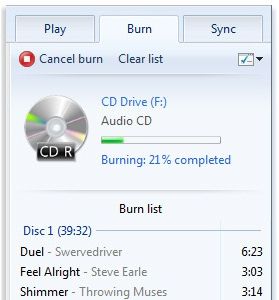
Step 4: Click Start Burn and wait for the music to burn into the DVD you inserted.
Part 2. How to Burn Music Videos to DVD for Car DVD

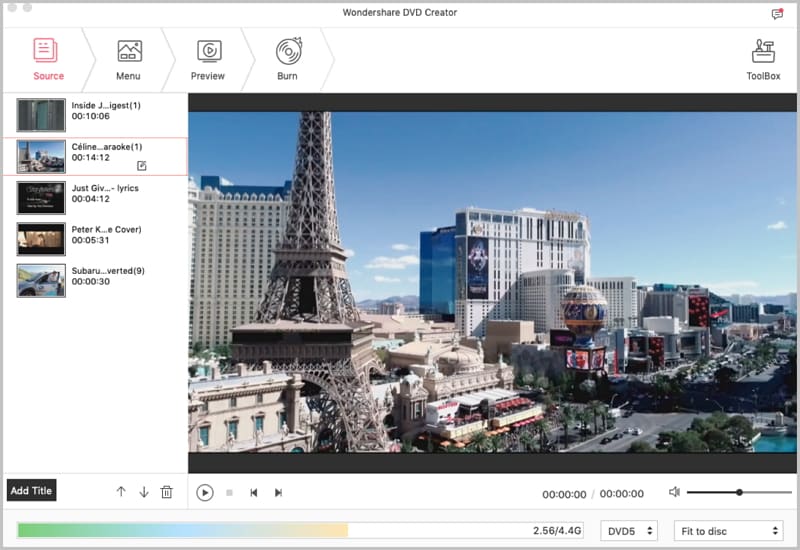
If you are using a Mac device, the best program that we recommend for burning music videos to DVD is iSkysoft DVD Creator for Mac (or iSkysoft DVD Creator for Windows). This program burns MP4 music videos and movies to DVD in order to playback in a DVD player.
Key Features of DVD Creator:
- Burn MP4 movies and videos to DVD effortlessly for convenient playback on any car’s DVD player.
- Comes with useful editing functions, gorgeous DVD menu themes and lots of slideshow tools for creating stylish DVDs effortlessly.
- Supports a variety of formats like MP4, AVI, FLV, 3G2, VOB, 3GP, MOV, MTS, MPG, MPEG, M2TS, F4V, TS, TRP and many more.
Steps to Burn Muisc to DVD
Step 1 Import Videos to DVD Creator
You can do this by dragging and dropping your favorite videos to this program. Another option of adding videos into this program is by clicking on the “+” button.
Step 2 Edit the Videos (Optional)
This step is optional. You can choose to edit the videos by trimming, cropping or changing the effects before burning them to DVDs.
Step 3 Start the Music to DVD Burning Process
Click on the “Burn” button to start the DVD burning process and let iSksoft DVD Creator for Mac handle the rest for you. The time that your videos take to be burned to a DVD will vary depending on the size of the video files.


