One of the best ways to show someone that you care for them on his or her birthday is to present them with a film of the shared memories in your lives so far. Birthday DVDs are great for such a purpose and can be used by almost anyone to celebrate and reflect on what has happened over the past few years. This unique birthday gift has the added benefit of being able to be watched over and over again by family and close friends, even long after the birthday date.
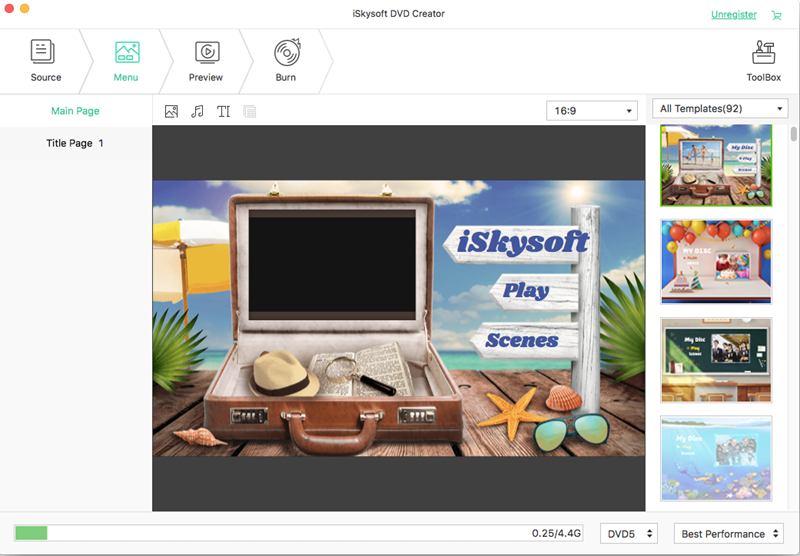
To make a Birthday DVD easily and quickly, iSkysoft DVD Creator for Mac (or DVD Creator for Windows) is an excellent DVD making tool that you need. This software allows you to organise and burn your video files from your desktop into DVDs, and to play everything on your BluRay screen or Mac's DVD player with ease. The software supports burning from a wide variety of file formats, ranging from MP4, AVI, FLV, 3GP, VOB, 3G2, MTS, M2TS, MOV, MPEG, TP, TRP, TA, DAT, MKV, M4V, WMV, ASF and many others. You can even convert videos or movies that have been downloaded from the web such as Facebook, Vimeo, Youtube, Google and even torrent sites such as Vuze and uTorrent. Family videos or home movies that have been recorded by your iPads, iPhones, cameras or camcorders can also be easily converted into DVDs.
Step-by-step guide on how to make a birthday DVD
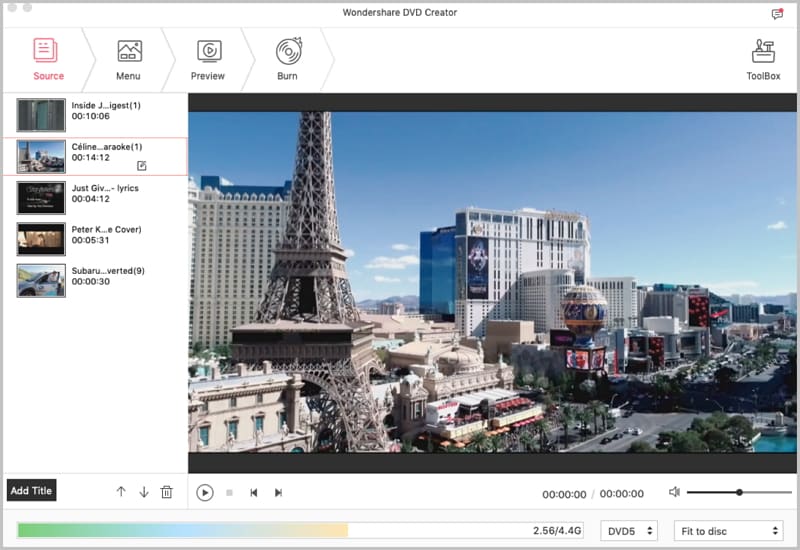
Step 1 Import birthday videos and photos
All you need to do in order to make a birthday DVD (after installing the software) is to drag the birthday videos to the program first.
To make birthday slideshow, simply drag the photos that your wish to include from your desktop to the window within the slideshow editor and a photo slideshow will automatically be generated.
Step 2 Edit the video or photos
Then this DVD maker allows you to choose from a wide range of transition effects, add your own captions and stylise the final project with some of your favourite music. The order of the videos or photos may also be easily arranged within the software itself, and background music may be edited to match the timing of your photos in the slideshow precisely. If you are starting with a lengthy video, the software can even help you to trim it into many parts and piece them back together without gaps, as well as enhance the video colour, rotate the video and add watermarks.
You may also merge several video files into a larger one in order to generate a complete movie or video. Unwanted parts of the video may be cropped in order to remove backdrops or black borders, or simply to emphasise a particular focal point of the video.
Step 4 Start to burn birthday DVD
One you have finished editing your birthday video you may review it in the preview window before burning your videos into your DVD folder (Video_TS), as a .dvdmedia file or as an ISO file. Simply click the "Burn" button and select the correct output file option and set the proper output parameters to being burning your DVD birthday video. The DVD creator even allows you to save a particular project file, which may be imported again for further editing and burning if you do not wish to carry out the burning immediately.
Some memories are forgotten, while others last a lifetime. A personalised DVD slideshow created by DVD Creator is a heartwarming way to retain your precious memories forever.


