What else would you rather remember than your wedding day? I mean, this is the most special of days. Keeping a good record of the memorable events that occurred on your wedding day is definitely very important. The best way to do it would be to make a wedding DVD copies of the videos, or wedding slideshow of the pictures. Many people have tried to do it and they just couldn’t get it right, how do you do it? It’s pretty simple, all you actually need is a DVD making tool.
iSkysoft DVD Creator for Mac (or DVD Creator for Windows) is the best choice for you. With it, you can make a perfect wedding DVD by creating a slideshow from your photos, or alternatively just create a DVD of your wedding videos. This guide will show you how to do that in a few easy steps.
iSkysoft DVD creator is a program that provides all your DVD burning and editing needs, and it is absolutely free to download and use. One of its features that makes it stand out is the ease of use, whether you a novice user or an expert. The design of the final product is professional and classy. Some of its other features include:
- High quality burning of DVD at high speeds.
- Video editing needs such as cropping, merging, trimming and so on.
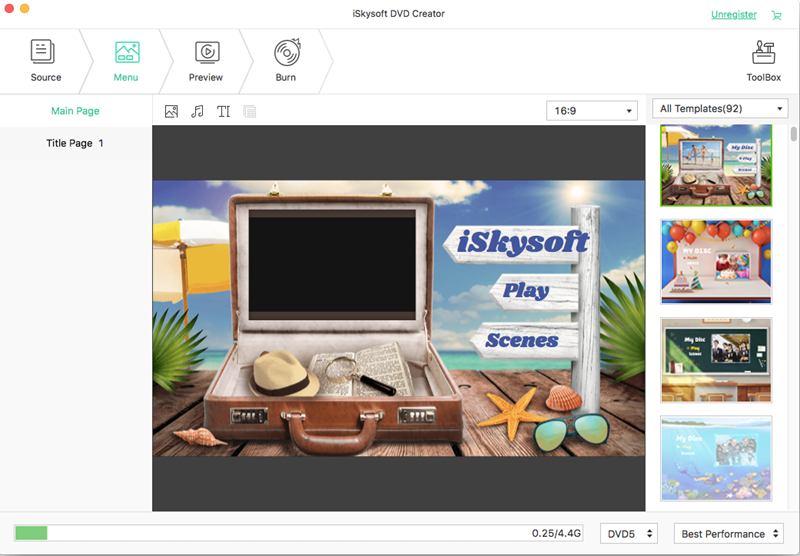
- Offers hundreds of free DVD menu templates that you can choose from.
- Can be used with Mac OS X 10.11 and lower. There also exists a version of it for windows OS users.
How to burn wedding videos to DVD
Step 1 Download, install then open the DVD creator
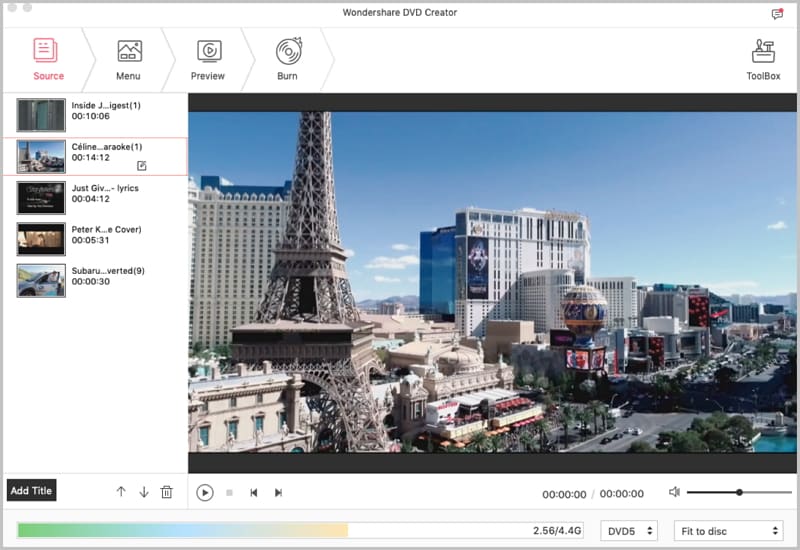
Just visit the Iskysoft website and download the software, install it on your mac. Run the software, which should now appear among your applications. Once open, you can see from the interface: “Create a New Project”. Click on it to start the process.
Step 2 Import the wedding video files
The easiest way to upload files is to use the drag and drop method. You could also just click on the + button which opens the file navigator, where you can go ahead and choose the location of the files.
You have the choice of importing whatever type of media you want, whether photos, videos, slideshows, music etc. The software is made to recognize and accept all these different types of files.
Step 3 Edit the wedding videos
You could have some things you need changed before finally burning the videos. This software allows you to do that, just highlight the file you want to edit then go to the edit option. In the edit option you can crop the file, trim it or even add some effects to it. You can brand the file with your name by putting some water marks.
In case you were burning a picture slideshow, this edit option also works for you. Such things as adding text to each slide, making transition effects of your preference and even adding some nice background music. You can use the theme song you used in your wedding to the slideshow, to make it even more memorable.
Step 5 Burn the wedding videos to DVD
Check if everything is set correctly, if you have all your preferences set. Go ahead and choose the output file options. You will choose between the DVD folder, the ISO file, Data media file and DVD Disc. Choose one you prefer; don’t worry if you don’t know which one to choose, if you’ll be playing it in a computer, any of them will be functional. Ensure you have an empty DVD disk inserted then click the Burn button to start it off.
Well, that is it! quite simple isn’t it? For your wedding songs, or suggestions for what you could use as your background music, here is a list of the top ten most popular wedding songs:
- All of me --- by John legend
- Thinking out loud --- by Ed Sheeran
- Here comes the bride --- by O’Neill brothers
- Lay me down --- by Sam smith
- I want you toknow --- by Zedd and Selena Gomez
- Marry You --- by Bruno Mars
- Lucky --- by Jason Mraz
- You Are The Best Thing --- by Ray LA Montagne
- Coming Home --- by Leon Bridges
- I Choose You --- by Sara Bareilles


