Burning AVI to DVD is an activity that almost every computer user has to do. It could be that you have some files or movies in AVI format and would like to play them in your DVD player or maybe you want to make some DVD copies for sharing with friends or family members. These are the times when you need software to help you burn the AVI to DVD. Nero is one such software.
Part 1. How to Use Nero to Burn AVI to DVD
- Step 1: To use Nero, you need to have Nero vision 4(if you are using Nero 7.0.1.4) or Nero Express (if you are using Nero 6.6.0.18).
- Step 2: Make sure that the firmware of your DVD burner that you intend to use is up to date and has the most current or recent firmware for better burning performance and media compatibility in order to avoid trouble during the process.
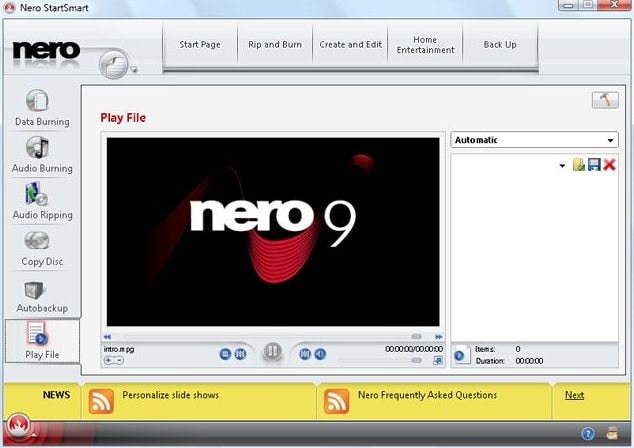
- Step 3: Once the Nero software is fully installed, the process of burning is easy. Open the Nero express(or Nero vision) and on the left pane click on the icon "Data" then select the option named "Data DVD".
- Step 4: To select the video, click on the icon "add" then make the settings you deem fit and appropriate and save.
- Step 5: Finally, enter a blank DVD and leave the Nero to do its work though you need to keep checking the progress.
5 Common Issues and Solutions on Converting AVI to DVD with Nero
1. Error Code
When this error occurs, Nero reports to you that the burning has failed and gives you the option to print or save. It's advisable that you save because you will definitely need it. The error is caused by a number of factors. It could be that DMA is not enabled, your burner does not work well with or support the media you are using, some settings are incorrect or maybe you used are wrong disc.
Solution: Ensure that all the settings are right and the media that you are using is supported by the software. If you are doing the burning for the first time, use +RW or a -RW disc because it is cheaper as compared to others. You can later use other discs when you are okay with the burning process.
2. Bit setting or Book type Error
This common problem occurs when you try to bookmark or bit set on a -RW/-R disc or when burner does not support the feature.
Solution: Fixing this problem is easy. Simply use +RW or +R discs and ensure that your Nero and firmware are updated.
3. Power Calibration
Power calibration is usually under the control of the recorder. This error is caused by either defective recorder, poor media or poor power.
Solution: Use the recommended media, different of DVD discs and claim a working drive from your dealer if the drive is defect or faulty.
4. Communication Failure
The most common cause of this error is old IDE drivers and incorrect DMA settings. You ought to have the current drivers to curb this and ensure that you are well versed with the appropriate settings.
Solution: Enable DMA and go to your manufacture's website to get the latest drivers such as VIA, Intel or SIS among the many other latest drivers out there in the market.
5. Buffer Under-Runs
It is caused by a number of issues including other programs running while burning and incompatibility of the media brands with the recorder that you are using.
Solution: Close all programs in the background while burning and update your firmware version on the recorder with the latest versions of Nero released.
Part2. Best Nero AVI to DVD Converter Alternative
If using Nero is troublesome and hard for you, waste no more time and get other programs to help you do the conversion. iSkysoft DVD Creator for Mac (or iSkysoft DVD Creator for Windows) is the best alternative and does the burning in no time. It's actually the best program out there that many people are currently using for AVI to DVD conversion.
Why Choose This Nero Alternative:
- 1. Converts videos of whatever format to DVD
- 2. Has edit feature for customizing videos
- 3. Burn home movies and your favorite online videos to DVD
- 4. Can make slideshows of photos and burn them to DVD
- 5. Has hundreds of menu templates

Steps on How to Burn AVI to DVD Using Nero Alternative
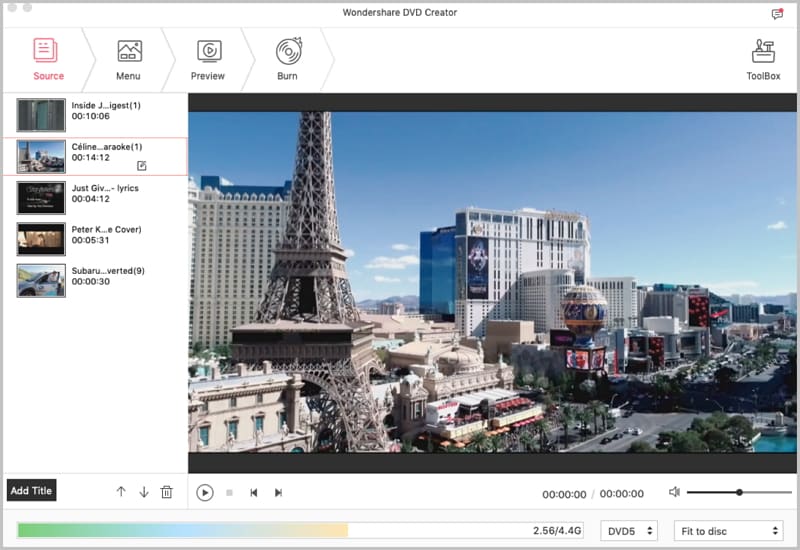
Step 1 Import Your Files into the AVI-DVD Burner
Simply import by dragging and dropping the files to the program's primary window or alternatively use the plus button to choose your files from the popup window. From the list, you can drag then drop a video to another video so as to merge more than one videos depending on your own needs.
Step 2 Edit the AVI Files
This is optional. Inclusion of this step is to help you make the videos different/customized as you deem fit by cropping the frame size of the video, trimming them into segments or through application of video effects. You also have the option to make them stylish by for instance adding background music or by adding your own texts to the template.
Step 3 Begin the AVI to DVD Conversion Process
Once all the settings are right and done, start the conversion process by clicking on the "Button" at the bottom so as to do the conversion. In no time, you'll have all your AVI files in DVD format.
Note: Do not be bothered by the time it will take. Simply click the "Burn" button and relax. Leave the rest to the program.


