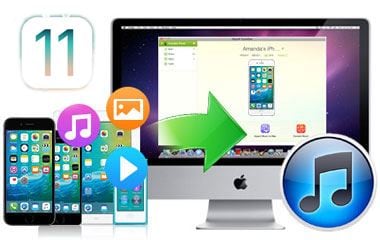
If you don’t have the time to learn how to use iTunes, there are still a few ways to copy music to your iPad, without having to use iTunes. One of the easiest is to install a program on your computer that will let you copy media files across to your iPod with no hassle. If this sounds like something you’re interested in, you’ll want to check out dr.fone for Mac.
With dr.fone for Mac it’s simple to pick and choose exactly what media files you want to copy across to your iPad. If you’re not a fan of iTunes you don’t need to worry, as this handy piece of software will handle the whole transfer from start to finish, so you won’t even need to run iTunes at all.
Transfer iPhone/iPad/iPod touch music, videos and photos to Mac and iTunes.

One-click backup to iTunes and manage your songs, videos, and photo albums.
- Copy music from iPhone, iPod, iPad to Mac or iTunes.
- Export videos from iPhone, iPad, iPod to iTunes/Mac.
- Transfer all photos from photo album to Mac or iTunes.
- Copy playlists with rating and play counts to iTunes.
dr.fone for Mac can handle all types of media files, so you can copy your music, photos and videos using only one program. Just in case you’re not sold yet, let’s take a look at how effortless and simple it is to transfer music from your computer to your iPad.
Step 1: Open up dr.fone for Mac and then connect your iPad to your computer (remember, there’s no need to open up iTunes). Once your iPad is connected dr.fone for Mac will locate your device and load your iPad information in a new window.

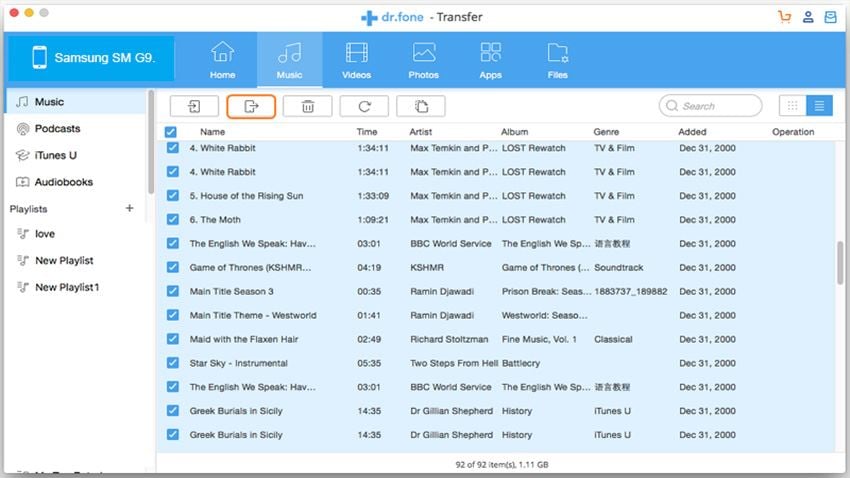
Step 2: Click on the ‘Music’ category on the top menus. You can see the music from your iPad will be displayed in the window. Click the Add button at the top of the music list. Once you’ve done this you’ll be taken to a new window, where you can choose any songs on your computer that will be transferred to your device.

Once you’ve selected the songs you want to copy to your iPad, dr.fone for Mac will copy them across to your device. It’s also worth noting that any files you want to copy to your iPad that aren’t in the correct file format will be automatically converted and added to your device.
All you need to do is waiting for the transfer to complete and you’re ready to head out and enjoy your new music on the go!
How to Transfer iTunes Library to iPad
One of the benefits of an iPad is that it lets you listen to your music on the go. Whether you’re waiting for a friend in a coffee shop, on holiday or away on a business trip - if you sync your iTunes library to your iPad you’ll have to your favorite music ready to listen to at the touch of a button.
If you haven’t yet copied your music to your iPad and set up iTunes to sync to your device, it’s a really simple process and we’re here to talk you through it.
Step 1: First thing’s first, make sure you’re running the most up to date version of iTunes. Next up, you’ll need to open up iTunes and then connect your iPad to your laptop via the USB cable. Once your iPad is connected iTunes will recognize your device. You know this is done when you see an iPad icon displayed at the top right hand side of the window.
Step 2: Select the ‘iPad’ button and iTunes will display a list of all the different sync options you can choose, though iTunes will have automatically started syncing your iPad to your music library. If you want to check on the sync status and see how long you have left to wait, The status bar in the center of the window will show you.
Step 3: Next you’ll need to click on the ‘Summary’ tab, which will take you into a new screen that displays a page of settings for your iPad. On this page you’ll find details of how much storage space you have left on your iPad, as well as showing you how the storage space you’ve used up is used and letting you choose what files are synced to your iPad. The default setting is for all media to sync across (photos and videos, as well as your music), but if you want to make any changes, this is the place to do it.
Step 4: After you’ve made any changes you want to, select the ‘Apply’ button at the bottom right hand side of the screen, and then click on the ‘Done’ button at the top of your window and your changes will be saved for any future sync.
All that’s left now is to plug in your head phones, sit back and enjoy your music!


