Working with your contacts both on your iPhone and E-mail account proves to be quite a hassle especially if you need to engage in very important conversations with them at about the same time. You’ll have to switch between your iPhone and your E-mail account every now and then. Add the higher chances of mistakes you may commit when you’re in a hurry.
But you no longer have to worry about how working between your phone and your E-mail account can bother you in many ways. What if you can just get your contacts from your iPhone over to your E-mail account? Yes, you’ve read it right. Whether you’re being bugged by needing to work quickly between your phone and E-mail account or you just want to keep things organized, you can import your iPhone contacts over to your online mail account. What’s even better is you can use it with the great features you get with Gmail. Read on and you’ll find out how you can do just the trick.
Part 1. Best Software to Export iPhone Contacts to Gmail on Mac
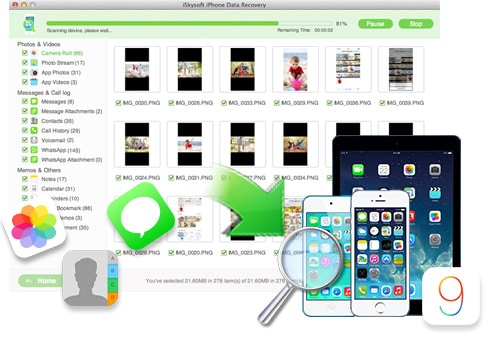
This method involves using a third-party tool to help you export your iPhone contacts to your computer. While the tools that can help you accomplish this first step abound online and are available for free, it’s definitely much better to use one that’s downloaded and recommended by a lot of iPhone users – iSkysoft iPhone Data Recovery . The user-friendly interface helps you get started right away for file transfer and recovery. You can easily transfer all contacts from your iPhone to the computer under the help of it.
How to export contacts from your iPhone:
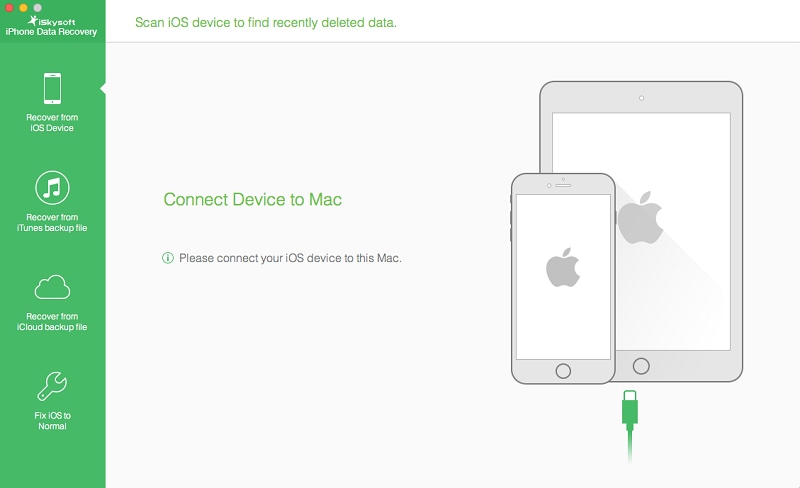
Step 1. Plug your iPhone into your computer using a USB cable. Open iSkysoft iPhone Data Recovery. Once it launches, you’ll see four options on the main interface. Select Recover from iOS Device. Then this software will start to scan your iPhone device.
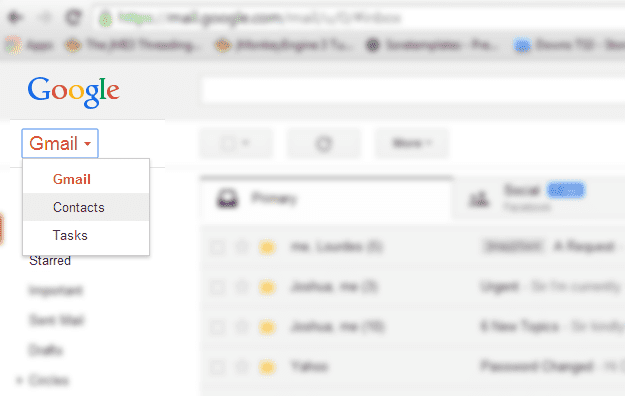
Step 2. Soon you will get all data listed on the menu. Here you can click the "Contacts" option to view your contacts. To export them, you can choose "Recover to Mac". Soon you will get all contacts exported to your Mac. Now open your Gmail account. Under the Gmail drop-down menu just below the Google logo, click Contacts. You will be taken to your contacts page. Go to the More drop-down menu below the search bar and click Import. A small message will pop up. Click on Choose File to browse for the files you’ve exported from your iPhone using the iSkysoft tool.
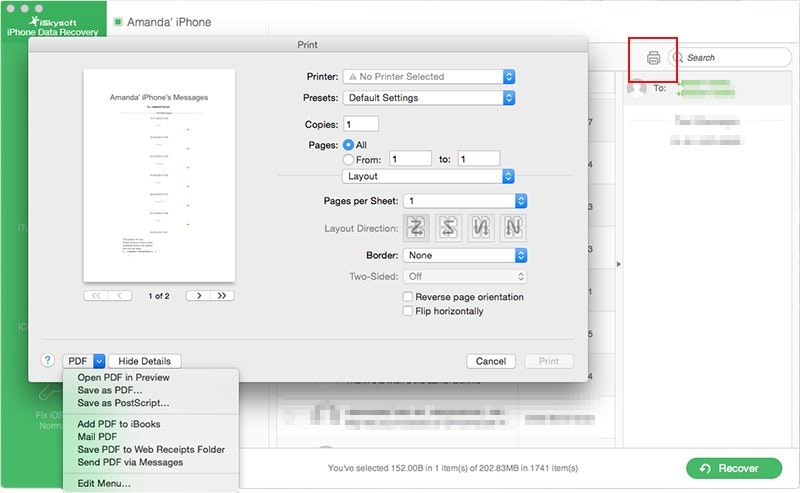
In addition, there is another way helps you directly mail messages to Gmail. After mark your contacts, please hit the "Printer" icon on the interface. Then you will get a pop-up windows. Choose "Mail PDF", you will get all contacts mailed to your Gmail in PDF format. Very easy, right?
Part 2: How to Transfer contacts to Gmail on iPhone
Aside from simply transferring your contacts over to your Gmail account, you can also sync your iPhone contacts to your contacts in Gmail. This allows your Gmail account’s contacts to be updated every time you update your iPhone contact list.
Take note that the steps you’ll have to follow to sync your device with Gmail varies depending on your iOS version.
If you’re on iOS 7:
- Go to Settings. Tap on Mail, Contacts, Calendars and select Add Account afterwards.
- From the list of E-mail account providers, select Gmail. You’ll be then asked to fill out account information fields including your name, username, password, and account description.
- Hit Next at the upper portion of your iPhone’s screen. You’ll have to set your Contacts option enabled to. It’ll turn green once you’ve turned the option on.
- Tap on Save to finish.
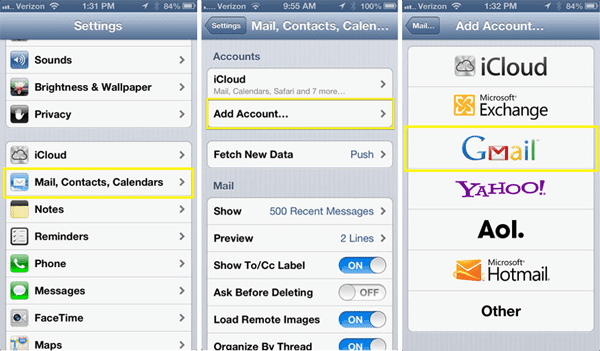
On the other hand, if your iPhone is on iOS 5 or 6, you’ll have to follow steps that are a bit different to the ones for iOS 7. Note that some options you have to select and fields you have to fill out will be quite different. Here’s how you do this with iOS 5 or 6:
- Head to the Settings app on your iPhone. Go to Mail, Contacts, Calendars and tap on Add Account on the next screen you’re taken to.
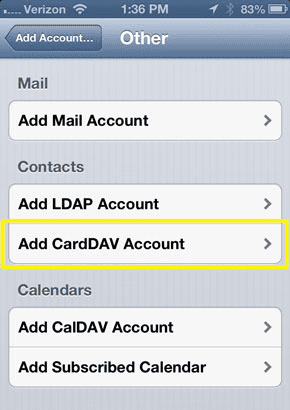
- Select Other and hit Add CardDAV Account.
- You will have to fill out certain account information fields. For the Server field, type in “google.com” (without the quotation marks). Fill out the username, password, and description fields as you normally would afterwards.
- Hit the Next button located at the upper portion of your screen. To enable the syncing feature, you’ll need to enable the Contacts option.
