When Do We Need to Use a Software Program Like CopyTrans?
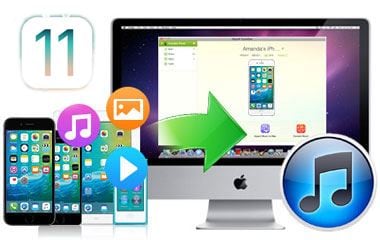
CopyTrans is, in many ways, a complete product of the modern world. It is a program that is meant to connect a different software to yet another software. It is, essentially, a bridge between the iOS in your iPhone and the iTunes in your Macintosh computer. This bridge serves as a way to send files from your iPhone, iPod or other iOS based Apple device to your Macintosh computer. Often when you sync your iPhone to your Mac, if the data was not already on iTunes it will be deleted from your iPhone as well. This can be problematic if your Mac has been formatted and has lost its data. CopyTrans serves as a solution to this problem.
Best Alternative to CopyTrans for Windows 10
In the vast cornucopia of products that sync files to iTunes from Apple products, perhaps the single most popular product of its kind in the world is a product produced by a company called. This company has recently begun to make some major waves in the world of file sharing and backup creation as well as video compression and format alteration. Their product is called dr.fone and is absolutely an excellent way to transfer your data from your Apple product to your PC. The most impressive thing about this product is that no information is lost during the transferring process.
people have downloaded it

Using dr.fone to transfer data from Apple devices to Windows 10 in three steps:
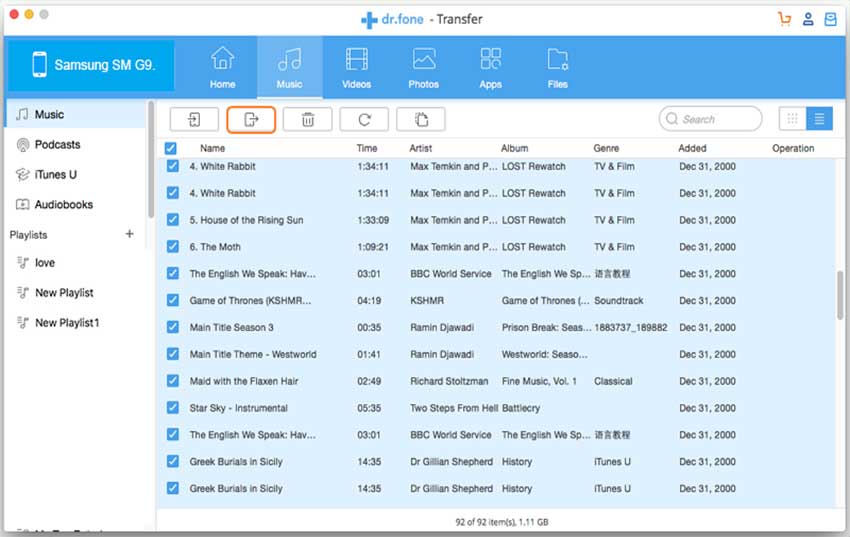
Step 1: The very first thing that you would need to do in order to get your files to your Windows computer is connect your Apple device to your PC via a USB cable. Then mark the songs you want to transfer to PC, and click Export > Export to PC. Browse and choose the target folder on the computer to export. And click OK to start the export process. If you want to transfer a playlist, the first thing you’ll need to do is click on the Music tab. Then you must select whichever playlist you want to transfer. If you wish to copy videos, images or any other kinds of files instead, all you need to do is click on the relevant tab, i.e. Videos tab for videos, Photos tab for images, etc.

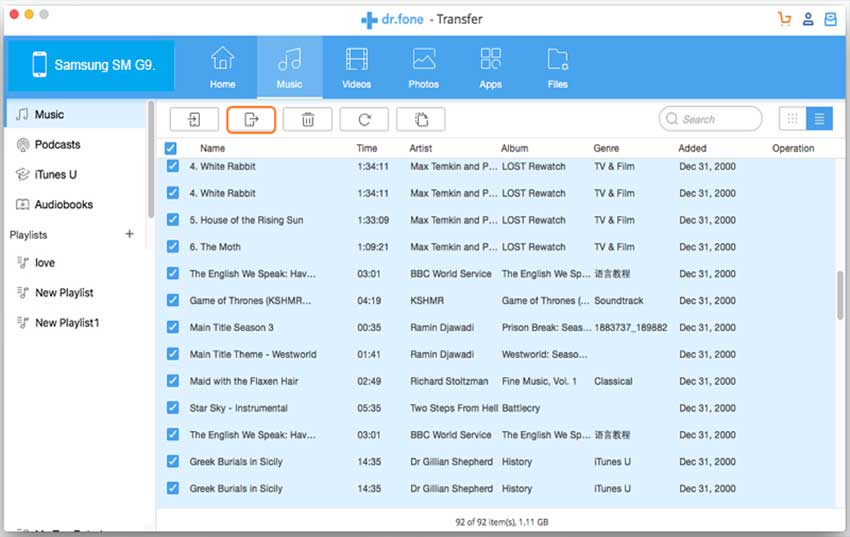
Step 2: After you select whatever you need to transfer, you can now start to export your files into the output folder of your choice. After you have decided which folder you would like to put your files, click on “Export to iTunes”, and the program will do its job.


