We live in the era where everyone is able to make video. People like making videos for great events such as Christmas and Valentine’s Day. Christmas is over. The next big day for many people around the world is the Valentine’s Day. You are probably thinking about making a video on that day and you will want to share it with your friends. This article will take you through steps on how to share, upload, and burn your Valentine video using the best tools.
Method 1. Share Valentine Videos Among iOS Devices with dr.fone
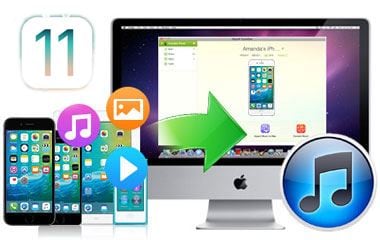
There are several other programs that you can use to share you Valentine’s Day Video. However, you need to go for the best tool that will not disappoint you. dr.fone is one such best program for sharing your videos. It allows you to easily share your videos with iOS devices. Not only can you share videos using dr.fone but you can also share music, manage your playlist, transfer playlists between iOS devices and even copy any data from your PC to iPhone or the vice versa. Its user-friendly interface makes it easier to use.
Key Features of dr.fone
- Easily copy videos, playlists, and music from iDevice to your PC and to iTunes, and vice versa.
- It also allows you to synchronize any ripped audio. You can also easily transfer music info and album artwork.
- Share all the music that you have without any restrictions. dr.fone will bypass all the restrictions imposed by iTunes such as not sharing any music that is recorded on iDevice.
- Make a backup of your Media files from PC or iTunes to any device. The process will take a very short time.
- dr.fone will allow you to convert the shared media files to a format that suits you iPad, iPod, iPhone or Android device.
Step-by-step guide to share Valentine videos between Apple devices with dr.fone
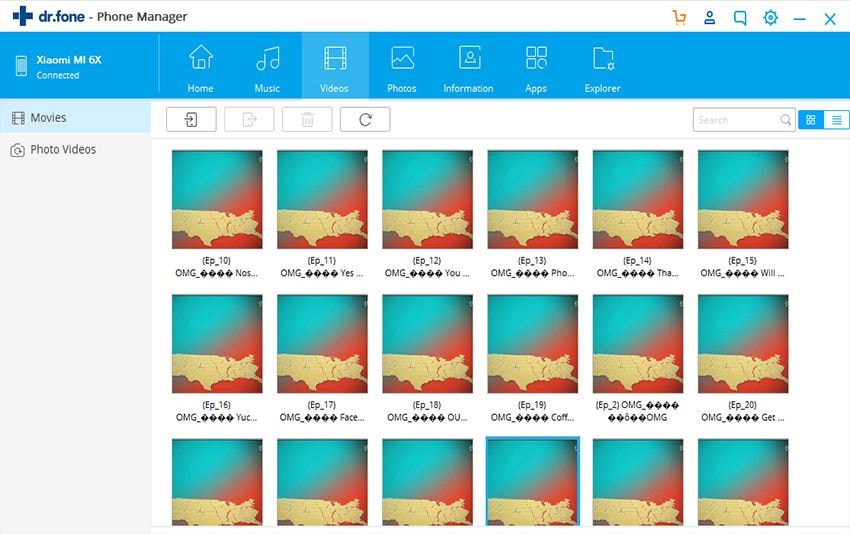
dr.fone is available for both Mac and Windows. Download the app and install it in your computer. Once installed, connect both devices with the PC and the launch the installed program. Please make sure you have selected the source device. The source device should be displayed in the main window.
(**Click the image to enlarge)
Click the “Videos” tab on the top of the main window. Next, you can see all the video files are sorted by category and displayed in the sidebar (You can also find the videos in the "Photos" menu). Just click to select the videos you need to transfer to another device. Click “Export” > “Export to (the name of the second device)”. That’s it!
Method 2. Upload Valentine Videos to Facebook/YouTube/Vimeo
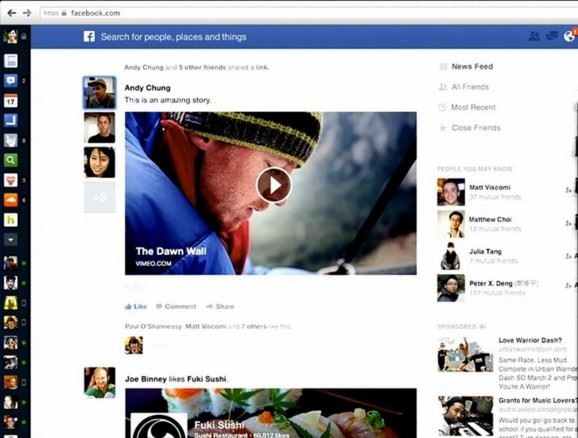
What if you wish to share your Valentine video(s) with friends or relatives who are far away from where you are? What will you do? Well all you need to do is to upload that video to any social media or website of your choice and sent the videos’ URL to your friend. It is therefore possible to share your video by uploading it to social sites such as Facebook, YouTube, Vimeo, and other sites. Vimeo ensures good quality video while face book and YouTube is a site that has millions of users.
Step-by-step guide to share your Valentine video via Facebook:
Step 1. Launch Facebook and then log in into your account. At the top of the face book page, Click on the "Add Photos/Video" tab.
Step 2. On your computer, choose the Valentine video that you want uploaded to Facebook. Facebook supports a number of video formats such as WMV, MPEG, NSV, MPEG4, F4V, AVI, MOV, and many more. The size of the video file should not exceed 1 GB or 20 minutes.
Step 3. Click on the video that you want to upload and then clock the "Open" button.
Step 4. To post the video, click the "Post" Button. The process will begin and may take some time. When complete, Facebook will give a notification indicating the success of the upload.
Method 3. Burn Valentine Videos to DVD with DVD Creator
It is just about a month to Valentine’s Day and surely you need to prepare well for that day if you want to make it a fun. One or two Valentine videos will do to make the day enjoyable. To avoid the last minute rush, which may end up spoiling the otherwise would have been a beautiful day, you need to look for those great video now. How about burning some Valentine videos on you DVD? That would be a great idea. DVD Creator is the best tool that you can use to burn some video to a DVD. It's a great and simple to use tool.

Key Features of DVD Creator
- You can customize and apply some basic editing features to the videos and then burn.
- It comes with an in-built DVD creator. This DVD creator will help you in making videos and movies from a variety of video sharing sites such as Hulu, YouTube, Vimeo, and Facebook among others.
- You can personalize your DVD with the attractive themes. These themes are from the apps special templates.
- It has the ability to manipulate several video formats to iOS file, DVD media, DVD disc or folder.
Step-by-step guide to share Valentine videos after burning to DVD
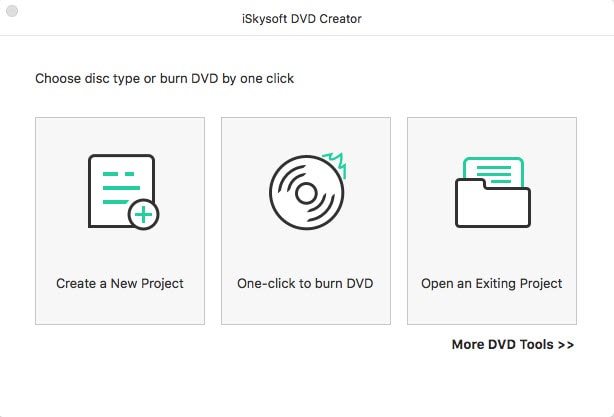
Download DVD Creator and install it on your computer. Once installed, double click on the app icon to launch the program.
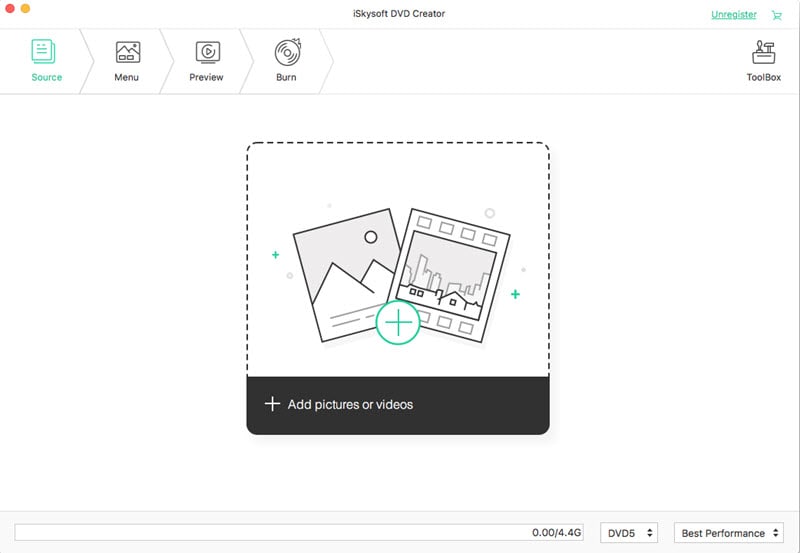
On the top left of the program window, click "Import" button to upload all the Valentine videos that you want to burn to DVD.
Method 4. Share Valentine Videos via Google Drive/Dropbox
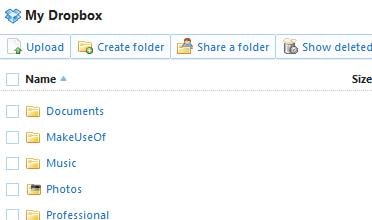
You can also use Google Drive or Dropbox to share you Valentines videos with other people. All the people you are sharing the Video with will be able to see the changes made as they occur. This will feature lets everyone to be on the same page and allows you to get the feedback quickly.
Step-by-step guide to share Valentine videos via Google Drive/Dropbox:
Step 1. Log in to your Google account or to www.dropbox.com.
Step 2. Locate and then select the video(s) that you want to share.
Step 3. Once you have selected the videos, click on the "Invite People to Collaborate" button. This will give them the authority to access the videos that you are sharing.
Step 4. Enter the recipient’s email addresses. Here you can decide to allow the recipients to edit the video or just give them view-only- permission.
Step 5. At this point you can add a personal message. Click "Share Folder" to share your video.


