- Part 1. The Existing Albums
- Part 2. How to Create a New Album on iPhone?
- Part 3. How to Manage Photos in an Album?
- Part 4. How to Manage Albums on iPhone?
If you are an iPhone user, the odds are high that you often scroll to your photo albums to behold the pictures. Some of us are unaware of the ways by which you can keep photos organized. You have multiple albums and you can even make more in order to keep all your pictures in a structured manner.
When you do so, it will help you retrieve your pictures instantly without the need of scrolling too many other photos.
Part 1. The Existing Albums
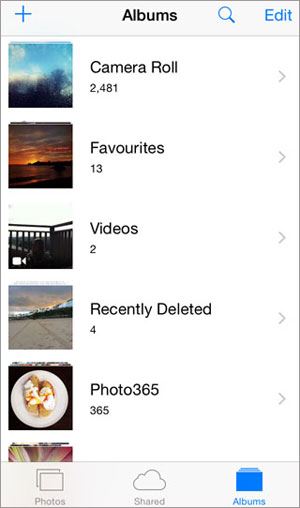
• Camera roll
The name is self explanatory. This folder contains all those pictures which you have clicked using your iPhone. It is important to know that the camera album in itself cannot be deleted. You can delete pictures present in the album but the folder will stay intact.
• Favorites
As the name implies, this album is meant for storing those pictures which are your favorites. The key functioning of this album is that it will allow you to readily view the pictures you love at a glance. You can simply open any image and mark it as favorite by clicking the heart icon. Once you have done that, it will be displayed here.
• Videos
Once again as the name implies, the video album stores the videos which you have captured using your iPhone.
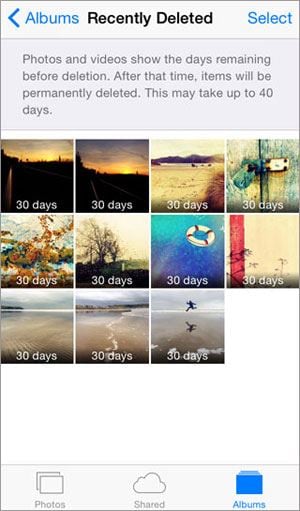
• Recently deleted
iPhone offers you an extra control as pictures once deleted are not trashed permanently. They get stored in the album called ‘recently deleted’. Pictures in this album automatically clear every 30 days to ensure that you can get rid of junk. However, you can also choose to permanently delete the pictures by cleaning them from the album.
Part 2. How to Create a New Album on iPhone?
When you are looking to create a new album, you have two ways of doing it. You can choose to create an album first and then select pictures and add to it. Alternately, you can select picture and then create an album while moving them. We will show both the ways.
Step 1. Open the camera roll and click on ‘Select’ located at the top right corner.
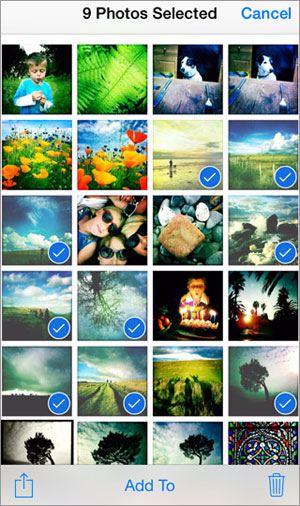
Step 2. Now tap on the pictures which you wish to keep in a separate album.
Step 3. Once you are done, click on ‘Add To’ which is present at the bottom of the screen.
Step 4. When you click on it, you will see a list of different albums that are present on your phone.
Step 5. If you have created an album before, simply choose that album and the photos will be stored on that album.
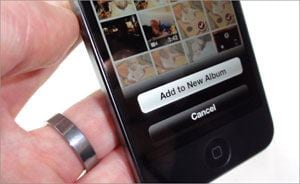
Step 6. If you have not created album before and want to do it now, click on ‘New Album”.
Step 7. You will be prompted to add name and you should do it.
Step 8. Then click ‘Save’ and you will not only have a new album added but you will also have pictures moved to it as well.
Part 3. How to Manage Photos in an Album?
Once you are done with making an album, the next thing you need to learn is managing photos in it. Let us take a look.
1) How to Add Photo to an Album?
The name is self explanatory. This folder contains all those pictures which you have clicked using your iPhone. It is important to know that the camera album in itself cannot be deleted. You can delete pictures present in the album but the folder will stay intact.
- Open the camera roll on your phone
- Click on ‘Select’ at the top right corner
- Choose the photos which you want to add
- Click on ‘Add To’ located at the bottom middle of the screen
- You will receive a prompt saying that these photos will be removed from your album but will remain in your photo library.
- Choose the album wherein you want to add photos
2) How to Delete Photo from An Album?
In order to delete photo(s) from an album, you need to follow these steps:
- Open the album from which you wish to delete photos.
- Click on Select.
- Now, tap on the pictures you want to delete.
- Click on the trash icon which would be present at the bottom right.
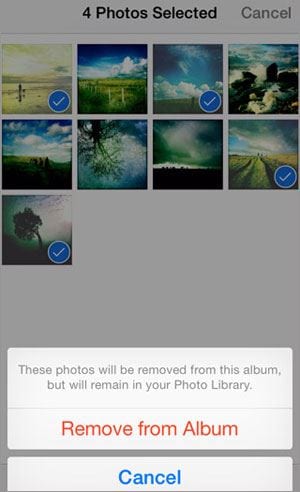
- You will receive a prompt saying that these photos will be removed from your album but will remain in your photo library.
- Click on Remove from album
Remember, deleting pictures from your camera roll album will cause actual deletion of the pictures. However, when you delete it from other albums, the original copy is preserved in the camera roll and only the copy in the specified album is deleted.
Even when you have deleted the picture from the camera roll, you need to once again delete it from the ‘recently deleted’ album to complete the deletion process.
Part 4. How to Manage Albums on iPhone?
We have dealt with the details of managing photos inside an album, however, what about the cases wherein you need to deal with the albums itself? Let us now observe the steps for those.
1)How to Delete an Album?
In order to delete an album, you need to follow these simple steps:
- Open your ‘Photos’ and you will find a list of all albums.
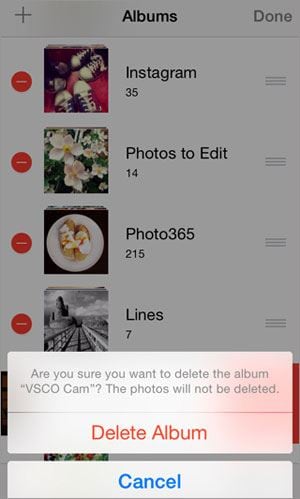
- On the top right hand side, you will find an option called ‘Edit’
- Click on Edit and you will find a small red circle beside every album.
- In order to delete any album, move to that album and click on the red circle beside the album name.
- You will find a prompt confirming if you want to delete the album.
- Click on Delete to confirm.
2)How to Rename an Album?
When you are looking to rename an album, follow these steps:
- Click on Photos in your iPhone menu and you will find a list of albums.
- Click on Edit present on the top right corner.
- Simply hover to any album which you wish to rename.
- You can type in the new name and then click on Done.
It is important to note that a few albums can’t be renamed like camera roll, videos, favorites, recently deleted. You can however rename any albums which you have created yourself.
3)How to Change the Oorder of the Albums?
In order to change the order, you simply need to follow these steps:
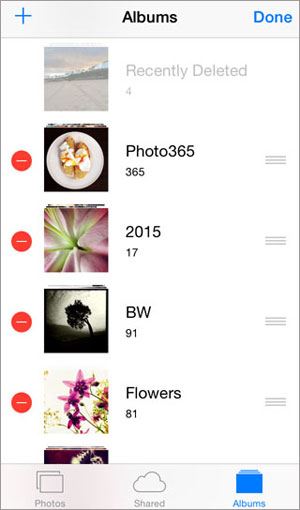
- Click on Edit at top right corner in the album list.
- Click on Edit at top right corner in the album list.
- Simply use these grey lines to move the albums up or down and rearrange them.
- Remember, you cannot shuffle the order of few albums like camera roll, favorites, and videos.


