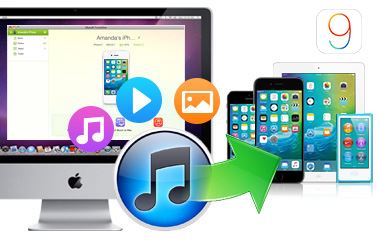
With portable devices, like the iPod or iPod touch, it’s possible to carry a library of 1000s of songs around in your jacket pocket, ready for you to plug your headphones in and listen whenever the mood takes you. However, to get the most out of your device for holding music, you need to know the tips and tricks on how to transfer music from iTunes to iPod, iPod touch, which we’re here to share with you.
Part 1: Copy Music from iTunes to iPod with dr.fone (no data erasing issue)
If your iPod hasn't been matched with your computer or it has been synced with another computer, a warning will pop up, telling you that it will erase all existing data on your iPod while you transferring music from iTunes to iPod. What a pitty! However, this is how iTunes works.If you're afraid of losing data, I recommend you dr.fone. It lets you copy any song, playlists, video, even photo from computer to iPod without iTunes. While copying the files, if the format is not supported by iPod, it will convert the file to iPod friendly format. And what impressed me is that it is able to help you to transfer all songs, playlists, videos and photos from iPod to computer and iTunes Library as well. It depends on your needs.
Here are some of the main features of dr.fone you can make use of for having a cozy mobile life!
- Transfer any music from computer to iPod without format incompatibility issues;
- Copy songs, videos, and photos from computer to iPod without erasing iPod data;
- Export songs, videos, and photos from iPod to computer hassle freely;
- Export all or selected songs from iPod to iTunes Library in a second;
- Copy playlists from iPod to iTunes Library with play counts, ratings and ID3 information;

Steps to transfer music to iPod with dr.fone
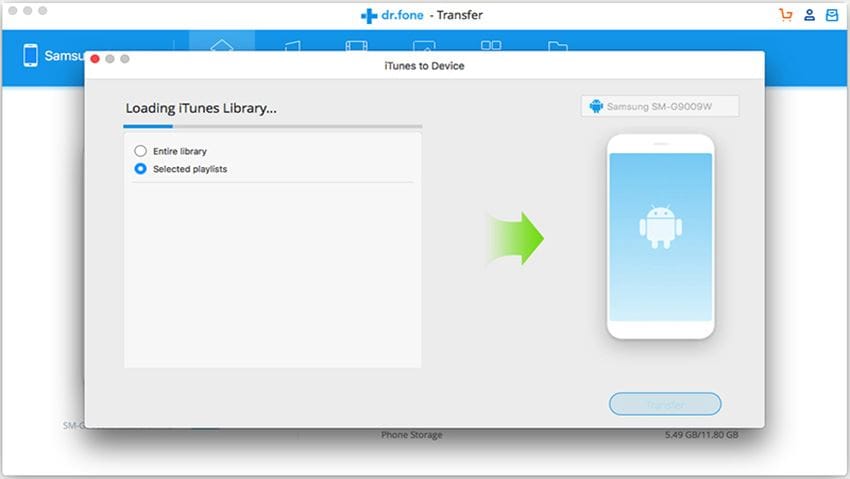
Step 1: Launch dr.fone for Mac. Use a digital cable to connect your iPhone, iPad, iPod or Android phone with your computer. When connected successfully, you can see the device is in the main window of dr.fone for Mac. Click “Transfer iTunes Media to Device”.
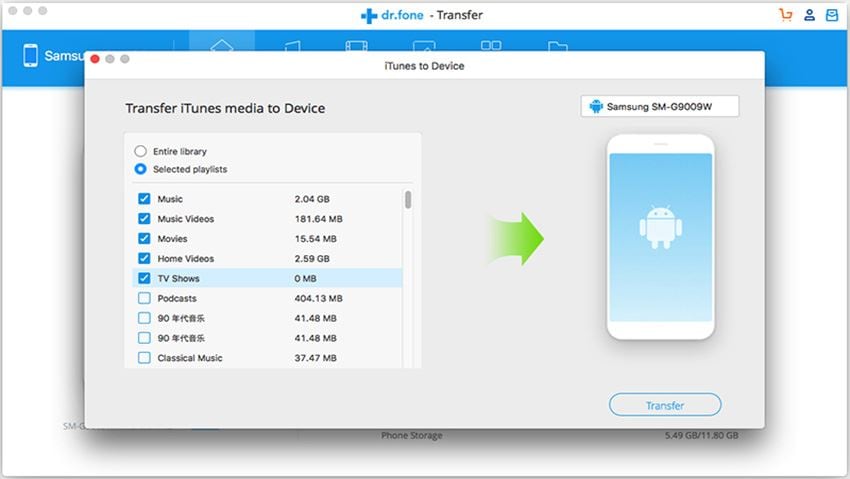
Step 2: dr.fone for Mac will detect the media files, sorting and displaying them by types in the next window. By default, the checked option is “Entire library”. If you need to transfer the whole media library from iTunes to device, then click “Transfer” at the lower bottom. If not, select “Selected playlist”, then check the file types, next, click “Transfer”.
Part 2: Transfer music from iTunes to iPod through iTunes
First up, let’s discuss how to automatically sync music to iPod from iTunes library.
Step 1: The first thing you’ll need to do is connect your iPod to your laptop and open up iTunes. Once your iPod is connected you’ll see an iPod icon displayed at the top right of the iTunes window. Next to this icon there’s either an option to cancel the sync or eject the device, but neither of these are relevant right now.
Step 2: Click on the ‘iPod’ button and iTunes will display a list of sync options, though iTunes will automatically start syncing your iPod to your library. The status bar in the center of the window shows you the sync status, so you know how long you have left to wait.
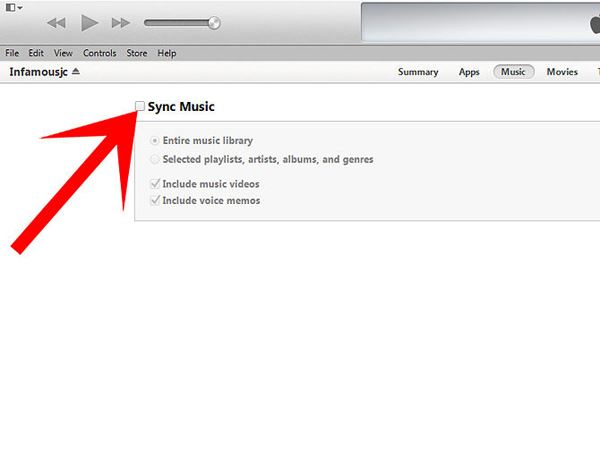
Step 3: If you click on the ‘Summary’ tab you’ll be taken into a new screen, which displays a page of sync options for your iPod. This will show you how much space you have left on your iPod, as well as letting you choose what files are synced to your device. The default setting is for everything to sync across (photos and videos, as well as your music), but in this screen you can make any changes.
Step 4: After you’ve made any required changes, click on the ‘Apply’ button at the bottom right hand side of the screen, and then the blue ‘Done’ button on the top right and your changes will be saved for any future syncs.


