Now, everybody seems to love and want iPad. It’s excellent speed and very good display quality makes it one of the most loved devices when dealing with pictures and images. If you are a Mac user, you can comfortably transfer photos from your Mac to iPad with or even without iTunes. There are several ways to do that as we are going to see in this article. You will have the choice to choose the best for you.
- Part 1. Transfer Photos from Mac to iPad (Quick and Flexible)
- Part 2. How to Transfer Photos from Mac to iPad with iTunes
- Part 3. Top 5 Software to Copy Photos from Mac to iPad
Part 1: Best Way to Transfer Photos from Mac to iPad - dr.fone
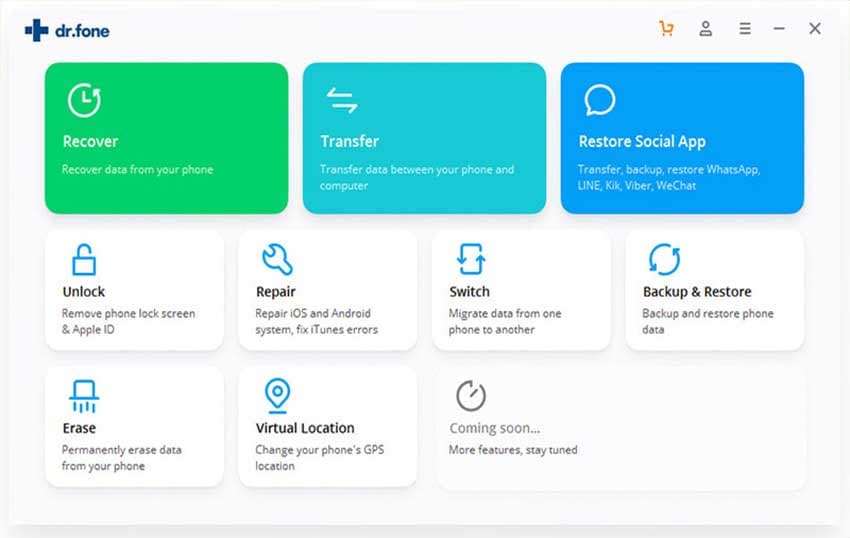
There are many ways to transfer photos from your Mac to iPad but some of these processes end up erasing data on your iPad, but dr.fone not. This tool help you transfer photos from your Mac to your iPad directly without erasing any data on your iPad. Besides, it is able to export all photos from your iPad to Mac for backup as well. Another amazing feature is that it can convert iPhone Live Photos to animated GIF images.
Let's download the free trial version of dr.fone now!
Guides for How to Copy Photos from Mac to iPad via dr.fone
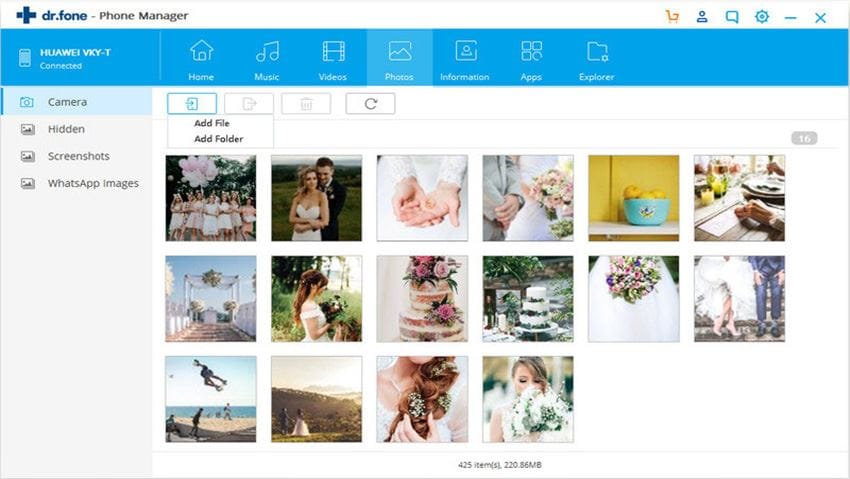
Step 1: Download and run dr.fone on your computer and plug your iPad to the computer with a USB cable. From the top menus, please click the "Photos" tab.

Step 2: In the photo management window, click the "Add" option to browse the photos on your computer. Choose the wanted images then hit the "Open" button. That's it! Now just check the photos on your iPad!
Part 2: Guide for How to Sync Photos from Mac to iPad via iTunes
You can also sync your photos from your Mac to your iPad via iTunes. Like other contents, it is also easy to do. The following step by step guide will help you in the process.
Note: This is a free way to transfer photos from Mac to iPad. However, it won't allow you to preview the photos or selectively transfer. It only support transferring all of the photos. Also, you need to know that the currently photos on your iPad will be overwritten by these new photos. To avoid all of these inconvenience, you can switch to dr.fone in Part 1.
Step 1: The first thing is to create a folder containing photos you will want to sync to your iPad
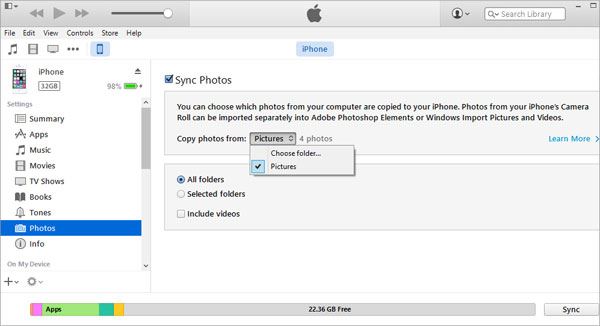
Step 2: Connect your iPad to your Mac via the USB cable. When that is done, launch your iTunes on your computer and select the iPad on the list of devices shown.
Step 3: Click on the “Photos” tab, check “sync Photos from” box and then select “Choose folder”. But note if you see ‘iCloud Photos is on” that means that all your videos and photos are already on all your devices which use iCloud Photo library. In this case, you do not need to sync them through iTunes.
Step 4: Locate the folder that contains the photos you want to sync which you created earlier. Select it and click “Choose”. You can choose to sync all photos or selected folders. Click on “Apply” to start syncing the photos from your Mac to your iPad.
Part 3: 5 Free Software that Allows Users to Send Photos from Mac to iPad
#1. Simple Transfer
This is one of the best software to transfer photos from Mac to your iPad. When transferring photos, it preserves the Meta data of the photos and provides a layer of protection by setting up a pass code for access.
Pros:
• It has no limit imposed in the photo transfer size.
• It can also work on all operating systems including windows and Linux.
Cons:
• There is a limit of number of transferred photos in the free version
• Could be slow at times
#2. Dropbox

Dropbox is widely used to transfer photos from Mac to iPad. Besides, it offers a cloud based service which enables users to take and share photos easily. Dropbox will offer you a 2GB of cloud space which is not bad for a free service.
Pros:
• It is among the most popular software for photo transfer.
• It can be used to transfer other media files comfortably.
Cons:
• It is not entirely free as you will pay for a cloud space exceeding 2GB.
#3. Fotolr Photo Album- Photo transfer and Manage

Fotolr is free software that will allow users to send photos from Mac to iPad easily. The good thing about this software is that it saves you the hassle of carrying an extra cable since you do not need a cable to use it.
Pros:
• It can share photos on social networking sites apart from transferring photos to iPad.
• It has the advantage of establishing different albums and arranging different photos in different albums.
Cons:
• It is not very popular among iPad users.
• It has some transfer limit.
#4. Wi-Fi Photo Transfer
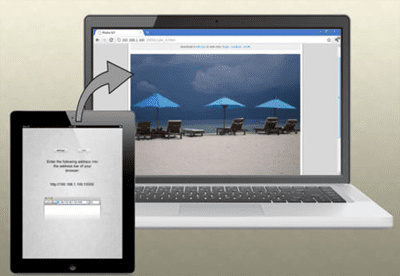
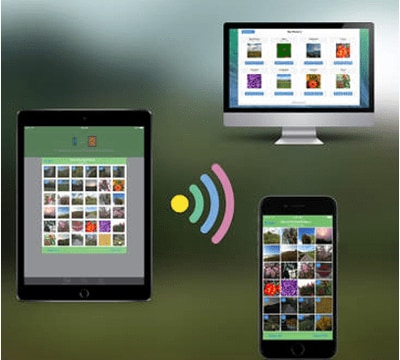
This software is very good for transferring photos to iPad device. It can keep the meta data of the photos when transferring. With this software, you can easily access your photo libraries via Wi-Fi from your Mac. All you need to do is to start the app and enter the displayed address on your computer.
Pros:
• You can select and transfer multiple photos at once.
• No extra software is required.
• Easy to use.
• Friendly interface
Cons:
• Have some limitations.
• Relies on Wi-Fi.
#5. Image Transfer
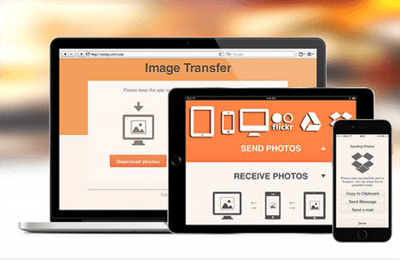
Image transfer helps you to freely transfer photos from Mac to your iPad without stress. All you need is a Wi-Fi and you do not even need a USB cable. You also do not need to use email also.
Pros:
• Super fast, safe and reliable.
• Receive unlimited number of photos.
Cons:
• Relies on Wi-Fi which could be unavailable


