Let’s say you’ve finally bought a new iPod or you just had a thought that it would be an incredible move to transfer playlists from your iTunes to your iPod. Unfortunately, you are not quite certain of the ways how you can do this. There are various pieces of software that will help you with this process, and this article will show you two. The first option is transferring your playlists manually with iTunes, the official software released by Apple. But we would like you to focus on the other option, which uses the best software out there for managing iOS devices. We are talking about dr.fone and we will show you a detailed, step-by-step instruction on how to transfer playlists to your iPod with this software.
- Part 1. Transfer Playlists from iTunes to iPod Manually
- Part 2. idr.fone – Best Choice to Copy Playlists from iTunes to iPod
Part 1. Transfer Playlists from iTunes to iPod Manually
iTunes is a free software and an official product of Apple, who also created iPod, so it might come as natural that this is the tool that should be used for managing the music on your Apple devices. In the step by step guide that we are offering in next lines, you can learn how to easily move all the wanted playlists from iTunes to iPod.
Step 1. Make sure to have your iTunes updated to the latest version. This can be checked easily in your software by opening Help tab and clicking Check for updates.
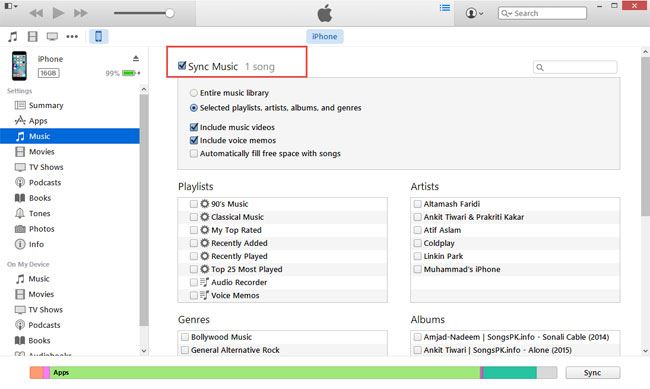
Step 2. Open your iTunes and connect your iPod by using an original USB cable. An original cord is recommended to avoid any issues during the transfer. You will see that your iPod will be automatically recognized once you connect it. Notice the Music icon in the section on the left. Click it.
Step 3. The following thing you need to do is to click on Sync Music and then choose “Selected playlists, artists, and genres”. Once you’ve selected this, you will be able to choose which playlists you want to synchronize with your iPod. Finally, when you’re satisfied with your choice, click on the button located in the bottom right corner to finish the process.
While iTunes might be the official Apple product, there are many users who are not satisfied with it at all. Furthermore, they hate using it because its interface is too complicated and, on top of that, there are some issues that happen once they decide to transfer playlists from iTunes to iPod.
● Some songs gray out – this is one of the most common problems that happen when users try to transfer playlists manually. You just see some songs gray out and they can’t be played at all;
● Synchronizing album art – certain users reported a problem with album art. It fails to synchronize with your iPod and some albums and songs even show incorrect artwork;
● iTunes crashes – when you try to transfer playlists from iTunes to iPod, it happens that the software crashes and the transfer stops before it is finished;
● The transfer doesn’t work – you do everything the right way, but it doesn’t help. Even if you tried a couple of times, your playlists are just not showing on your iPod after syncing it with iTunes;
Part 2. dr.fone – Best Choice to Copy Playlists from iTunes to iPod
When you consider the issues users throughout the world have been having with iTunes, it doesn’t come as a surprise that you need a more reliable software tool. Furthermore, you need a program that will offer you a whole lot of new options, besides the ones you already have in iTunes, you can use dr.fone. This software will enable you not only to transfer all kinds of media files between your PC and your iPod, iPhone or iPad. It is also great for dealing with playlists, as not only it can transfer them, but puts you in total control of all the playlists, giving you the command to choose which songs you want to be played on your iPod.
Your best iPod Music/Photo/Video Transfer Software– dr.fone

Here is the list of key features of dr.fone:
- A very convenient, all-in-one tool for managing all types of media files on your iPod, iPhone, iPad, and Android devices;
- Quick and easy transfer of media files between your PC, iTunes, iPod, iPhone, iPad and Android devices;
- Manage and delete songs and playlists;
- No need to use iTunes Sync option;
- Automatic conversion of files to iPod supported formats;
- Copy playlists from iPod to iTunes/computer with tunes, play counts, ratings and artworks.
Although it is not a direct competitor but a brilliant partner of iTunes, once you try dr.fone, you will quickly realize that there is absolutely no need to use any other software when it comes to managing your iPod and other iOS devices. In the next part, read a detailed guide on how to transfer playlists with using dr.fone.
Step-by-step guide to transfer playlists from iTunes to iPod via dr.fone
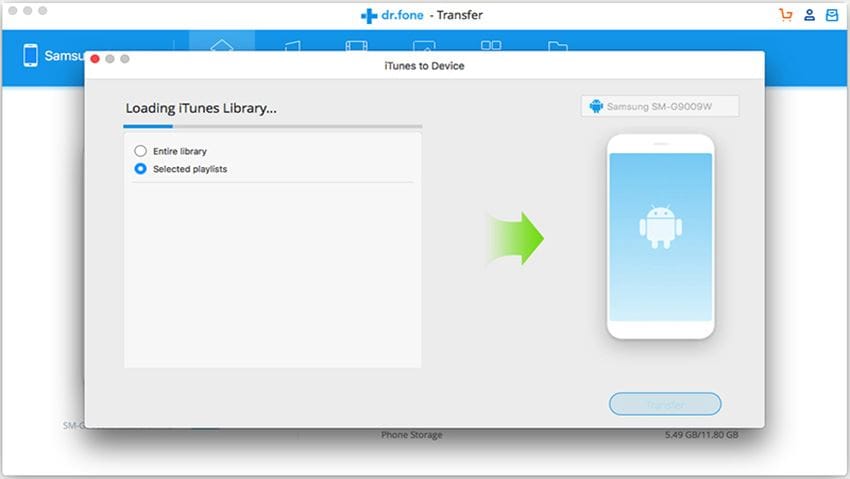
Step 1. The first thing you need to do is to download yourself a copy of dr.fone. When you start dr.fone, it will ask you to connect your device. Go ahead and use a USB cord to connect your iPod. The software will automatically recognize your device and list the menu on the left screen. From the main windows, click "Transfer iTunes Media to Device".

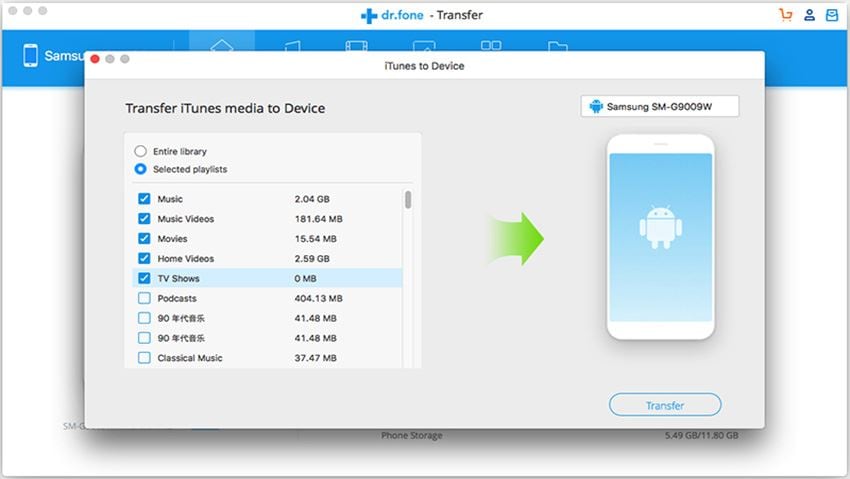
Step 2. Now as you can see, you can just select the music you want to transfer from iTunes to iPod with one click! Choose them and click on the "Transfer" button to finish the process. That's it!


