There are multiple softwares available in the market to manage or transfer contacts on Android or iOS devices. InTouchApp is one of them. Contact transfer is always a big concern whenever we buy a new phone. InTouchApp can help the users for this but we have a better and a powerful alternative to InTouchApp which makes the process way too easier and faster. Let’s know about its alternative and how much powerful its alternative is.
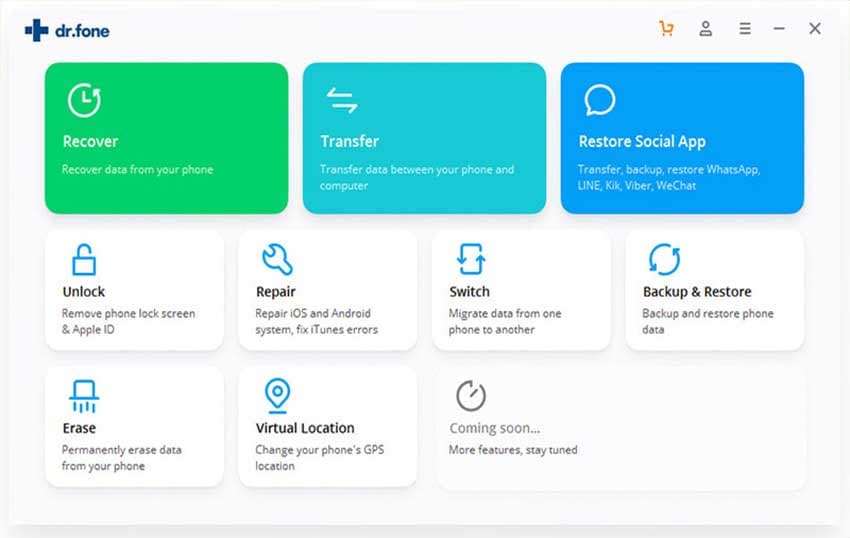
dr.fone for Mac (dr.fone for Windows) is an ideal phone manager software allowing the users to manage phone in various aspects. Rich in features, it can easily become anyone’s first and best choice. And this is proved for it has been believed by unlimited users and has always got positive feedbacks. It provides two versions i.e. dr.fone for Mac and for Windows. Windows 10 and Mac OS X 10.11 are fully compatible with it. It just takes few seconds and you get the contacts transferred in other device within few blinks of your eyes.
- Not just only contacts, more contents like songs, music, videos, SMS, photos can also be transferred with this software.
- The contacts can easily backup and exported contacts to Vcard or CSV etc. Moreover, they can be imported from the same formats as well.
- Music management is another feature of this contact transfer software, which makes the users capable of de-duplicating tracks, quick filter for the wanted music, creating playlists etc.
- Rooting is also another feature of this software. You can get root access to your Android device and customize it in a way you want.
- Also, you can send SMS from computer to Android directly in case you’re not getting convenience to access your Android device.
- Along with phone to phone transfer, you can easily use the features of rebuild iTunes Library, transfer iTunes media to devices or backup photos to PC.
- It also allows the users to make animated GIFs.
Tips 1: Transfer Contacts among any iOS, Android Phones
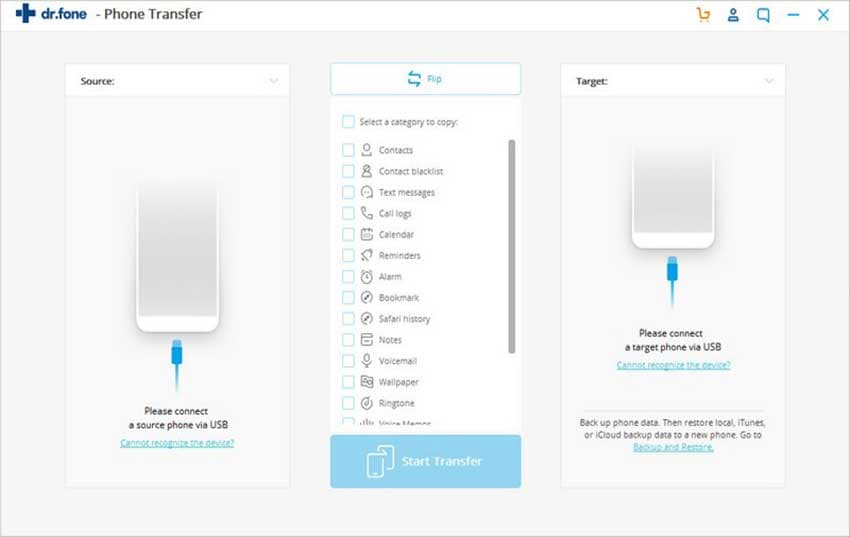
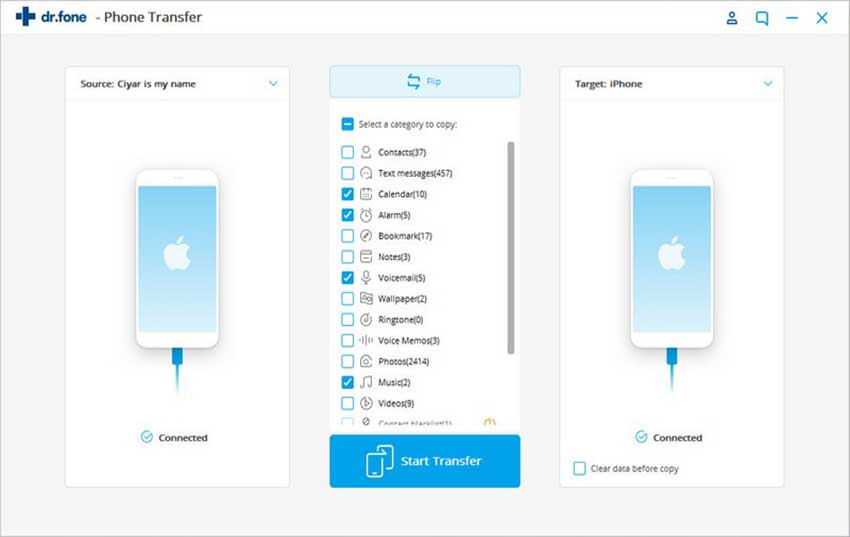
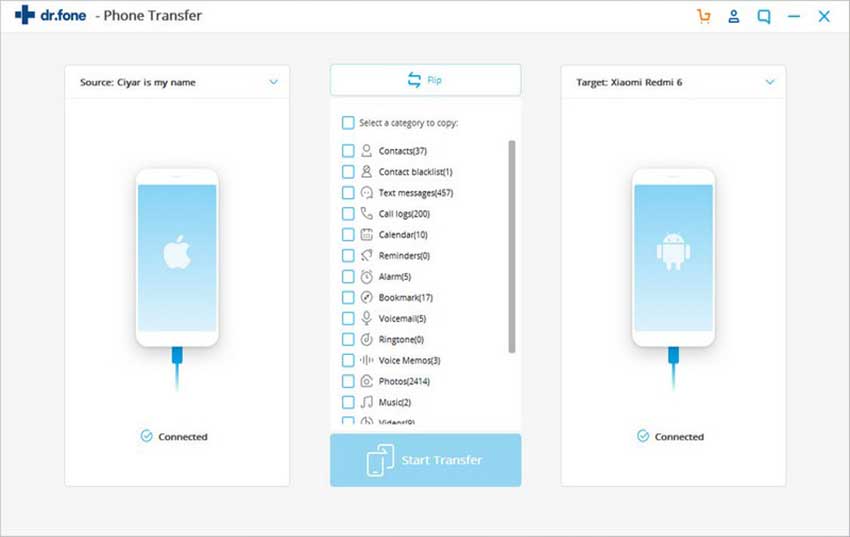
Step 1: Please make sure to download and install the software before running it. Plug in the devices to the computer between which transfer is going to be done. Choose the source device by clicking the drop down arrow appearing on the upper left corner. Select “Phone to Phone Transfer” option.
(**Click the screenshot to enlarge)
Step 2: Now, with the help of drop down arrow again, select the target device to make it receive the content from the phone. After that click “Next”.
Step 3: Now, you will observe all the files selected by default. Uncheck other content except “Contacts” and after that click on “Delete contents on target device then transfer” option. Now click on “Transfer”. Don’t let the devices disconnect until the completion. Once done, hit on the “OK” button.
Tips 2: Import Contacts from Computer/Outlook to Mobile Phones
dr.fone is an impressive software that enables the users to import contacts from PC to mobile phones as well. Here are the steps on how you can add the contacts from computer to your iOS or Android device.
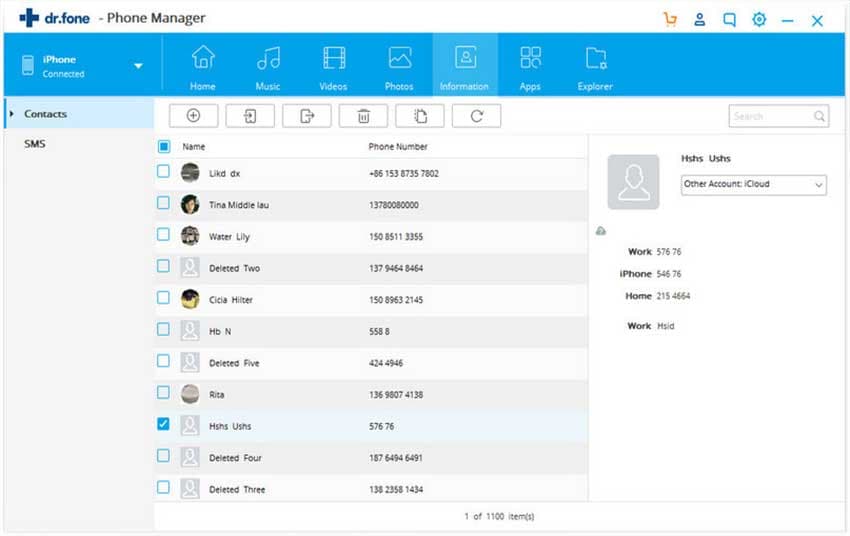
Step 1: Open the software and connect iOS or Android device to the computer via a USB cable. Click on the "Information" icon which is on the navigation bar. Your contacts will be scanned and you’ll be able to see the contacts group under "Contact".
Step 2: Click the preferred group and then “Import”. Now, choose types from ‘Vcard’, ‘CSV’, ‘Windows Address Book’, and ‘Outlook 2010/2013/2016’. A pop-up window will come where you are required to click on “Browse”. This will find the contacts you want to add. After this, hit “Open” and then “OK”. This will initiate importing contacts.
Tips 3: Export Contacts to Computer as Excel/CSV files
If you want to transfer contacts by exporting them to computer as CSV or excel file, you can do that with dr.fone as well. The software takes full care of the personal information and prevents them from losing. The contacts whether saved on Google, iCloud, iTunes or wherever can be easily exported through. The steps are:
Step 1: Run on PC and plug the Android or iOS device to the computer. Click “Information” icon among other icons on the top. This will start loading the contacts and bring contacts groups in Contacts category. Choose “Contacts”.
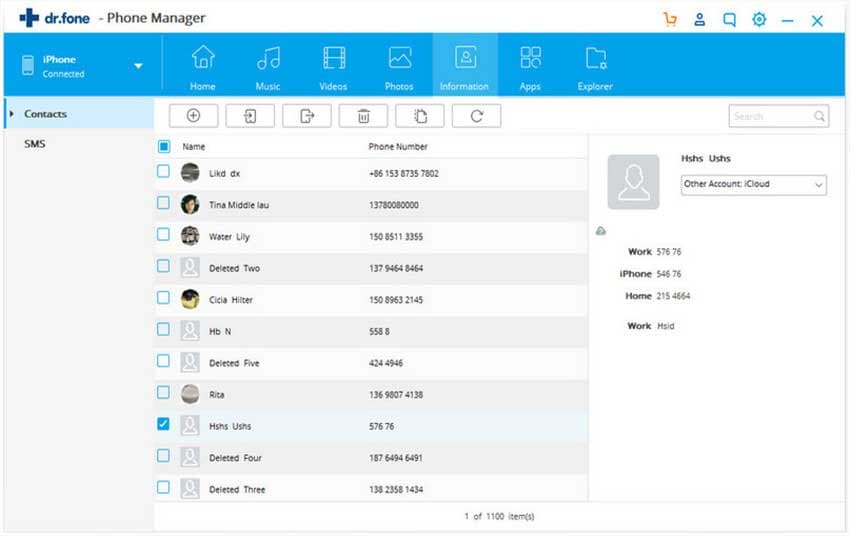
Step 2: Select those contacts you want to backup. Now, hit “Export” icon appearing on the menu at the top. Alternatively, you can right-click contacts that are selected and then select “Export” from drop down menu. There are options for exporting to ‘Vcard file’, ‘CSV file’, ‘Window Address Book’, ‘Outlook 2010/2013/2016’.
Step 3: Now, hit “Browse and choose the folder where you need to save the contacts. Start exporting them by saving. Complete the method by clicking on “OK”.
Tips 4: Export Contacts to Outlook
You can also export your contacts to Outlook with the help of dr.fone. These are the steps for doing so.
Step 1: Launch the software and connect the device to PC using USB cord. Select “Information” from the navigation bar. When you click it, you will see the “Contacts” on the left side. Click “Contacts” and select the ones you need to export. Afterwards, click “Export” button and select “from Outlook 2010/2013/2016” in order to export them to outlook.
Step 2: A message will come up on your screen that your contacts have been “exported successfully”. Note: This message will come up if you have already signed in to your Outlook account, if not, you may have to sign in first and then this message will come up.
Tips 5: Merge Duplicate Contacts
Since we have seen that dr.fone is able to manage contacts in different ways. Merging contacts is another special thing which comes under contacts management. By doing this, you can de-duplicate all your contacts easily. The steps are provided below.
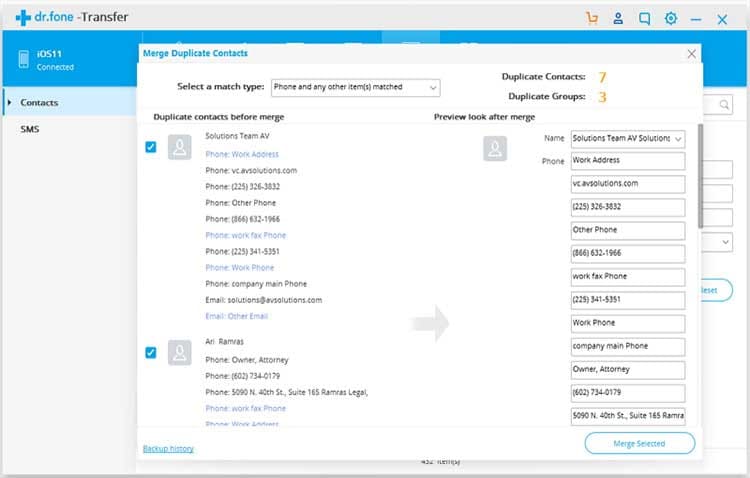
Step 1: Launch the software and connect your phone to the computer. Select “Information” visible on the navigation bar. Contacts Groups will appear under Contacts. Choose the group you want to merge. Hit the “Merge” option just below the “Information” icon. The contact groups will be selected after scanning by the software.
Step 2: Hit “Next” and a new window will show the merged contacts with “exactly matched types”. The contacts will be according to the matching names or other matched items. Choose one matched type. when you choose, all the duplicate contacts will be selected. You can unselect if you wish any of them not to de-duplicate. Also, you are allowed to merge one by one or in batch.
Step 3: Choose the contacts and a window will appear to confirm the action. You can backup your contacts here to prevent their loss. Lastly, hit “Yes” and the merging process will begin.


