Live Photos are one of the greatest ways to explain a thing in a presentation. Due to a very small video associated with them, it will be much easier for you to present something in a perfect way. Most of the people use Google Slides to make their presentations. However, one big disadvantage is that it doesn’t support the latest Live photos taken by the new iPhone 6S. Basically, there are 2 options to solve the problem: export iPhone live photos as still images and upload them to Google slides or convert the iPhone live photos to animated GIF images for inserting to Google slides. The following part, I will tepp you how to make it in the second option.
- Part 1. Convert iPhone live photos to GIF – Keep the Photos Live
- Part 2.Upload the iPhone live photos to Google Slides
Part 1. Convert iPhone live photos to GIF – Keep the Photos Live
I haven’t seen any reliable online services available to convert iPhone Live Photos to videos of GIF images and I care about the security of my photos. In this case, here I’d like to recommend you using dr.fone to convert iPhone live photos to GIF images. It has a separate version both for Windows PC and Mac. And all of them are updated to support iPhone live photos fully.

dr.fone - Turn iPhone Live Photos to GIF Images
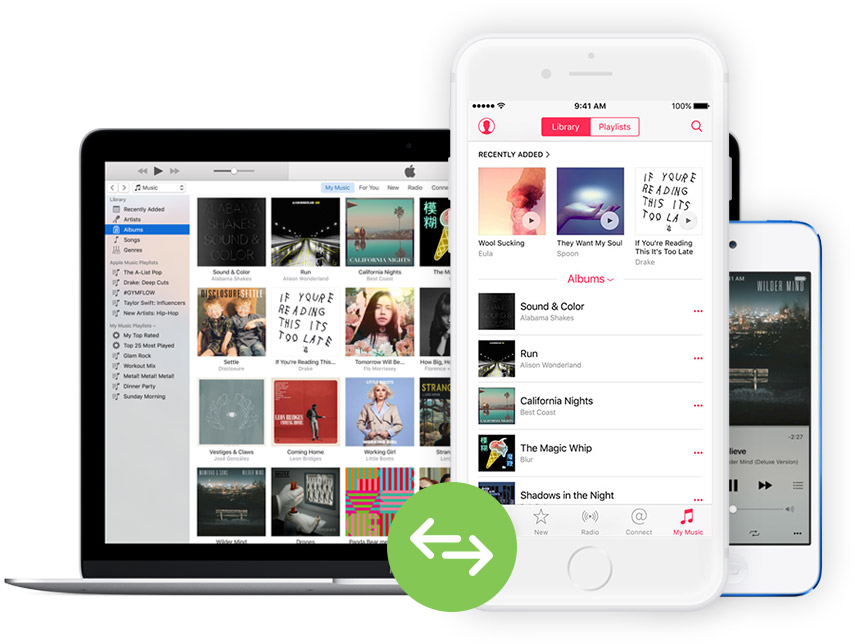
dr.fone for Mac is not only a Live Photos to GIF converter, it is a complete photo, music and video manager for your iPhone and Mac. Using this amazing software, you can’t only transfer the photos from your iPhone to the Mac, you can also transfer them back to your iPhone. The software is complete stable and developers have made the interface so easy that you don’t have to read long tutorials about using this software. Apart from all these features, it is a great tool to transfer the Live Photos from your iPhone to another iPhone. Last but not the least, you can create new albums using dr.fone, Here’s how you can use this amazing tool to convert the Live Photos into the GIF images.
Step-by-step guide to use dr.fone to convert iPhone live photos to GIF
Step 1: The first thing you will need to do is to download and install dr.fone on your computer. Go to this link to get the latest version of this software. After installing this software, connect your iPhone with the Mac OS X and run dr.fone.

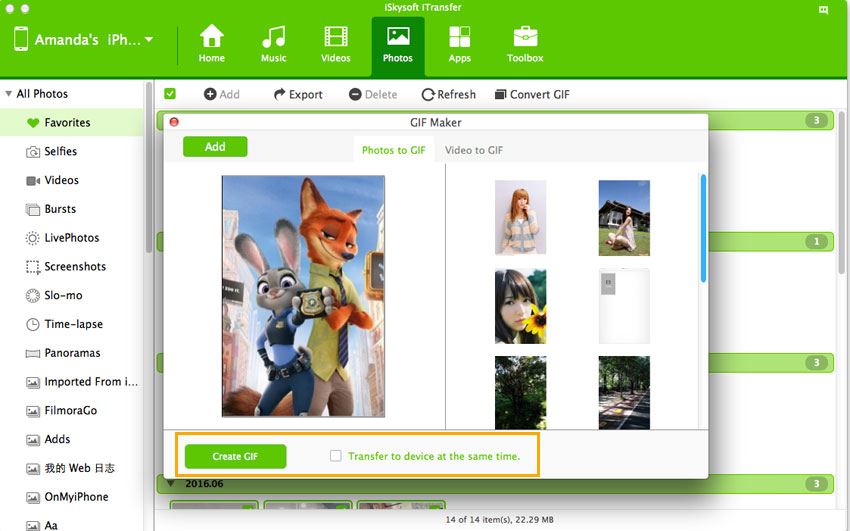
Step 2: Click “Toolbox” > then click “GIF Maker”. Click the “Add” button to browse photos on your Mac. Press the Command button and click photos to select them (at least 2 photos) from your Mac. Click “Convert GIF”. That's it!

Step 3: This may take a while depending upon the number of Live photos that you want to convert to GIF images. Once you have converted the photos, the next step is to add them in Google Slides, here’s how you can do that.
Part 2.Upload the iPhone live photos to Google Slides
Step-by-Step guide for how to insert animated GIF images to Google Slides
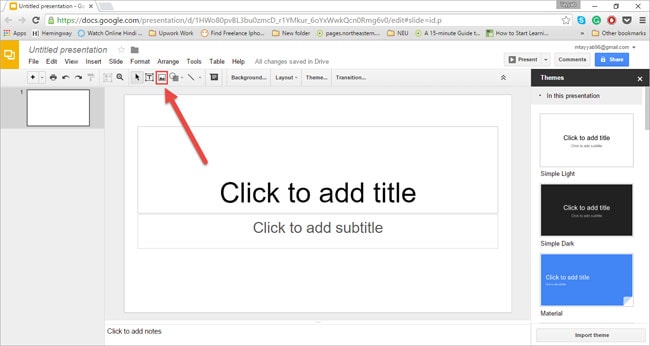
Step 1. Open the Google Slides and go to the slide where you want to insert the GIF image, Click on the Image button as shown in the screenshot below and it will open a new window. In the next windows, select Upload and select Choose and Image to Upload. Now, select the Image that you want to upload and click on Open .

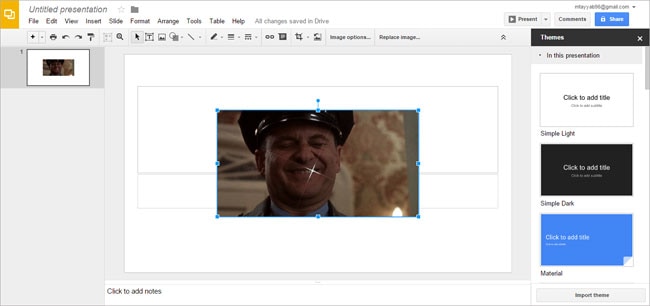
Step 2. It will be automatically shown on the slide, you can adjust the size of this photo, move it to another slide, rotate it or perform different functions on it. That’s it! In this way, you can upload the converted GIF images to the Google Slides. Use this method to upload more photos to your presentation.


