New version of iOS, iOS 10 will also be rolled out for older devices such as iPhone 6S, 6, 5S and 5, iPad Air 2, iPad Air, iPad 3 and iPad. Although the new iOS 10 comes with plenty of new features and every user will want to try this new update. However, downloading and installing iOS 10 becomes problematic for the users with devices of 16GB or 32GB storage capacity. Normally, the iOS 10 will take around 2GB on your device and if you don’t have this much space, you will be in trouble. Don’t worry, we have got you guys covered, there are some work arounds by which you make some room for new iOS 10 Update on iPhone, iPod Touch or iPad. Here are the solutions to solve this not enough space problem on any iDevice.
- 1st Solution: Update your iDevice through iTunes
- 2nd Solution: Delete Unwanted Data and Apps
- 3rd Solution: Clean Junk Files/Deleted Files with dr.fone - Data Eraser
1st Solution: Update your iDevice through iTunes
Most of the people try to update their iDevices through OTA (Over the Air) update and that is when the main problem comes in. During this problem, iPhone will first download the firmware from the Apple servers and then will install it on your device. So, you will need to have double storage space on your iPhone to complete the iOS 10 installation. On the other hand, if you will use the iTunes, it will download the firmware on your computer and can easy install on your iPhone. Here’s the step by step guide on how you can update your iPhone, iPad or iPod Touch to iOS 10 via iTunes.
How to Update to iOS 10 via iTunes?
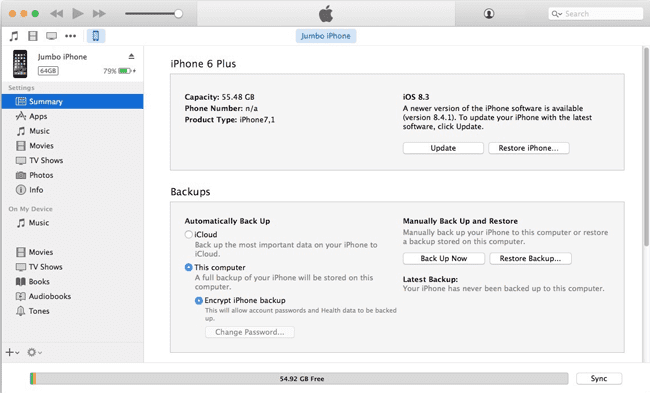
The process to update your iPhone, iPad or iPad to iOS 10 via iTunes is pretty much simple. If you are using Windows computer, Click Here to download and install the latest version of iTunes on your system. Once the iTunes is installed, launch it on the computer and connect your iPhone via USB cable.
You will see the dialogue on the main screen asking you to update your iDevice to the latest iOS version. If you don’t see that dialogue box, click on your iPhone and hit the “Update” button as shown in the screenshot below.
It will take some time as the iTunes will first download the iOS firmware file and after downloading, it will automatically install it on your iDevice. Don’t unplug the device from the computer during the process. If you still can’t find enough space on your iPhone, iPod Touch or iPad, you can follow these solution as mentioned below.
2nd Solution: Delete Unwanted Data and Apps
Depending upon the applications and photos captured with the camera of your iPhone, they make take a lot of space, for example; if you have enabled the live features on your iPhone 6S, it will also record small video with every photo that you will take using the camera. Moreover, some games and applications may occupy a lot of space from 100MB to 1000MB depending upon the size of the application. So, if you have unwanted songs, photos or applications, you should delete them from your iPhone to make some room for iOS 10 update.
The best thing about unwanted or unused songs and photos is that you can always back up to your computer and delete them from your iPhone or iPad. Most of the time, people use iCloud to back up the photos or music tracks from the iPhone but if you haven’t purchased the tracks from the iTunes Store, backing up will become a bigger problem. So, the best solution to solve this problem is to use the dr.fone to transfer the contacts, messages, photos, songs and even the system files to your computer and can delete them from the iPhone. dr.fone is a stand-alone application available for both Windows and Mac OS X which can be used to transfer the personalized data to your computer with one click. Here’s how this amazing software will work.
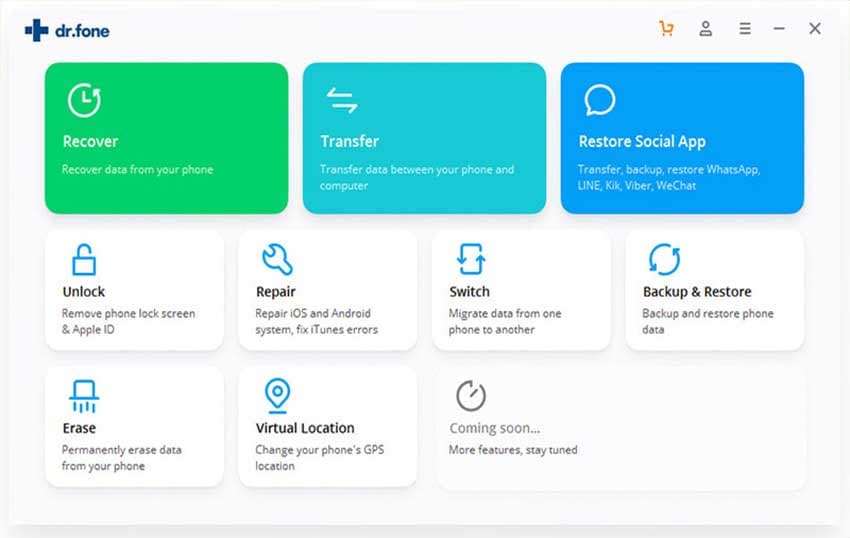
Step 1. Download and Install dr.fone on your computer and connect your phone with the computer. Now, on the main screen of the program, you can see "Rebuild iTunes Library", Backup photos to PC/Mac, and Phone Transfer. Click any of the quick accesses, then you'll get your files transferred to iTunes Library, PC/Mac or another phone.

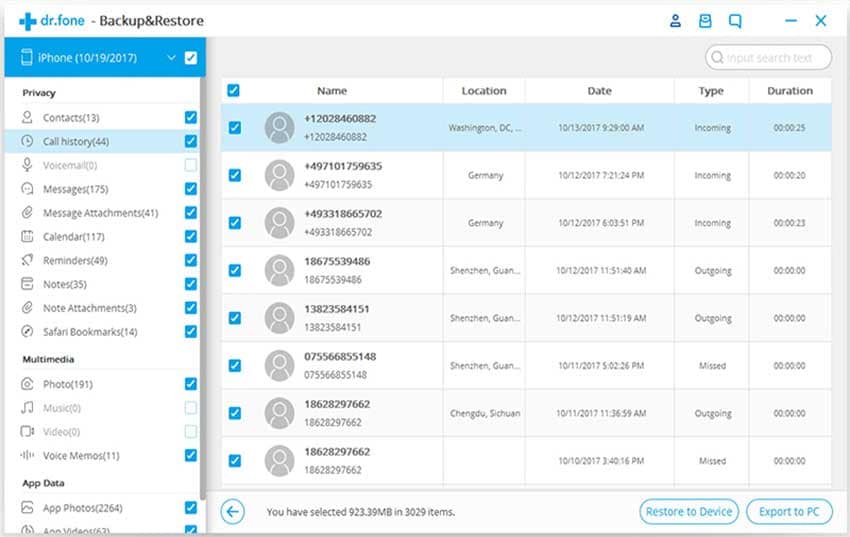
Step 2. As you can see there are file type menus on the software. Click any of them, you can see the corresponding files on your phone are listed there. From there, you can transfer or backup selected files. dr.fone Windows version also supports backing up contacts and SMS from your iOS device to Windows PC.
3rd Solution: Clean Junk Files/Deleted Files with dr.fone - Data Eraser
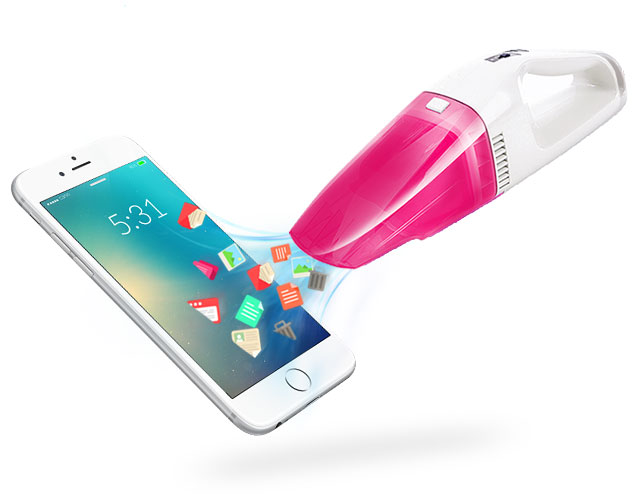
Apart from the data which is visible to you, there is always some hidden data on your iDevice which is mostly the cache or the temporary data saved on your computer. Sometimes the data may be more than 1GB, for example; if you are using Facebook on your iPhone, this data may reach up to 1GB. Deleting this data is not possible on your iPhone from the device itself as you will have to remove the application from your device. There is an alternative way to delete this junk files from your iPhone and it is by using the dr.fone - Data Eraser on your computer.
dr.fone - Data Eraser is a professional program to delete all the Junk files from your iPhone with just one click. The user-interface of the program is pretty much simple and it will work on all the latest and older version of iOS. This amazing software can also be used to delete the private information from your iPhone, so, no one will be able to access it even after reinstalling the iOS or using a recovery program. Here’s how you can use the dr.fone - Data Eraser to Clean Junk and Deleted files.
Step-by-step guide to use dr.fone - Data Eraser to clean junk and deleted files
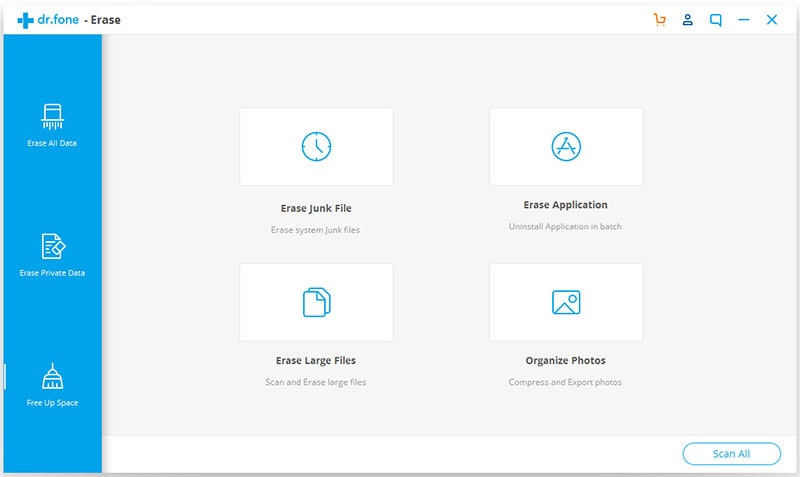
Step 1. Run the dr.fone - Data Eraser on your computer and connect your iPhone using the USB cable. On the main screen of the application, click on the “Express Cleanup” and hit the “Start Scan” as shown in the screenshot below.
Step 2. Once the software has scanned your iPhone, click on the “Clean Up” button in the bottom left corner of the screen to delete this junk files. Wait for a few seconds and let this program complete the task for you.


