Have you got a new iPhone? Are you sad that the chat boxes are empty and are you emotional over loss of important data? No, don't lose hope. Nothing is impossible and so is this. While setting up a new iPhone, it's quite natural if you face some difficulties or the other while transferring text messages to new iPhone. At times, the steps don't stick, and you might need to retrace the steps and find the error.
This can be time consuming at large and can get ridiculously annoying if the outcome is just a plain chat box. And, when messages are not transferring to your new iPhone after all this sweating, you might as well checkout this cool software in trend - dr.fone. This will definitely put an end to all not text transferring problems!
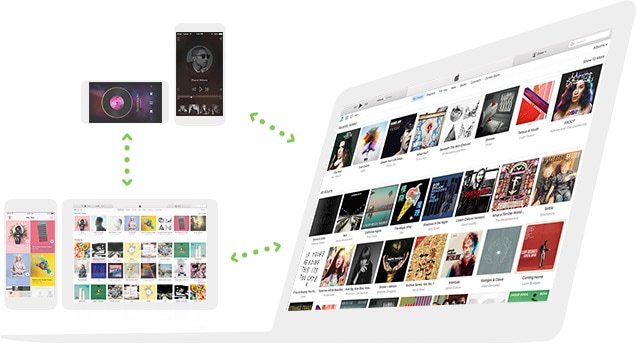
dr.fone is the ultimate and All-in-One Phone Manager. Its features include transferring music, photos, contacts and SMS, etc. between any of the iOS devices and PC without any restrictions. It is designed in such a way so as to simplify any user's multi-device and cross-platform media establishment.
- It is capable of making the transfer music, pictures, contacts etc in a very easy manner.
- The text messages can be transferred to a new iPhone or Android phone easily, and you can even send messages on an PC.
- The messages on your old phone can be export to computer in excel for further using.
- Be it rebuilding iTunes Library or transferring iTunes to device, you can use this software to fulfill either way.
- You can make backup of your photos, contacts etc. also with this superb software.
- A GIF maker comes with itransfer which can let you make your own interesting GIFs.
Step-by-step guide on how to transfer messages from old phone to new iPhone using dr.fone
With increasing hi-fi technology making their appearance in the form of new file types and whatnot, it has become second nature for almost all users to backup their files including texts to a reliable source like iCloud or iTunes for future reference. But, let's see how we can do the same using dr.fone.
dr.fone ensures the safe transfer of data from one device to another. This is exactly why we recommend using the same for the purpose!
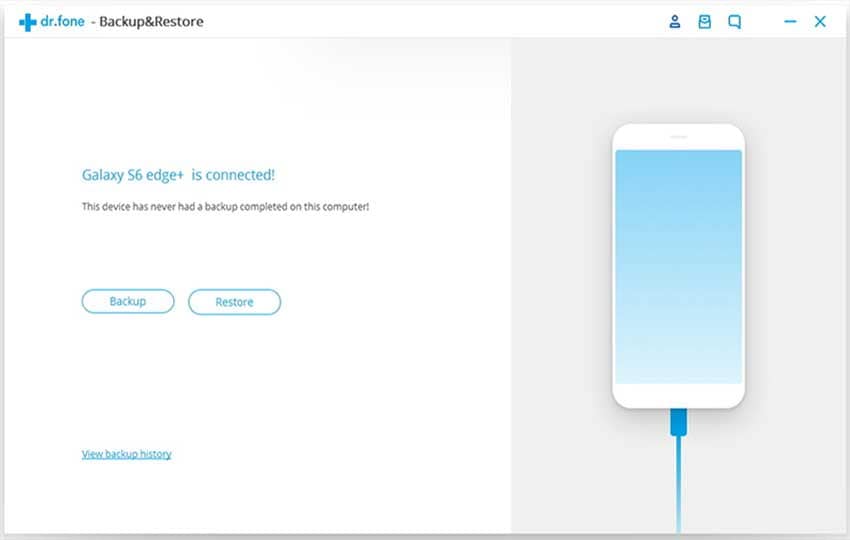
Step 1. Get the dr.fone program
You can install the program by clicking on the "Free Download" buttons. Launch the program once the installation process is truly over, while you connect your iPhones to your PC. You can achieve this by making use of the USB cable you had brought along with the device. From the upper left corner, set the Source device, and choose Backup Device listed under the Toolbox section.

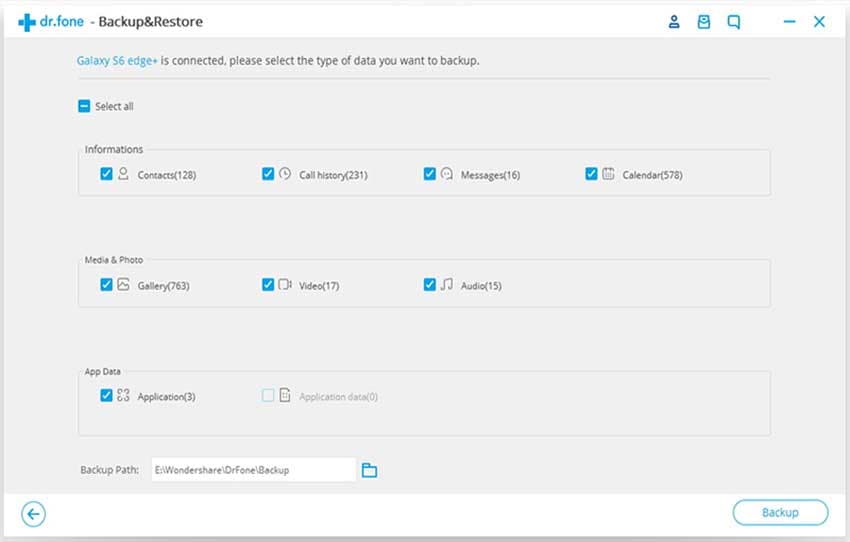
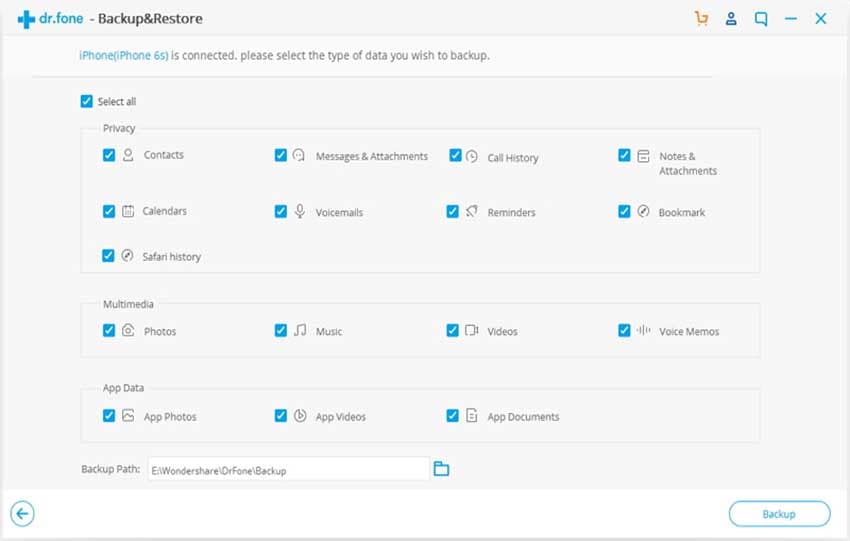
Step 2: Select the content you want
Following the simple step of connecting your device to your computer, and establishing a secure connection, you have to perform a backup! For this purpose, choose Messages from the list of variants so that only your messages are backed-up. On the completion of this process, assign the Target device the job it's supposed to do (as was done previously), and select Restore device under Toolbox.

Step 3: Begin the transfer!
In the pop-up window, find and select the messages backup file you created right about now. And, at last, click Restore to begin the transfer of messages from your old iPhone to the new iPhone. Easy peasy!

Why should you have to transfer messages from iPhone to your Computer?
This process called backup is essential as we cannot predict the status of our device or our files in the future. To prevent them from undergoing damage or a hard crash, it's highly recommended to save it using either iCloud or iTunes on your computer. If you do that, you can delete the same on your handset, thereby freeing it off all the cookies and giving your storage some breathing space. This will also enhance the performance of your phone, making it perform effectively.


