- Part 1. How to Sync iPhone 7 with iTunes
- Part 2. How to Sync iPhone 7 without iTunes
- Part 3. How to Prevent Auto Sync for iPhone 7 When connected with the Computer?
Part 1. How to Sync iPhone 7 with iTunes
Unlike other smartphone operating systems, iOS is a closed operating system which will not let you interfere with the some system applications such as Music, Settings, Clock and Calendar. In order to transfer content from your PC to iPhone, you will need a third software on your PC which is iTunes. iTunes will let you sync everything from your PC to iPhone 7 from music, videos, photos, calendars, Safari bookmarks and even the contacts.
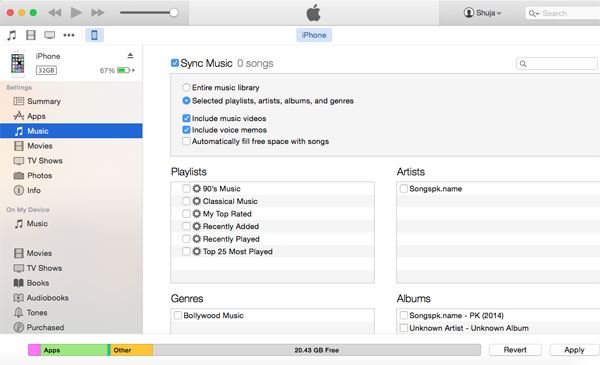
Steps to Sync iPhone 7 with iTunes:
Step 1. In order to start the process, Download and install the latest version of iTunes on your PC.
Step 2. Connect your iPhone with PC and launch the recently installed the latest version of iTunes.
Step 3. One the left side panel, you will have all the options which can be clearly seen in the above screenshot. You can sync Apps, music, movies, TV shows, Books, tones, photos, contacts, Calendar and Bookmark. Here’s you can use each function individually:
* Syncing Apps:
Click on the Apps in the left menu and here you will see all apps present on your PC or iPhone, you can either individually select the each app or copy all applications from PC to iPhone.
*Sync Music:
You can either transfer the whole music library of your PC to your iPhone or you can select some songs, albums, artist or playlists to be copied on your iPhone.
*Sync Movies and TV Shows:
By ticking the sync movies or TV shows options, you will be able to transfer the movies and TV shows on your iPhone. You can either select certain episodes of a TV show or recently purchased movies from the iTunes store.
*Sync Books:
Click on the Apps in the left menu and here you will see all apps present on your PC or iPhone, you can either individually select the each app or copy all applications from PC to iPhone.
*Sync Photo:
This feature will only work when you have disabled the iCloud on your iPhone, so, you can’t sync the photos unless you use any other software on your PC.
*Sync Info:
The last but not the least thing to sync to your iPhone is the info from your PC, you can transfer the contacts, Notes, Mail accounts, Bookmarks and Calendar from your PC to iPhone using this amazing option. It will also let you to import Gmail contacts by using Gmail account on iTunes.
When you have selected everything which you want to transfer on your iPhone, Hit the Apply button at the bottom to start the Sync process, it may need some time for the first time because it will also make a backup of your iPhone 7.
Advantages and Disadvantages of using iTunes Sync:
iTunes is a great sync software which apart from the media files will also let you transfer the important contacts, Calendar, Email accounts, Bookmarks and Notes. All you have to do is to click on some options and yes the sync process will be started.
However, there are certain limitations on iTunes, such as if you have enabled the iCloud account on iPhone, you will not be able to transfer photos from your PC to iPhone. Similarly, if you have got a new PC and want to transfer music from iPhone, you won’t be able to do that because iTunes doesn’t allow that. It will also replace the music from your iPhone with the music library on iTunes.
Part 2. How to Sync iPhone 7 without iTunes
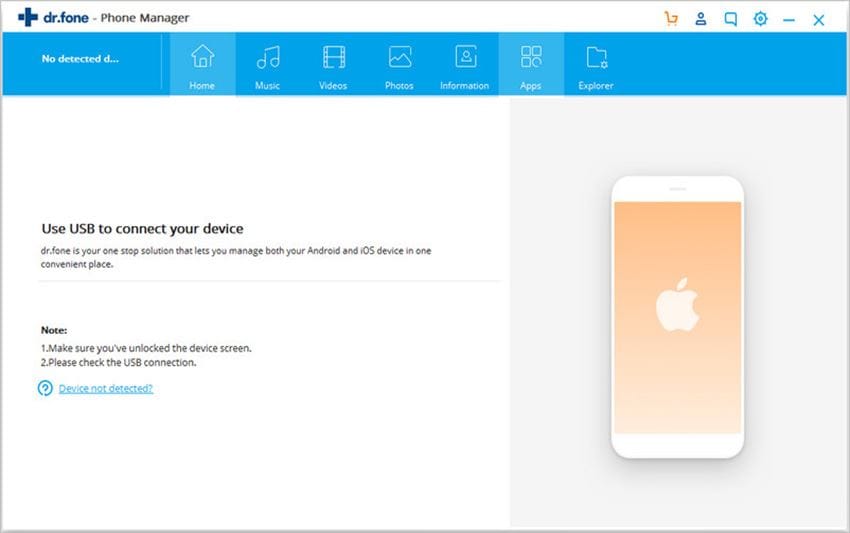
dr.fone is a complete media managing application which will manage all type of contents on your iPhone from the photos to the music, movies, TV Shows, iTunes U, Podcasts, Home videos, Audio Books and even the Playlists. All type of media can be managed using some simple clicks.
*Sync Photos:
From the main screen of dr.fone, you will see the different options, Click on the “Photos” as shown in the screenshot below. Here, you will find all albums of your iPhone. To transfer photos to any album, open it and Click on “Add” as shown in the picture it will simply copies all images. Moreover, you can also transfer photos from iPhone to PC, select the photos and Click on “Export” button to do that.

*Sync Music:
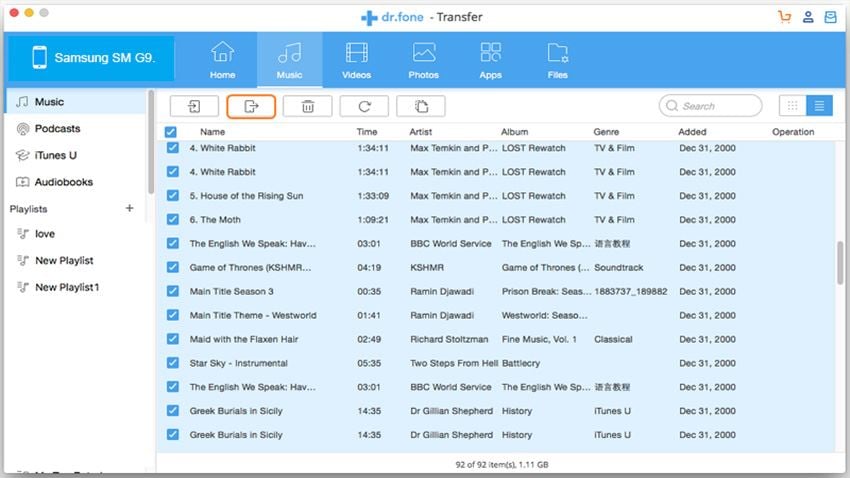
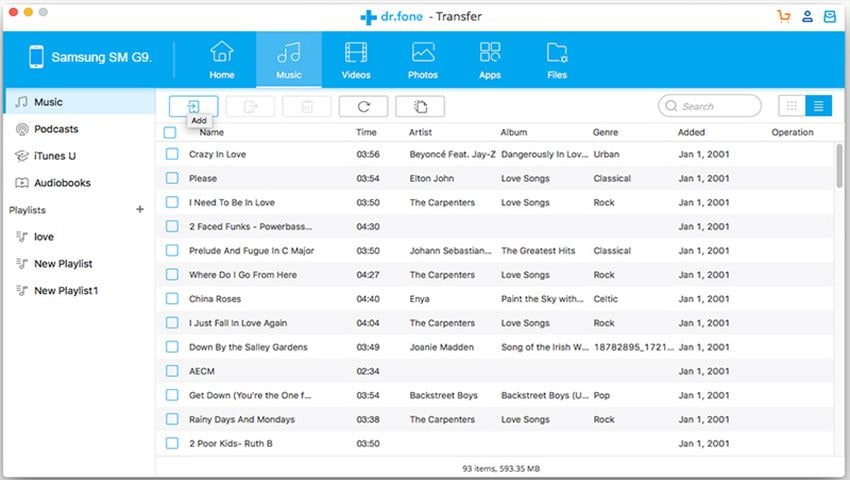
The most important feature is the managing music on your iPhone, click on “music” and you will see all music files. You can click on any of them to add music, videos, movies or whatever you want. It will also let you export the music from iPhone to PC, select the songs, and Click on “Export” button. Similarly, you can transfer the movies or TV shows from your iPhone to PC.
* Sync Playlists:
Just like photos and media, you can also manage all Playlists on your iPhone, Add track to the existing playlist, remove track from them or can even make a new Playlist on your iPhone right from the dr.fone.
Part 3. How to Prevent Auto Sync for iPhone 7 When connected with the Computer?
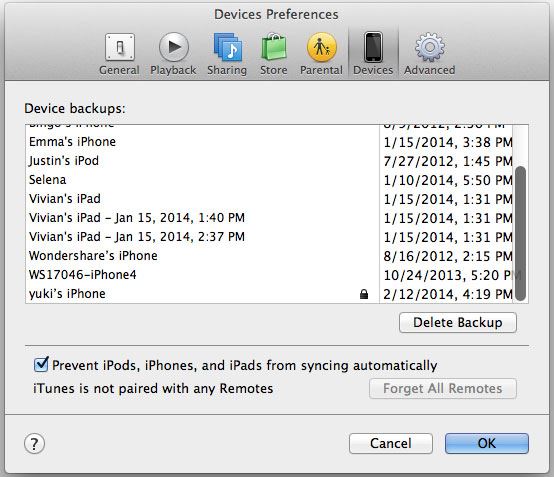
For the best performance of the dr.fone, it is highly recommended to turn off the Auto sync option in the iTunes which means whenever you will connect an iPhone with the PC, it will not be synced until you do so. In turn, it will help you save the data on your iPhone transferred via dr.fone. Her’ show you can disable the Auto sync for your iPhone.
Launch iTunes >go to “Preferences” > “Devices” > check “Prevent iPods, iPhones, and iPads from syncing automatically”.
