- Part 1. What are time-lapse videos and how can you record them on iPhone?
- Part 2. How to make Time-lapse video on iPhone?
- Part 3. Tips to make a perfect Time-lapse video on iPhone
Part 1. What are time-lapse videos and how can you record them on iPhone?
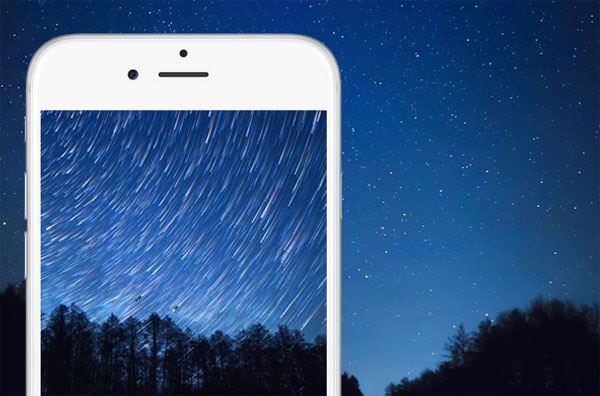
With the advent of new iPhones and improved operating system in them, Apple has also improved the camera application on iPhone. Now, we can’t only make slow motion videos right from the iPhone but we can also make Time-lapse videos using the same iPhone. Yes, Time-lapse mode will let you make videos of event at a really high speed which means if you were recording a video for around 10 minutes, the resultant video of Time-lapse will only be 20 seconds long, you can imagine how fast the event will occur in the time-lapse video. The main science behind the time-lapse is very simple, the video being captured will be recorded at lower FPS as compared to original time, so, when it is played in your phone, and you will find the time moving much faster than before capturing. In other words, when you create a time-lapse video, iPhone will take photos with the time and in the end, all the photos will be combined to make a faster video which is Time-lapse.
Time-Lapse videos are much fun especially when they are used to capture a slow nature movement, for example: you can use them to capture sun rise or sun set moments, you can also make a time-lapse video of moving clouds. It doesn’t end here, it can be used to shoot any kind specific phenomenon of nature. Time-lapse feature on iPhone will not let you record the videos longer than 30 seconds, so if you are recording a video for even one hour, it will be time-lapsed to just 30 seconds. Here’s how you can take Time-lapse videos on your iPhone.
Part 2. How to make Time-lapse video on iPhone?
- Unlock your iPhone and open the camera application. From the mode, swipe towards right to change to Time-lapse mode.
- Tap the record button to start the Time-lapse process. When you're finished, hit the tap button again to stop the video.
That’s it! You have successfully made a Time-lapse video on your iPhone, you can now transfer it to the PC using dr.fone or can share it right from the “Photos” with your friends or family members using Facebook, WhatsApp, Messenger or iMessage.
Part 3. Tips to make a perfect Time-lapse video on iPhone
Natively, Apple doesn’t allow you any options to make a perfect time-lapse video on iPhone, you can just hit the record the video or hit it again to stop it. But still, you can make better time-lapse videos on iPhone using these tips.
Sufficient Time:
Before you start making the time-lapse video, make sure you have sufficient time to record the video. For example: If you are on a beach and want to record time-lapse video of sun setting. Make sure you have at least 10-15 minutes to record the perfect time-lapse video.
Sufficient Battery on iPhone:
Also make sure that you have enough battery juice left in your iPhone to record a time-lapse video. Obviously, we can't say a perfect figure it will vary model to model and condition of battery in your iPhone.
Use Tripod stand:
As explained earlier, recording a time-lapse video may take a lot of time, so, we highly recommend you to use a Tripod stand to record the video. It will not reduce the flickering but will also help you easily record the time-lapse video.
Use a Perfect App from App Store to record Time-Lapse Videos:
There are plenty of apps that will help you record the Time-lapse videos on your iPhone but some of them are just amazing. You can either use Lapse it [iTunes Link] and Timelapse [iTunes Link]. Unlike native feature in camera application, these applications will provide you a lot of settings. You can set the length of recording, final length of the video and even the Time speed from settings in applications. The best part about these applications is that both of them are absolutely free of cost.


